As a tambour embroidery enthusiast, I think it’s safe to say I spend more time than your average bear thinking about embroidery marking tools. My requirements - especially when beads are involved - are extremely specific, since beads can’t always be submerged in water to wash marks on fabric away. Instead, I usually opt for brush-away options involving powdered chalk, or (more regularly) steam- or heat- disappearing options like the Pilot Frixion pens we all have a love/hate relationship with.
Tambour embroidery has been around a lot longer than Frixion pens though - and they’re not always a suitable tool for the job. The Prick and Pounce method is the traditional method for transferring a design to fabric for tambour embroidery, and although the technique isn’t without its drawbacks, it’s definitely one worth exploring if you’re looking for fabric marking options.
Basically, the technique involves perforating a sheet of paper with your design and then rubbing, tapping, or dusting a layer of chalk over the top of the paper so that it falls through the holes and marks the fabric. It takes a bit of setup, but it’s an incredibly efficient method if you plan to mark multiple instances of an embroidery (for example, dotting a piece of fabric with the same feather design - if you were to use the tracing method, you’d have to trace it each time.)
What is Pounce?
Pounce is a very fine powder that is applied using a soft fabric pad or brush. There are a lot of variations on this theme, but my pounce comes in a self contained box with a refillable reservoir which I’m quite a fan of. Aside from styles of brushes, pounce also comes in a couple of different colors and styles. There’s brush-away, which comes in blue and white (I have this brush-away in blue), you can make your own out of finely ground charcoal (this sounds like fun but super messy!) and you can also get iron-away disappearing pounce, which I’m so excited to try!
If you’re looking for a really fun experiment, I also came across a costumer who used a pounce that glows under a blacklight but is invisible to the naked eye. She worked with a blacklight handy and since her costumes wouldn’t ever be used under a blacklight, the powder was basically invisible. Lastly, in Aari embroidery (the Indian name for the technique popular in Kashmir and Kutch, which the French co-opted and called “Luneville” and “Tambour”) the pouncing method is nearly identical except the pounce powder is mixed with kerosene (!) before being applied through the pricked design. This limits the dusty mess, of course, and the Kerosene evaporates from the fabric, leaving the pounced design. I find this fascinating and would love to try it some day!
How to prepare an embroidery design for Prick and Pounce
This, dear reader, is the ‘prick’ part of the assignment. You’ll want your design drawn on a fairly sturdy piece of smooth paper - I like to use tracing paper. Make sure you have a margin on all sides of the design that is at least 5” - this is going to help protect the areas of the fabric you’re not interested in marking with chalk. Then, carefully prick around your design.
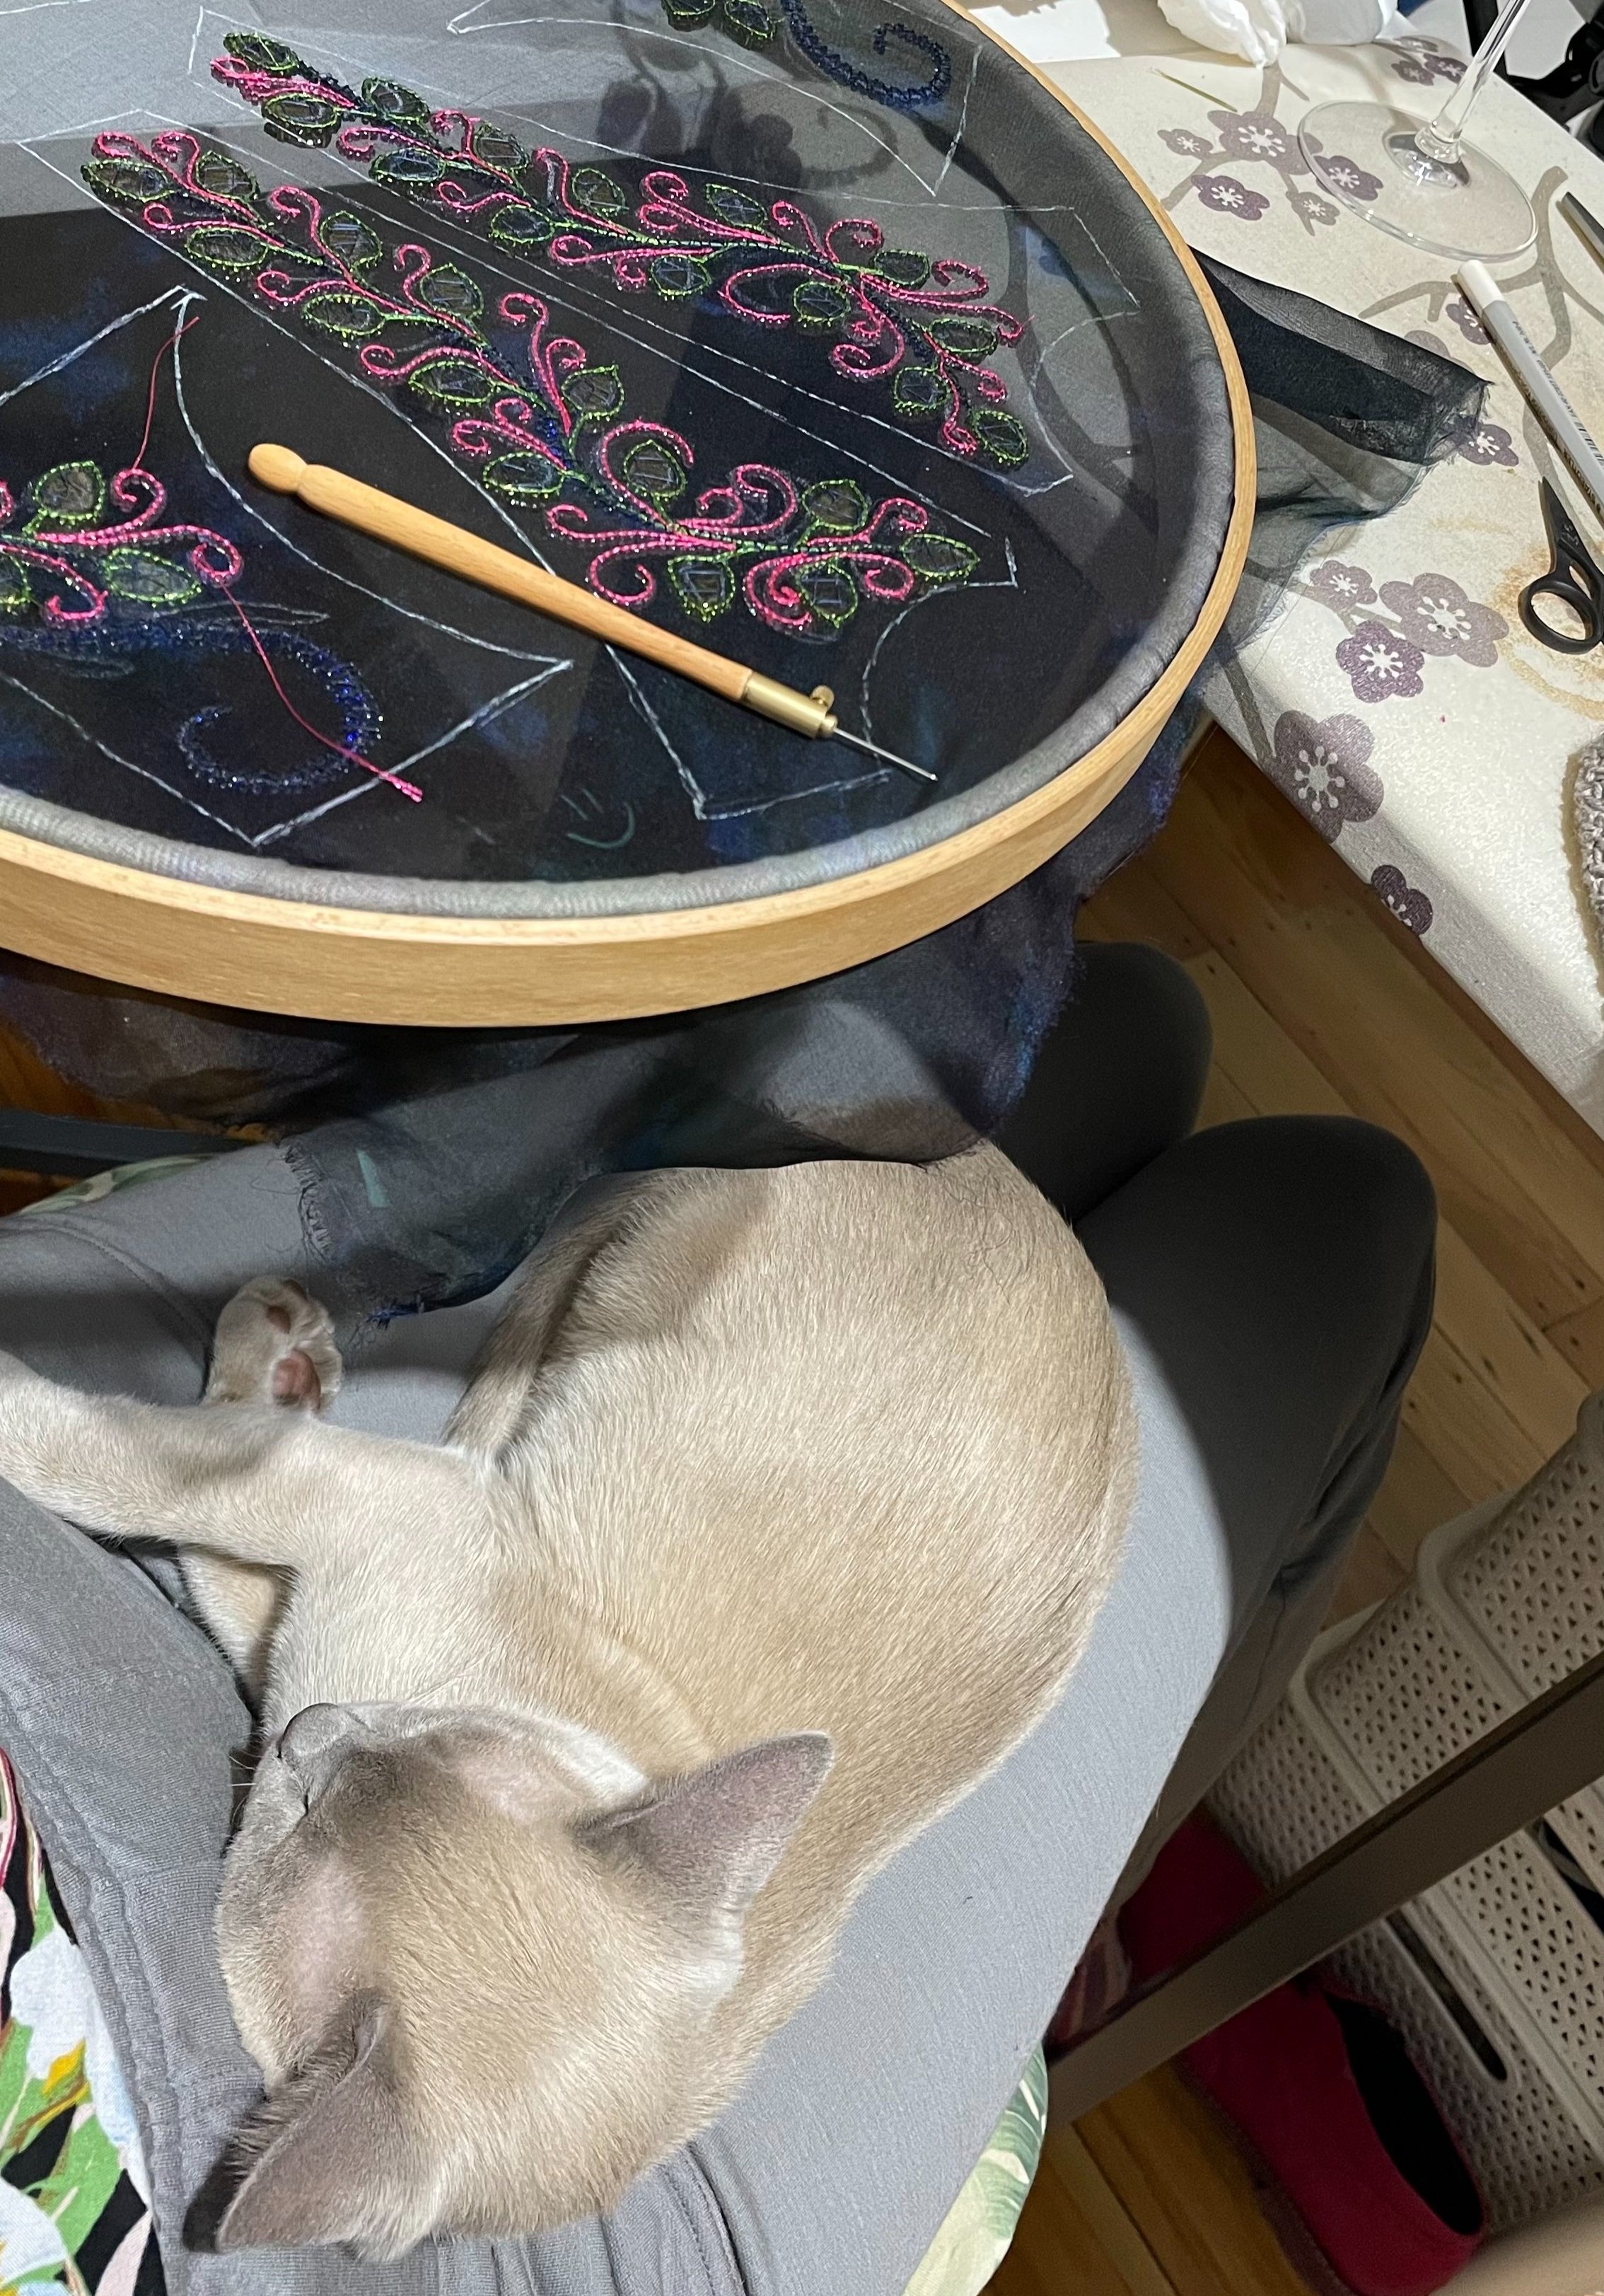
For the pricking, I usually have a variety of tools on hand. I like to use my needle-point pattern tracing wheel, my awl (be careful with this one - you can end up with holes that are too big and things start to get messy), and also a needle mounted into my tambour embroidery tool.
Your spacing is really up to personal preference - you’re looking for a good balance between having enough holes that there’s no question about what your design looks like when it’s on the fabric, and having few enough that the pounce doesn’t try to blend all together when it’s on your fabric. It’s worth doing a complete trial run-through of this technique before you go for it on your final project because it does take a bit of practice to get right!
How to add Pounce
If it’s a nice day, I highly suggest going outside for this step! When you’re practicing, chalk can get a little bit messy - all you have to do is sneeze and it’ll go everywhere!
Mount your fabric in whatever hoop you’re using for your embroidery, and then place the pricked design on top. You want your paper design to be making really good contact with the fabric - no gaps - so you can weigh it down around the edges if you like, and add something (like a book) under the fabric if you’re using a hoop that leaves a gap between the fabric and the table. For my demo, I didn’t mount the fabric in a hoop, I just transferred directly on my table.
Application is, again, personal preference. Some people like to tap the chalk pad on the surface of the design, others insist the only correct way is to brush it. I find that tapping deposits more chalk than brushing, so I tend to tap on larger areas with less dense design, and brush in the detail areas where I want to be more delicate. Regardless, the right way is the way that works best for you!
Once you’ve covered all the holes in your design, carefully lift the paper off the fabric to reveal the transferred design! I like to roll my paper up to transfer the excess chalk back into the reservoir of my pounce kit, but you can also just shake it into a trash can if you can’t get it back into the container.
If you can see the pounce powder sitting on the surface of your design you can blow on it to get rid of some of the excess, but other than that, you’re good to go! That’s all there is to it!
Pros and Cons of the Prick and Pounce Method
I mentioned Frixion pens earlier - to be honest, they’re totally suitable in so many cases. They do sometimes have issues with ghosting - leaving marks after the ink is supposed to have disappeared - so as with any marking tool, they’re definitely worth testing first. Pens are easier for one-off designs or for planning an embroidery directly on the fabric. Prick and pounce can get a little messy and it takes a bit of practice to get your motions right for pounce application (To be fair, it takes a bit of practice to get drawing with the pen right, but you’ve likely already done that work in primary school!)
Prick and pounce is an amazing method for transferring a single design multiple times in different places, and it’s also more accurate than tracing a design. It works well on a huge variety of fabric types (I find that pens sometimes struggle with particularly sheer fabrics) although I’m not sure it would be my method of choice for something as open as tulle. It’s also reliably easy to remove the pounce from the fabric - although please, PLEASE always test your marking tools on a swatch before you commit to your good fabric!
Overall, I really recommend you consider giving the prick and pounce method a try for embroidery transfer - tambour or otherwise. It’s a handy and versatile technique, and although it takes a bit of practice it’s a handy trick to have up your sleeve!


