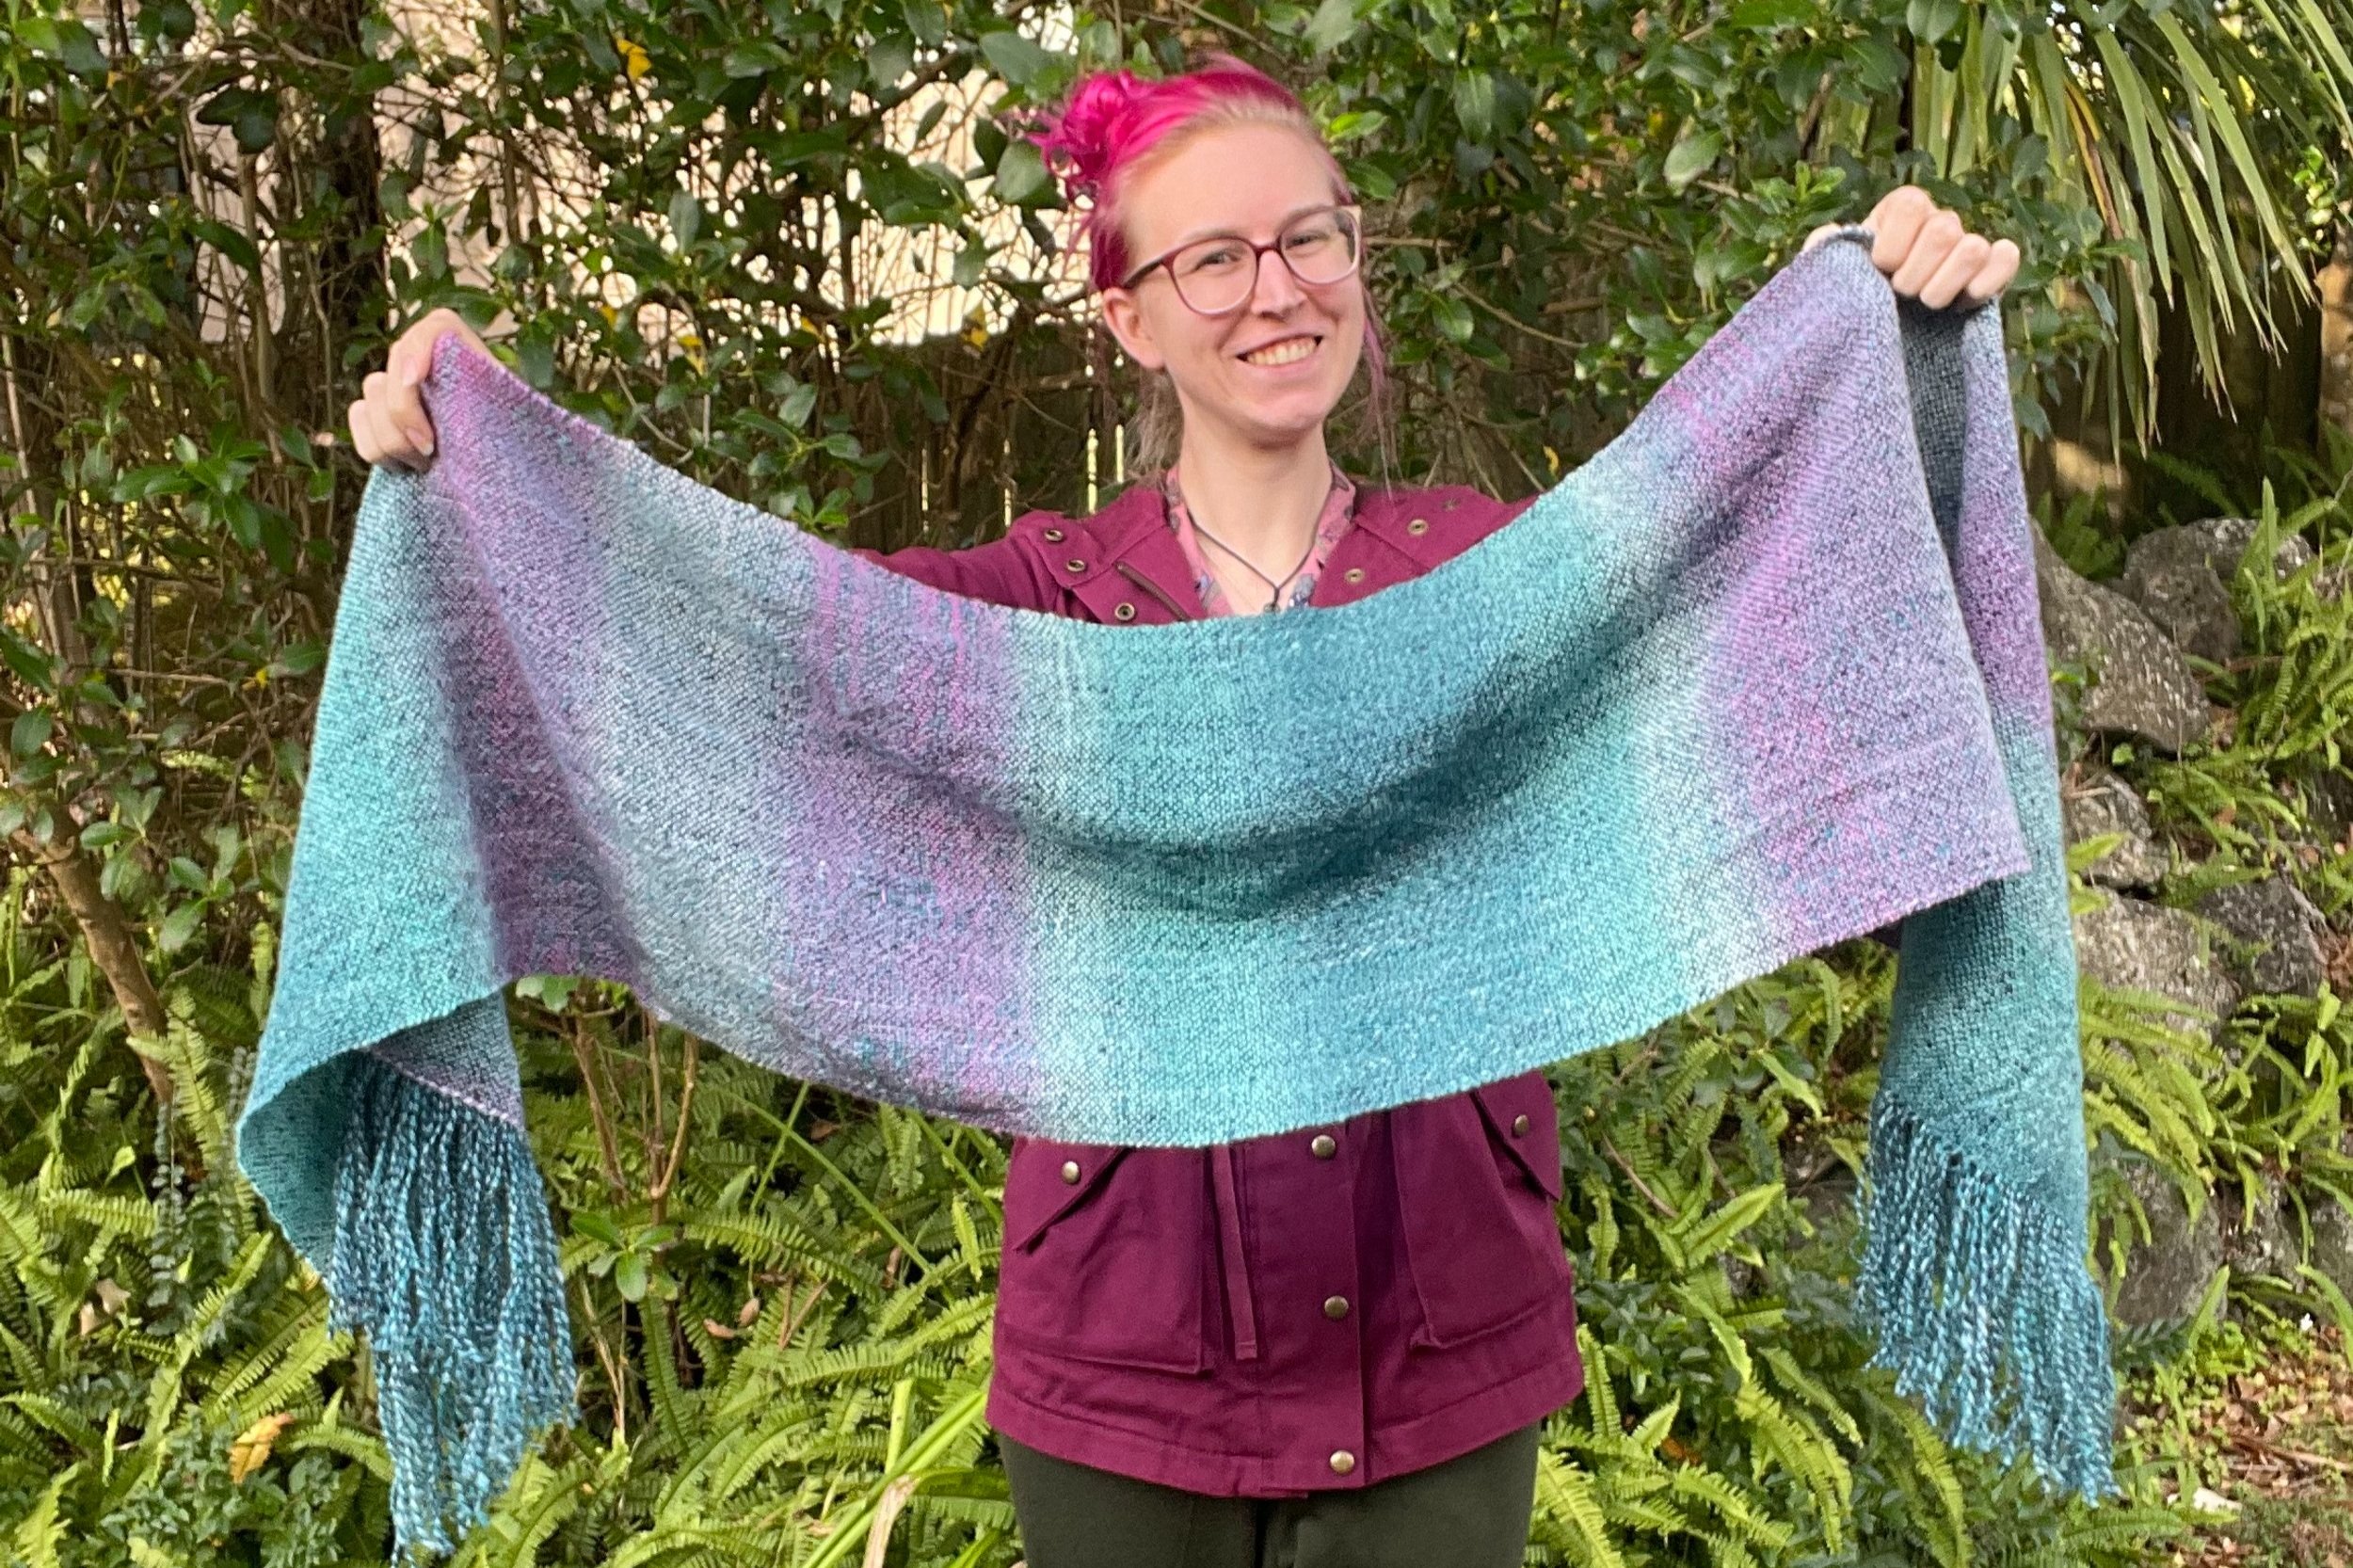
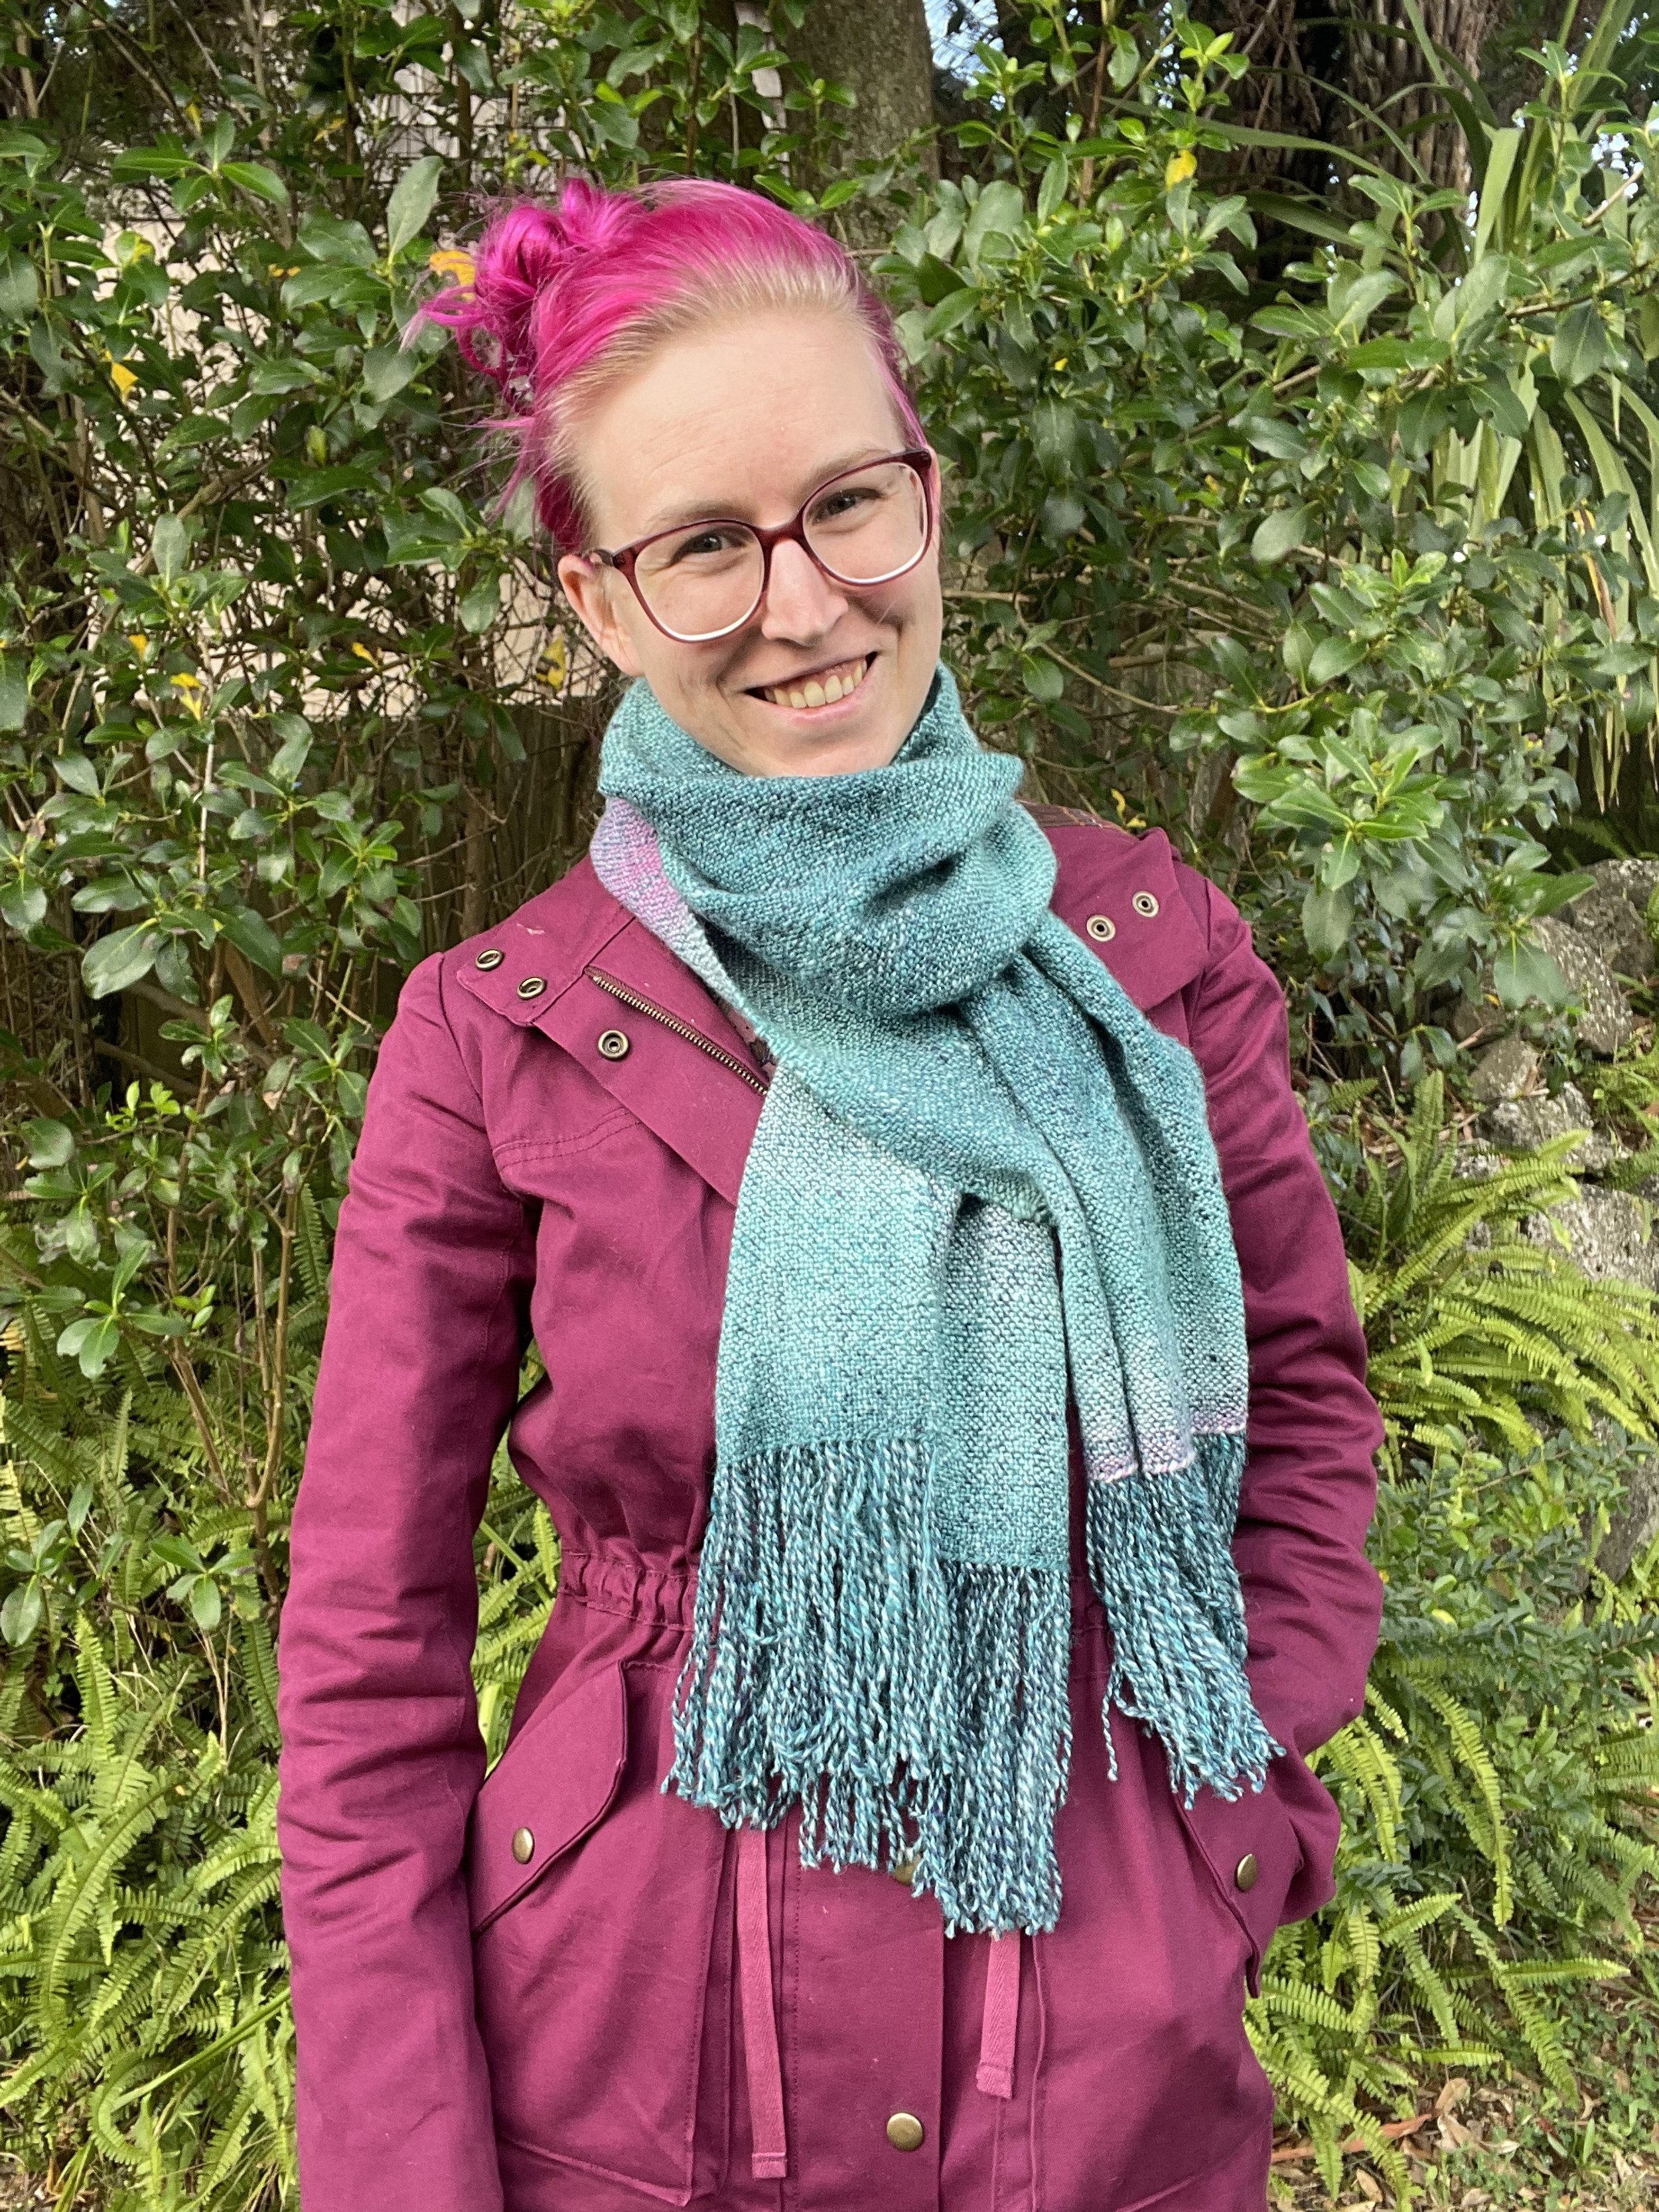
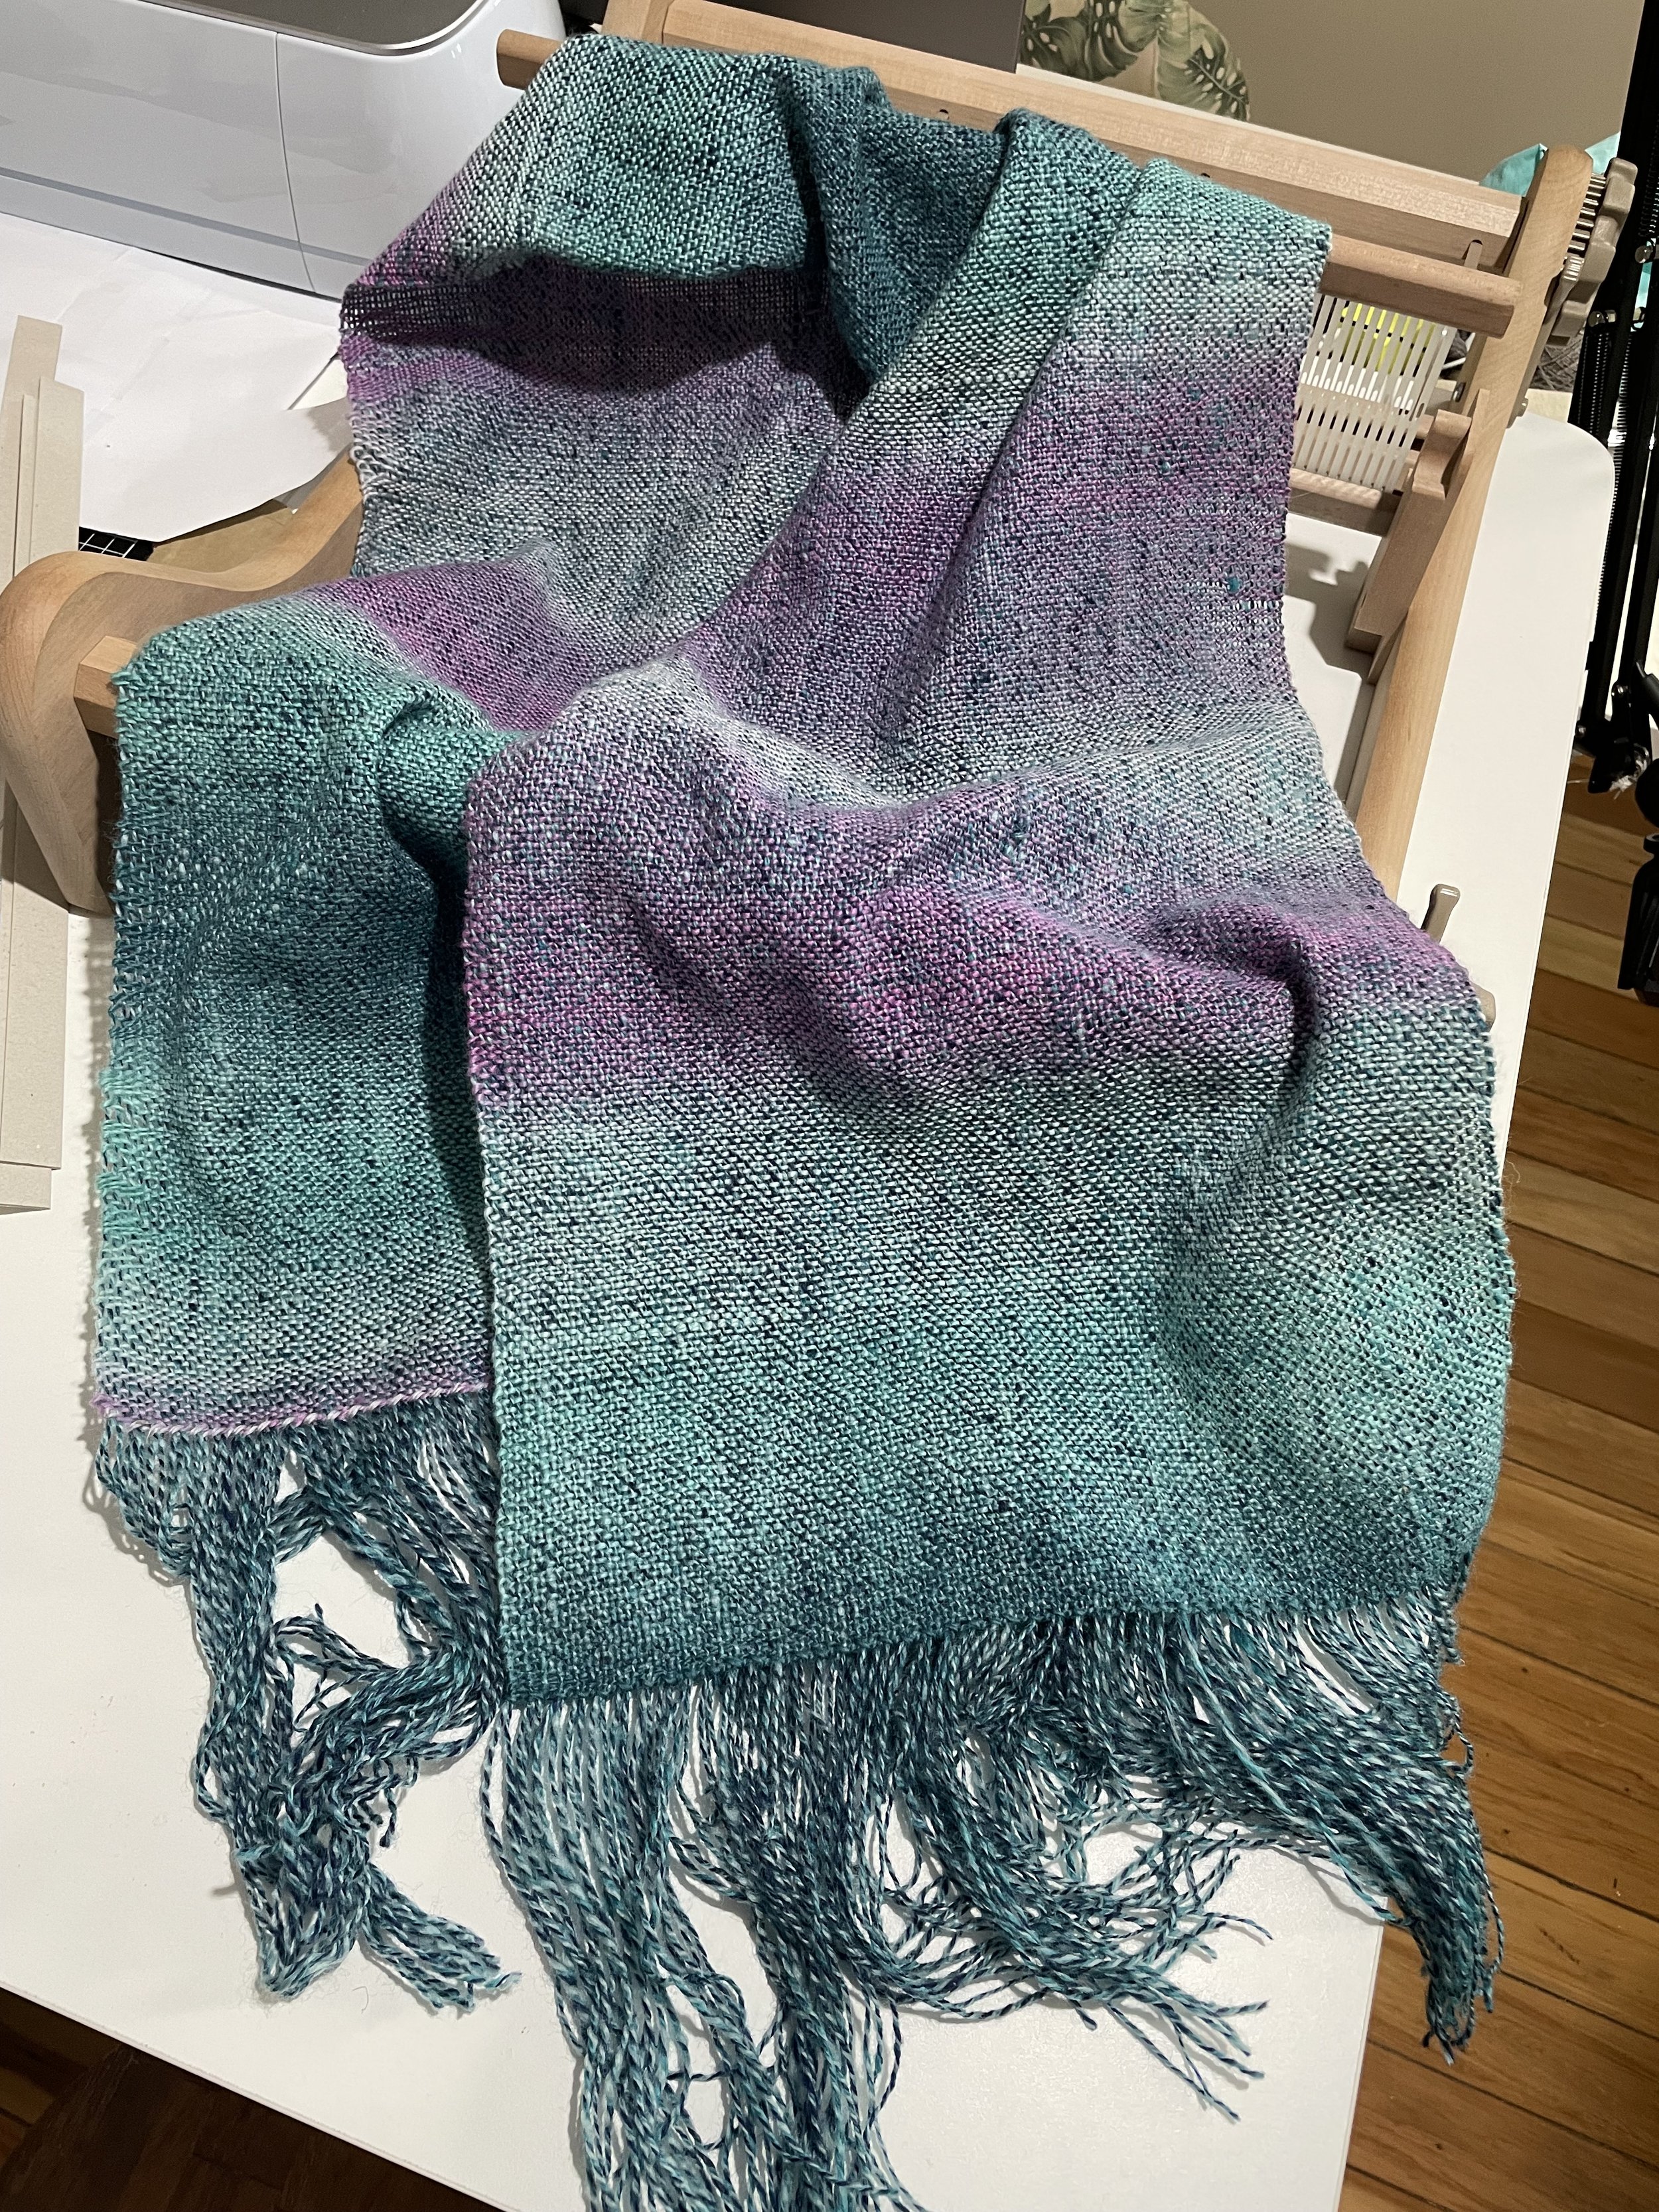
I’ve just completed my first project on my new Ashford 16” Rigid Heddle loom! Although I have a bit of weaving experience, this was my first solo adventure with rigid heddle weaving, and I did a fair bit of research before I started. The purpose of this post is to document the resources I used to get me to this point and share a couple of things I’ve learned so far, with the hope that they might also help you if you’re starting your journey in rigid heddle weaving as well!
I don’t really get to be a beginner at much in the sewing realm these days - I’ve been making everything I wear since 2016, and I’ve been sewing for.. well - most of my life. Of course, there are always new little things to try out, practice, and iterate - but as far as the bigger categories go I’ve just about ticked every box. I LOVE learning new things though, and being a beginner is such a wonderful part of the learning process! I’m definitely a beginner at weaving - I did my fair share of frame loom projects as a kiddo: the little woven potholders and that trick where you cut notches in cardboard and use that as a weaving base for dollhouse rugs. I also did a bit at university, and recently a friend let me weave on her floor loom.
If you ever get a chance to weave on a floor loom, take it! It’s a full-body experience unlike anything else. That said, this was my first time with a rigid heddle loom, and I think it’s been over a decade since I warped a loom of any kind… I’m SO enjoying being a beginner!
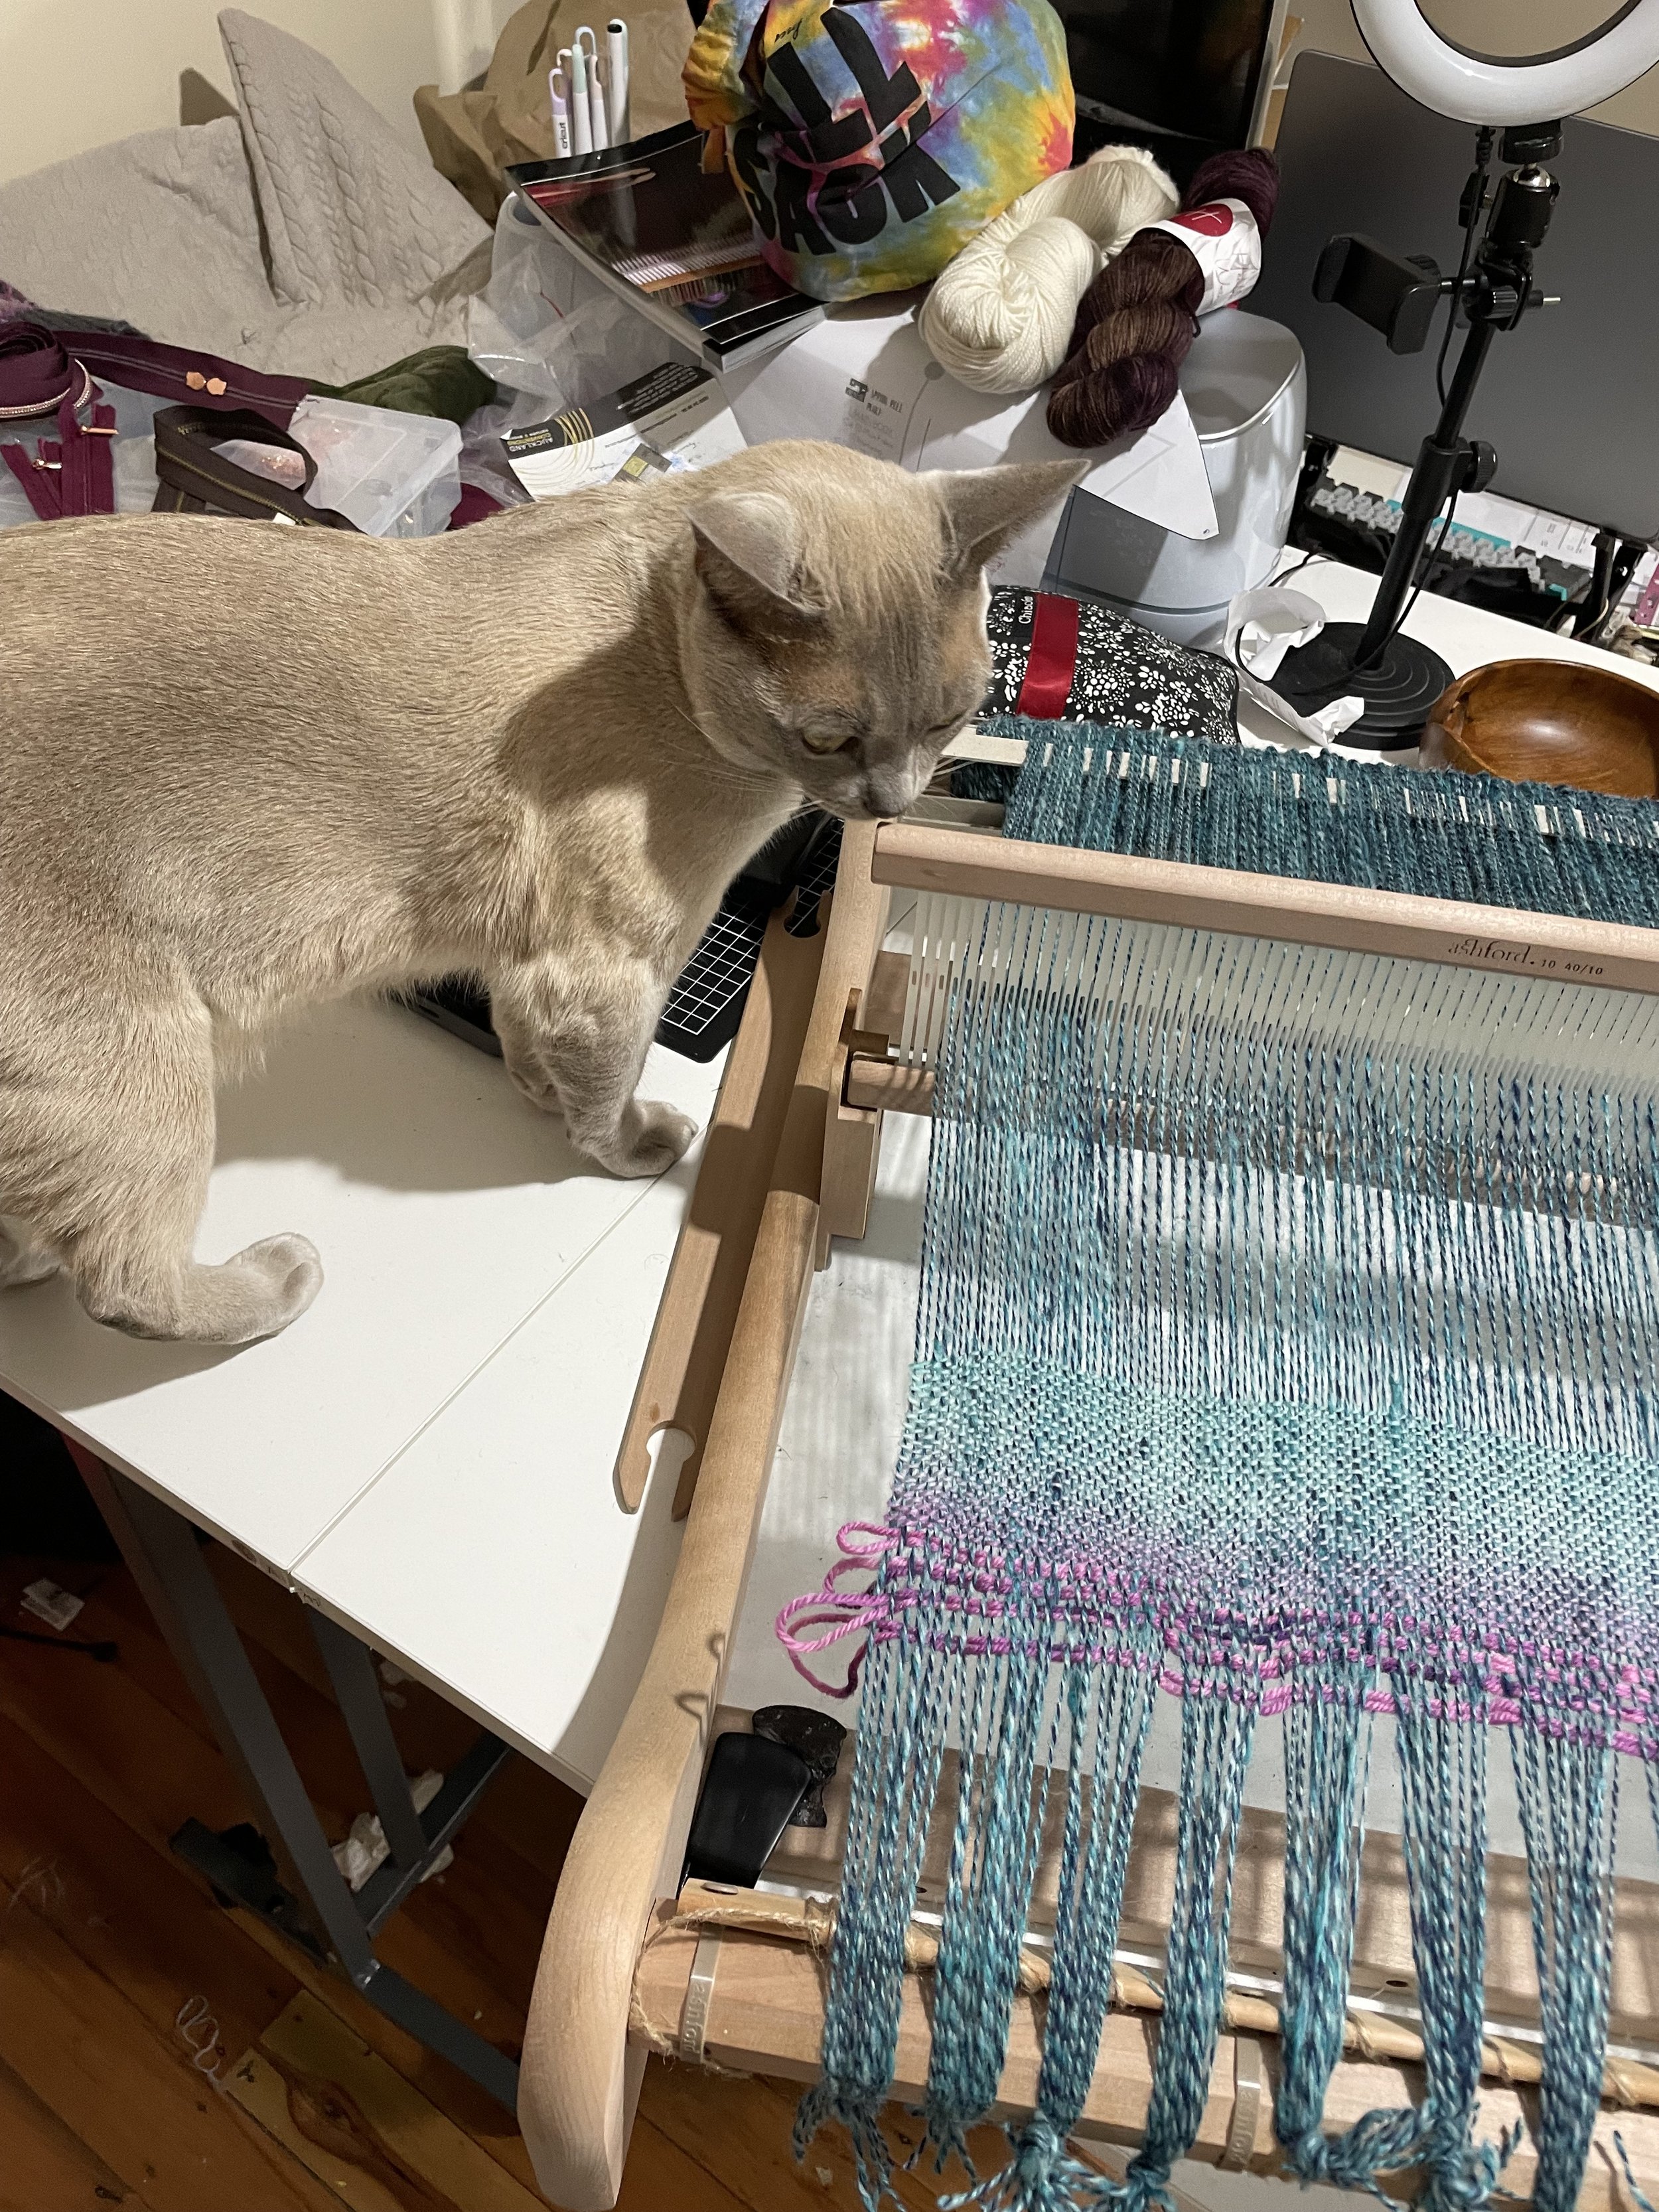
First up - the supplies. My loom is the Ashford 16” Rigid Heddle loom. It was a gift from my friend Julie, who didn’t have time to give it the love it deserved so she re-homed it with me. It was exactly the one I was looking at purchasing, though I was weighing up the 16” vs the 24” models. Having seen it and used it now, I think the 16” is better for the size of my space, but the temptation to weave wider things (you can weave double the width of the loom!) was really quite strong. I think that would be an upgrade to consider in the future.
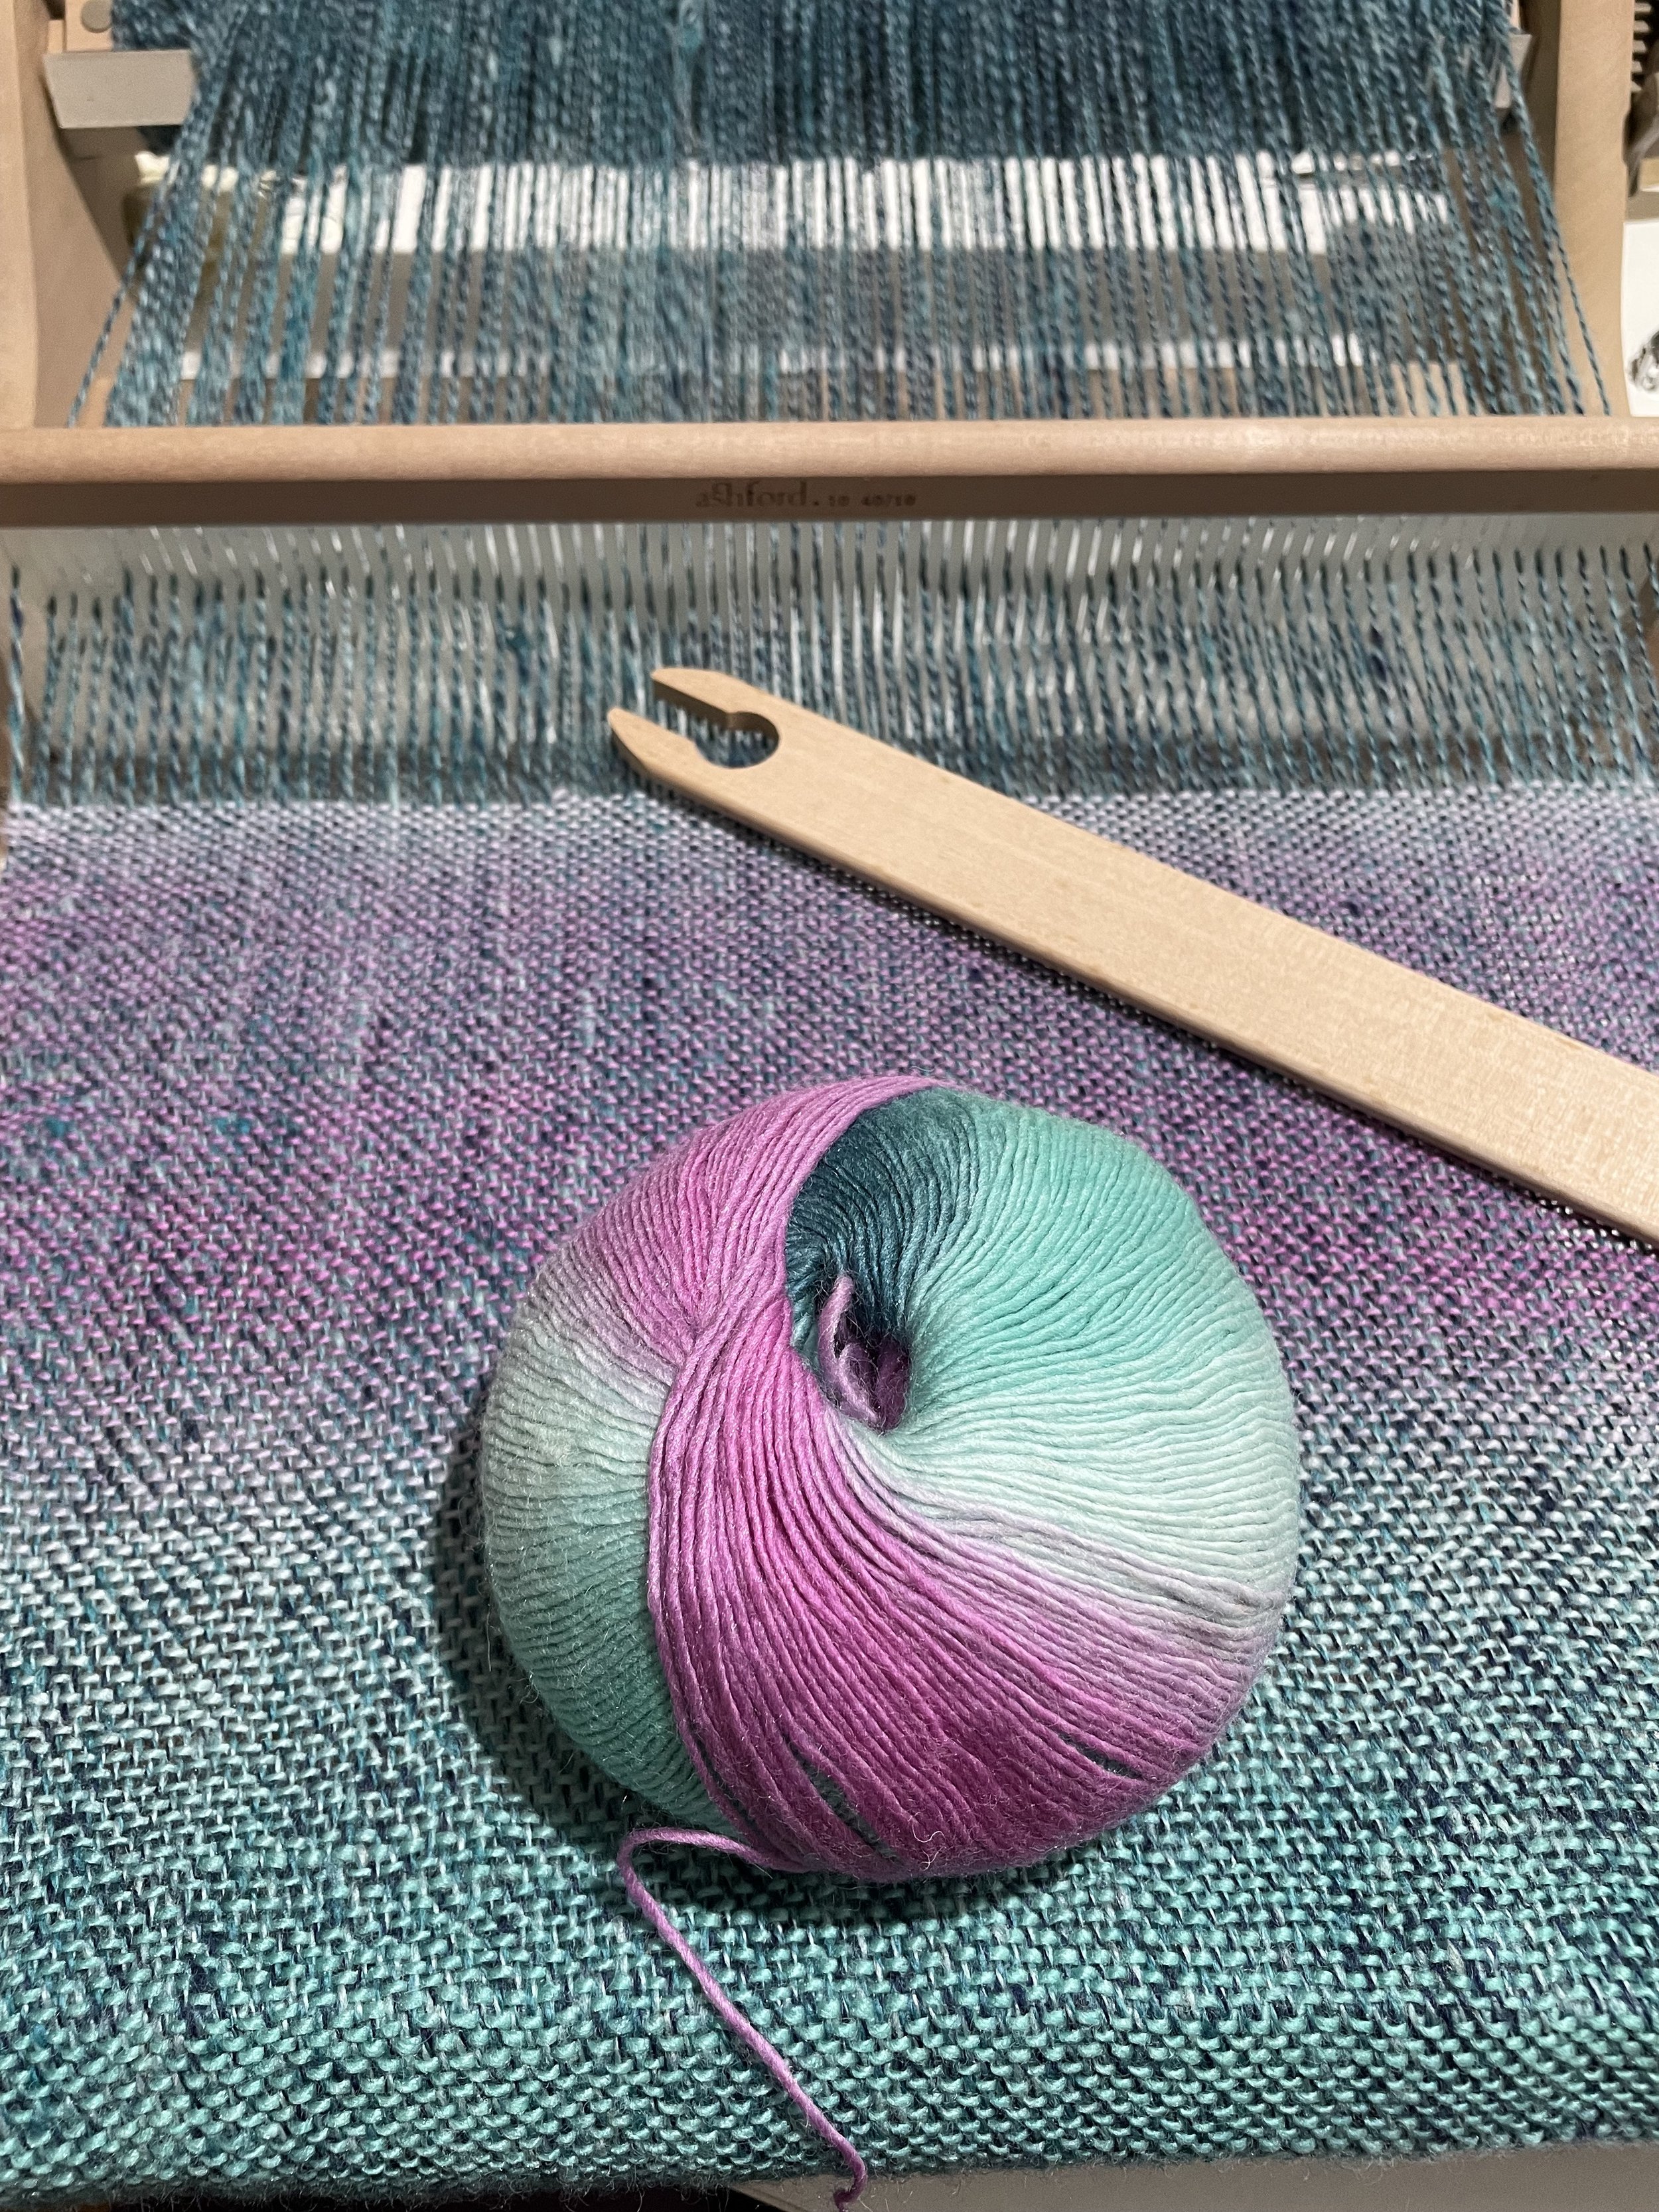
I decided that a scarf was a good place to start for my first project. I have seen some recommendations that beginners start with samples to get the hang of weaving, but I like having a first completed item to remember, and I find it really helpful to go through the full process when there is a process to be learned. I chose two stash yarns - a ball of KnitPicks Chroma that I’ve had since 2013 for the long gradient weft, and a hank of my handspun from when I was just learning to spin yarn. It seemed suitable for learning to weave, and the colours matched perfectly!
Armed with a plan no more advanced than “I’m going to make a scarf with these two balls of yarn and this loom” - I was ready for some research:
I started with the Ashford YouTube channel’s Rigid Heddle weaving playlist - this is the loom I have so it was perfect. As she talks through the steps, she provides some tips and tricks along with the reason behind certain actions which I found quite helpful, and it gave me an understanding of how to warp my loom
I wasn’t sure which heddle (reed) to use - they come in different ‘dent’ sizes for different thread widths. I learned that this is called calculating your ‘sett’ and this very clear and concise article from Gist Yarn gave me the vocabulary and method I needed to select my 10 dent heddle. For reference, my yarn came in at 19wpi.
Next up I needed to calculate the size of my scarf. I had no idea how much yarn would be required, but I figured I’d just make it small enough to use all my yarn with a comfortable buffer. There are things to take into account like loom waste, stretch/shrinkage, etc. and I didn’t know how to compensate for this - the math seemed scary - but Gist Yarn came through again with a really awesome weaving quantity calculator where you enter the desired length and width of your finished piece, plus fringe length and a few other variables, and it tells you exactly how much yarn you need. There were a few things it needed which I was unfamiliar with (like “picks per inch”) but there are definitions below the calculator on the page with links to additional resources.
I consulted this video from Kelly Casanova to see how hemstitching is done - Hemstitching is useful for securing the beginning and end of a weaving project.
This was basically the whole plan! I did a bit of reading about different weaving patterns, what pickup sticks were, and a few other things like that, but the above three were the most important in planning my project. Here are a few other notable things I found that you’ll probably also find useful:
This blog post which explains marking a piece of twill tape to be used to measure items of weaving that are rolled onto the beam. I had no idea how long my scarf was and I would have quite liked to know!
A delightful weaving tutorial using mini-skeins of sock yarn to create a gradient rainbow scarf that I definitely want to try
A youtube video from Kelly Casanova on types of yarn that are best for weaving towels
This came up as a suggested post - the rather clickbaity headline “3 yarns beginner weavers should NEVER use” - I went ahead and ignored pretty much all the advice in this video with my sentimental handspun ‘sticky’ yarn, but I guess it gives you something to consider?
A quick youtube video with some tips for neat selvedges - nothing revolutionary or surprising here, but my selvedges were definitely not as neat at the start as they were at the end. It just takes a bit of focus and a lot of repetition to understand what movements and feelings get a good result!
Another clickbaity title - “10 mistakes new weavers make” - a few of these weren’t particularly consequential, but I found the ones around warping the loom and where the yarn comes from/the direction you roll up to be helpful, as they gave me specific things to watch out for as being potential points were I’d struggle.
Hemstitching the starting edge of my scarf - I decided to leave the waste yarn in until the very end which seemed to work well!
That’s everything! Everything helpful, at least. Next, I started working on my project, really mostly just following the Ashford youtube playlist, but here are a few miscellaneous observations that I wish I had known, or learned along the way.
I warped my loom with what I now understand was MUCH too much tension between the loom and the warping pin, which led to a lot of shrinkage. It really only needs enough tension to keep it from sagging and potentially tangling, and I went for full tension, which meant I lost about 10” to shrinkage. Forunately I also overshot on the length so things evened out to a scarf that is still long enough to wear!
I was worried the knots at the start of the weave would disturb the fabric as it was rolled onto the front beam - I used a couple spare pieces of cardboard to fill in the areas around the knots, and this seemed to work well!
As a result of using handspun weft (it’s not very even and it has a few slubs) I had to do an extra bit of fiddling with the loom to make sure the threads popped into place. I guess this is what the video about not using sticky yarns was talking about but I really didn’t find it to be that bad.. Just check all your threads are up when they’re supposed to be up and down when they’re supposed to be down!
I found my selvedges were ending up too loose in my concentrated effort to keep them from being too tight. About 1/3 of the way in, I realised that the “trick” (for me at least) was to pinch the yarn at the edge into exactly how I wanted it to look in the finished selvedge and then lay it at that angle that allows the rest of the yarn to travel. Leaving it loose on the selvedge edge was what was causing my little loopies. There’s a very clear difference between the selvedges at the beginning and end of my scarf, which means we’re learning!
I found that one of my warp threads had looped itself into a knot while I was warping - I managed to tug it along until the end but I should have paid better attention!
I had a knot in my warp thread - I must’ve broken the yarn while I was plying. I saw it as I was warping, figured I’d sort it out later, and moved on. What I SHOULD have done was cut the knot and re-tied it with a long tail (or spit spliced it or something) so that I could use the strength of the ends to weave in. I think it’ll be fine but it’s a bit lumpy as it is.
I think that’s everything! I hope you’ve enjoyed this little peek behind the curtain of my own learning, and that it was helpful if you are also starting on your rigid heddle journey! I, for one, am off to have another dig through my stash and see what wants to become my second rigid heddle project!

