
We've talked about my particular penchant for rapidly adopting and then shelving hobbies at seemingly random intervals, but a) I'm getting better (I swear!) and
b) Some things are different.
My first memory of sewing is one of my earliest memories altogether. Mom would sew squares together for her quilts, all connected in a long chain. Instead of snipping them herself, she would let them fall down under the table like a kitestring, where I sat and waited with some snips to trim the pieces apart. I was always impatient because her part was slower than mine, and it took years before I too recognized the importance of patience, and precise 1/4" seams.
Skip forward to middle school, and you'll find me struggling to find shirts to cover my unreasonably long torso, and pants that both stayed up around my (absent) hips while covering my (bony, frequently cold) ankles. Not a thing in ready-made clothes, let me tell you. And flood pants were not in style. This, followed by the discovery that actually most patterns in their unaltered form weren't going to fit me either was disheartening to say the least. Combine that with my blatant disregard for seam allowance, fabric choice, and edge finishing - let alone my complete and utter refusal to press seams as I sewed (If I could go back with an itemized list of things my 13 year old self would benefit from the knowing, that would be probably #2 on the list) - meant that my wardrobe was either ill-fitting, weirdly wrinkled, or not suited to my body type.
At some point, and I'm not entirely sure when, I started to enjoy the process as much as (if not more than) the finished product, which was a huge turning point in the quality of my projects. I started getting into edge finishes, realized the huge difference that 'press as you sew' makes, started to realize why things needed to occur in particular ways and orders, and when it was and was not okay to not do the thing. I also eventually took a flat pattern drafting class, and that opened me up to stop relying on patterns that were never that great anyways.
Now, in the meantime I may have grown a little, but the strife of ready made clothing never really goes away, does it? I still have a torso that laughs in the face of one-piece outfits, legs that make pants shopping an exercise in futility, and a chest that resolutely eliminates about 40% of available tops and dresses. Enter, The Plan.
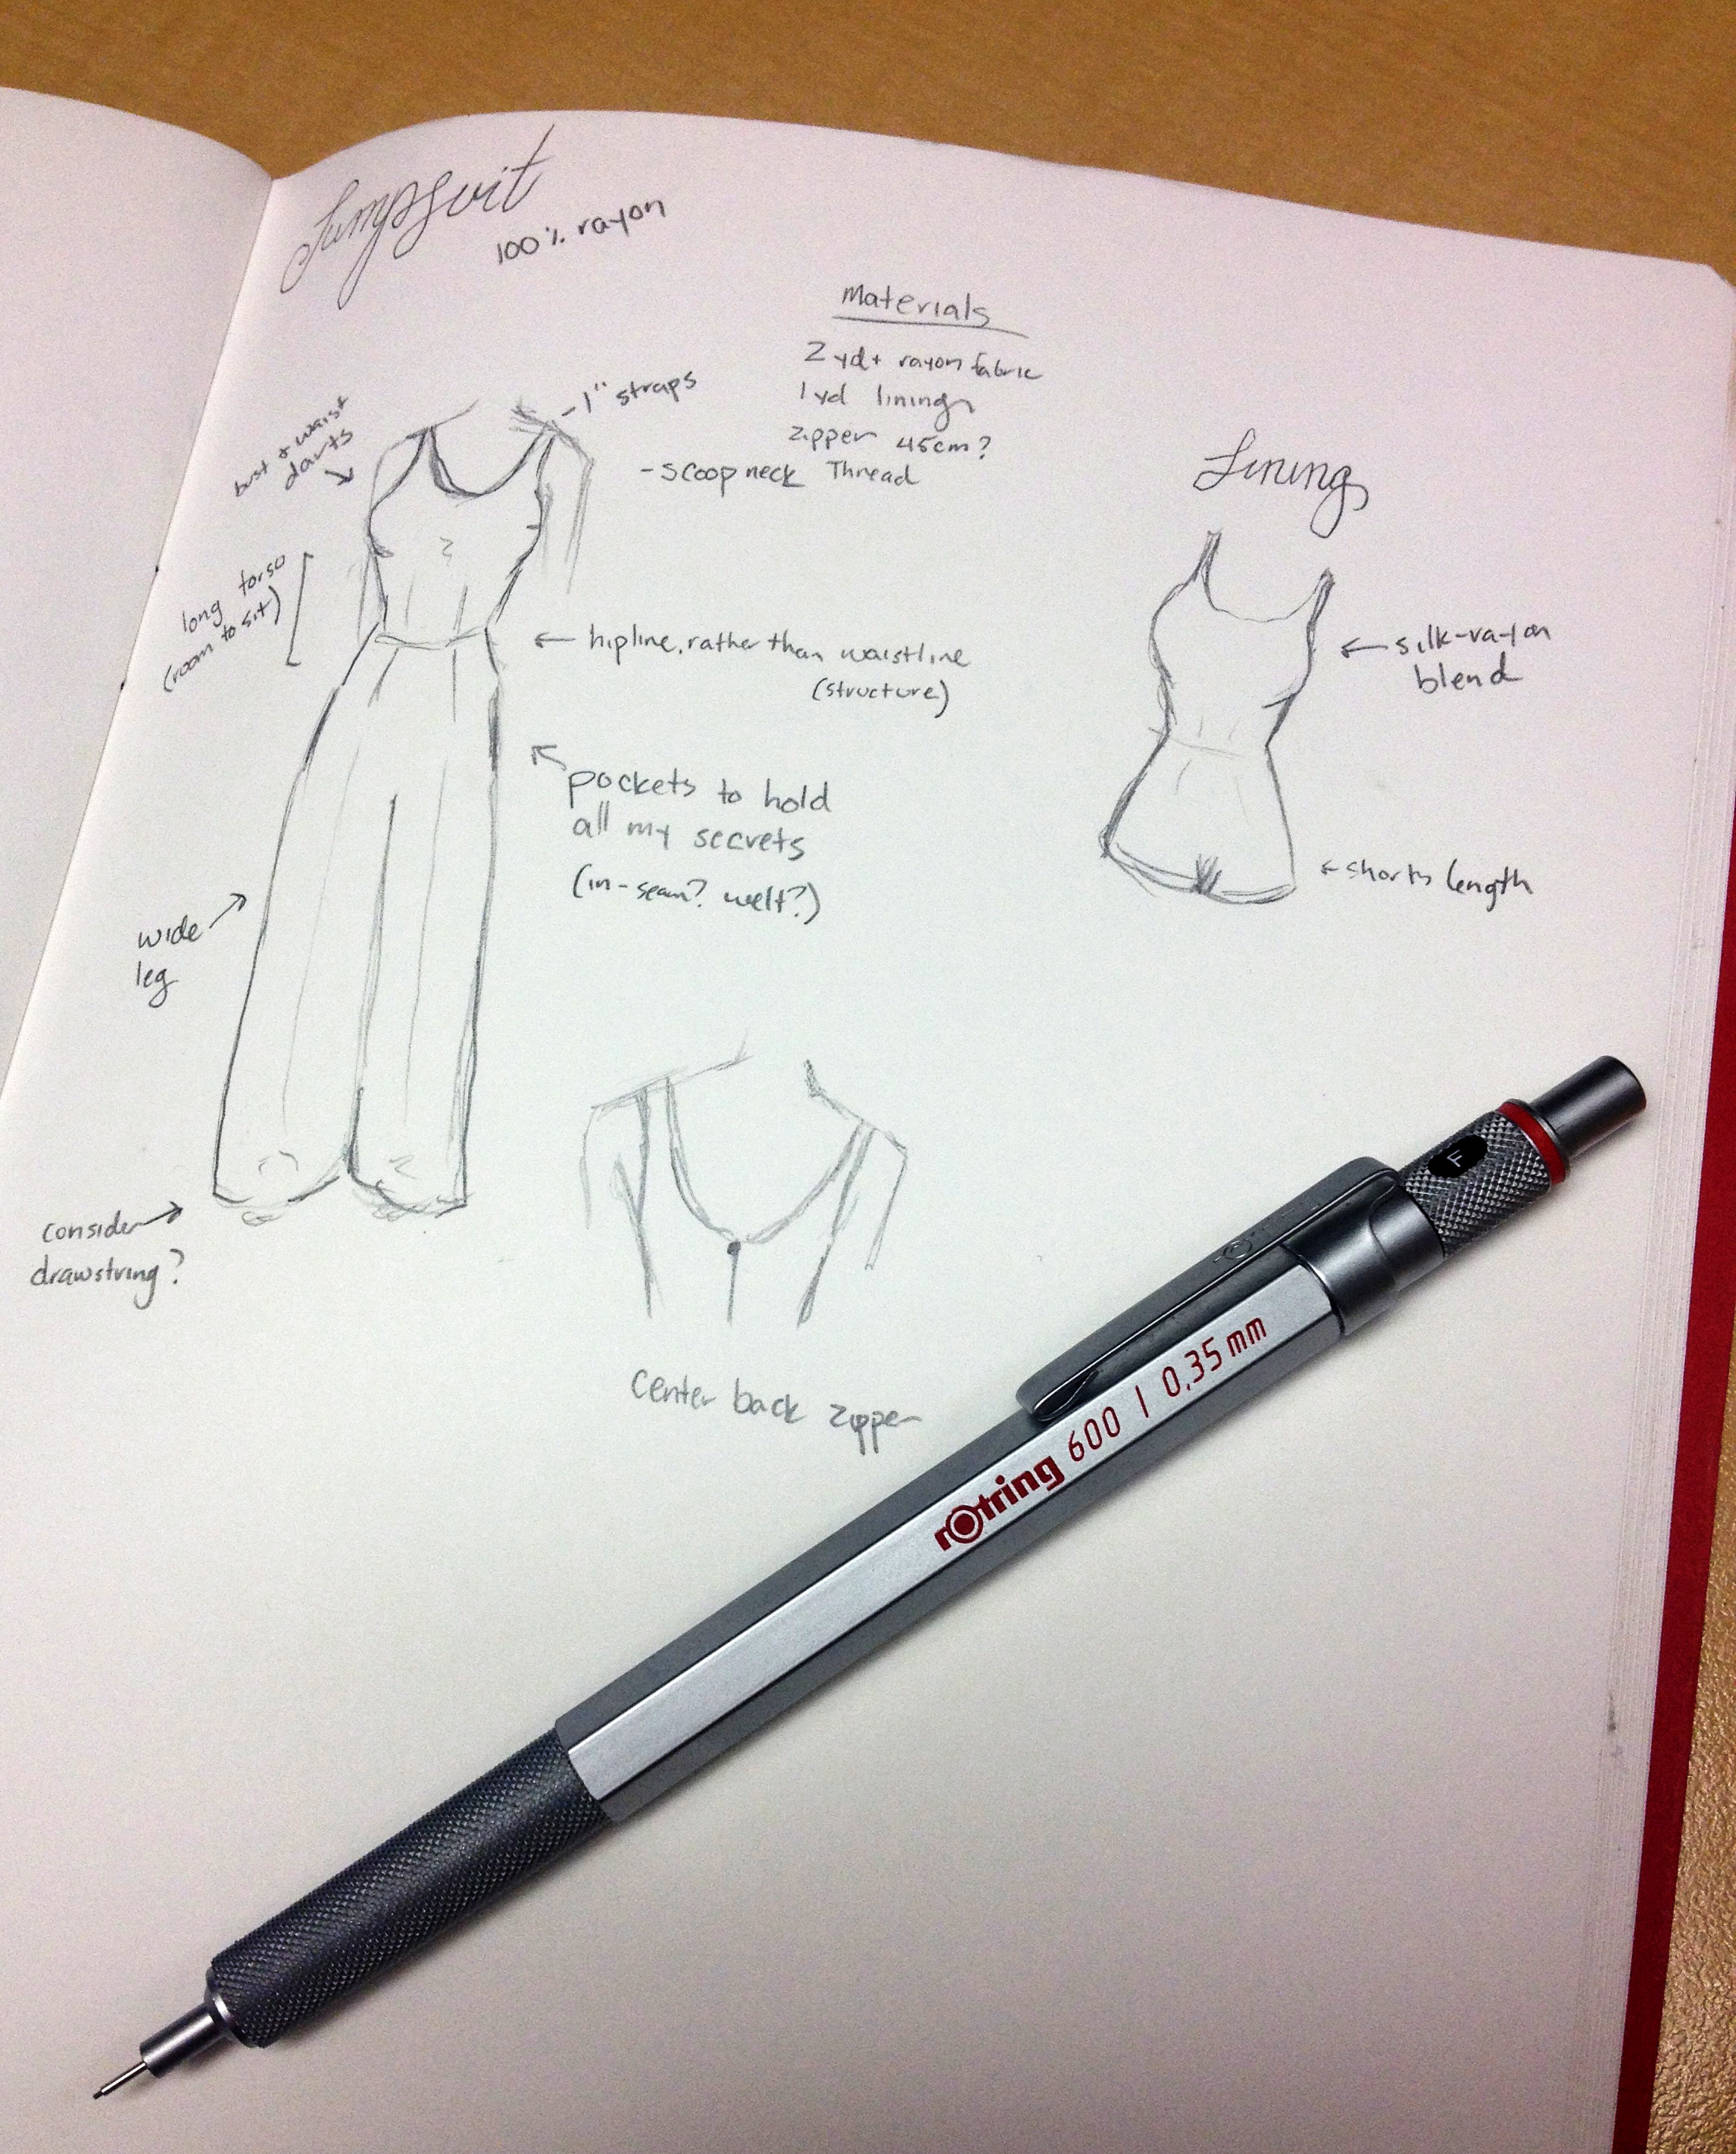
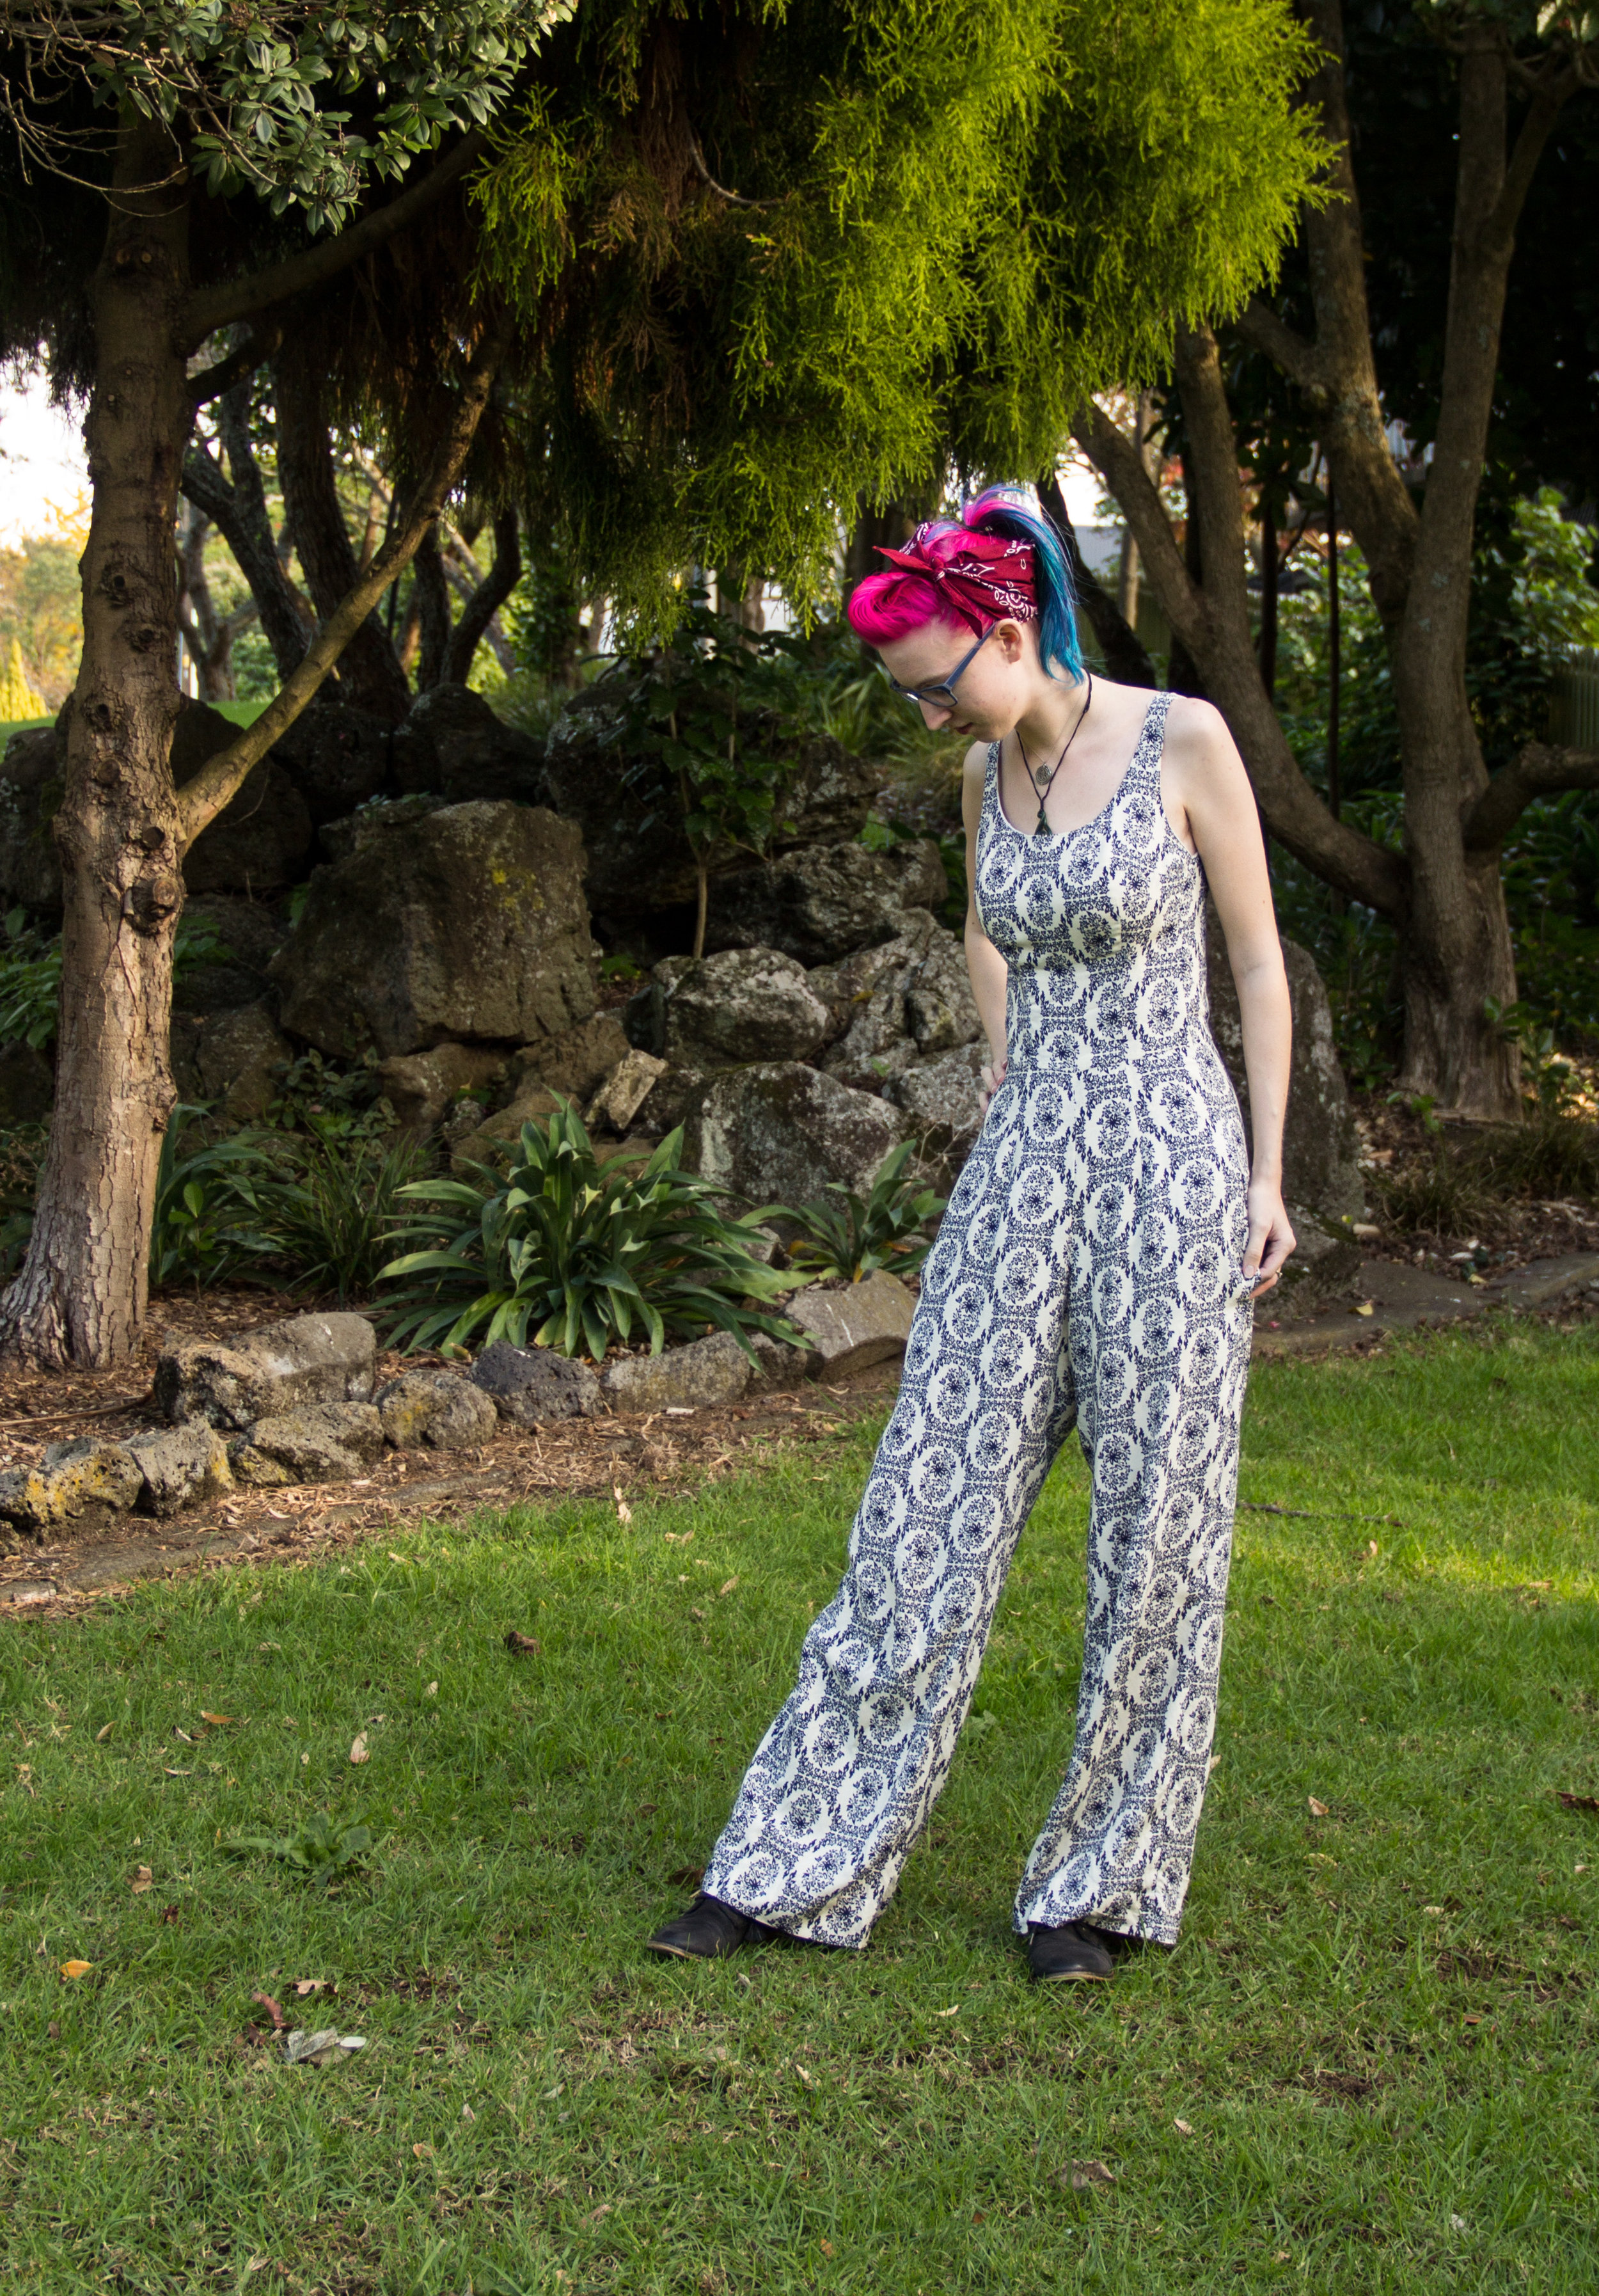
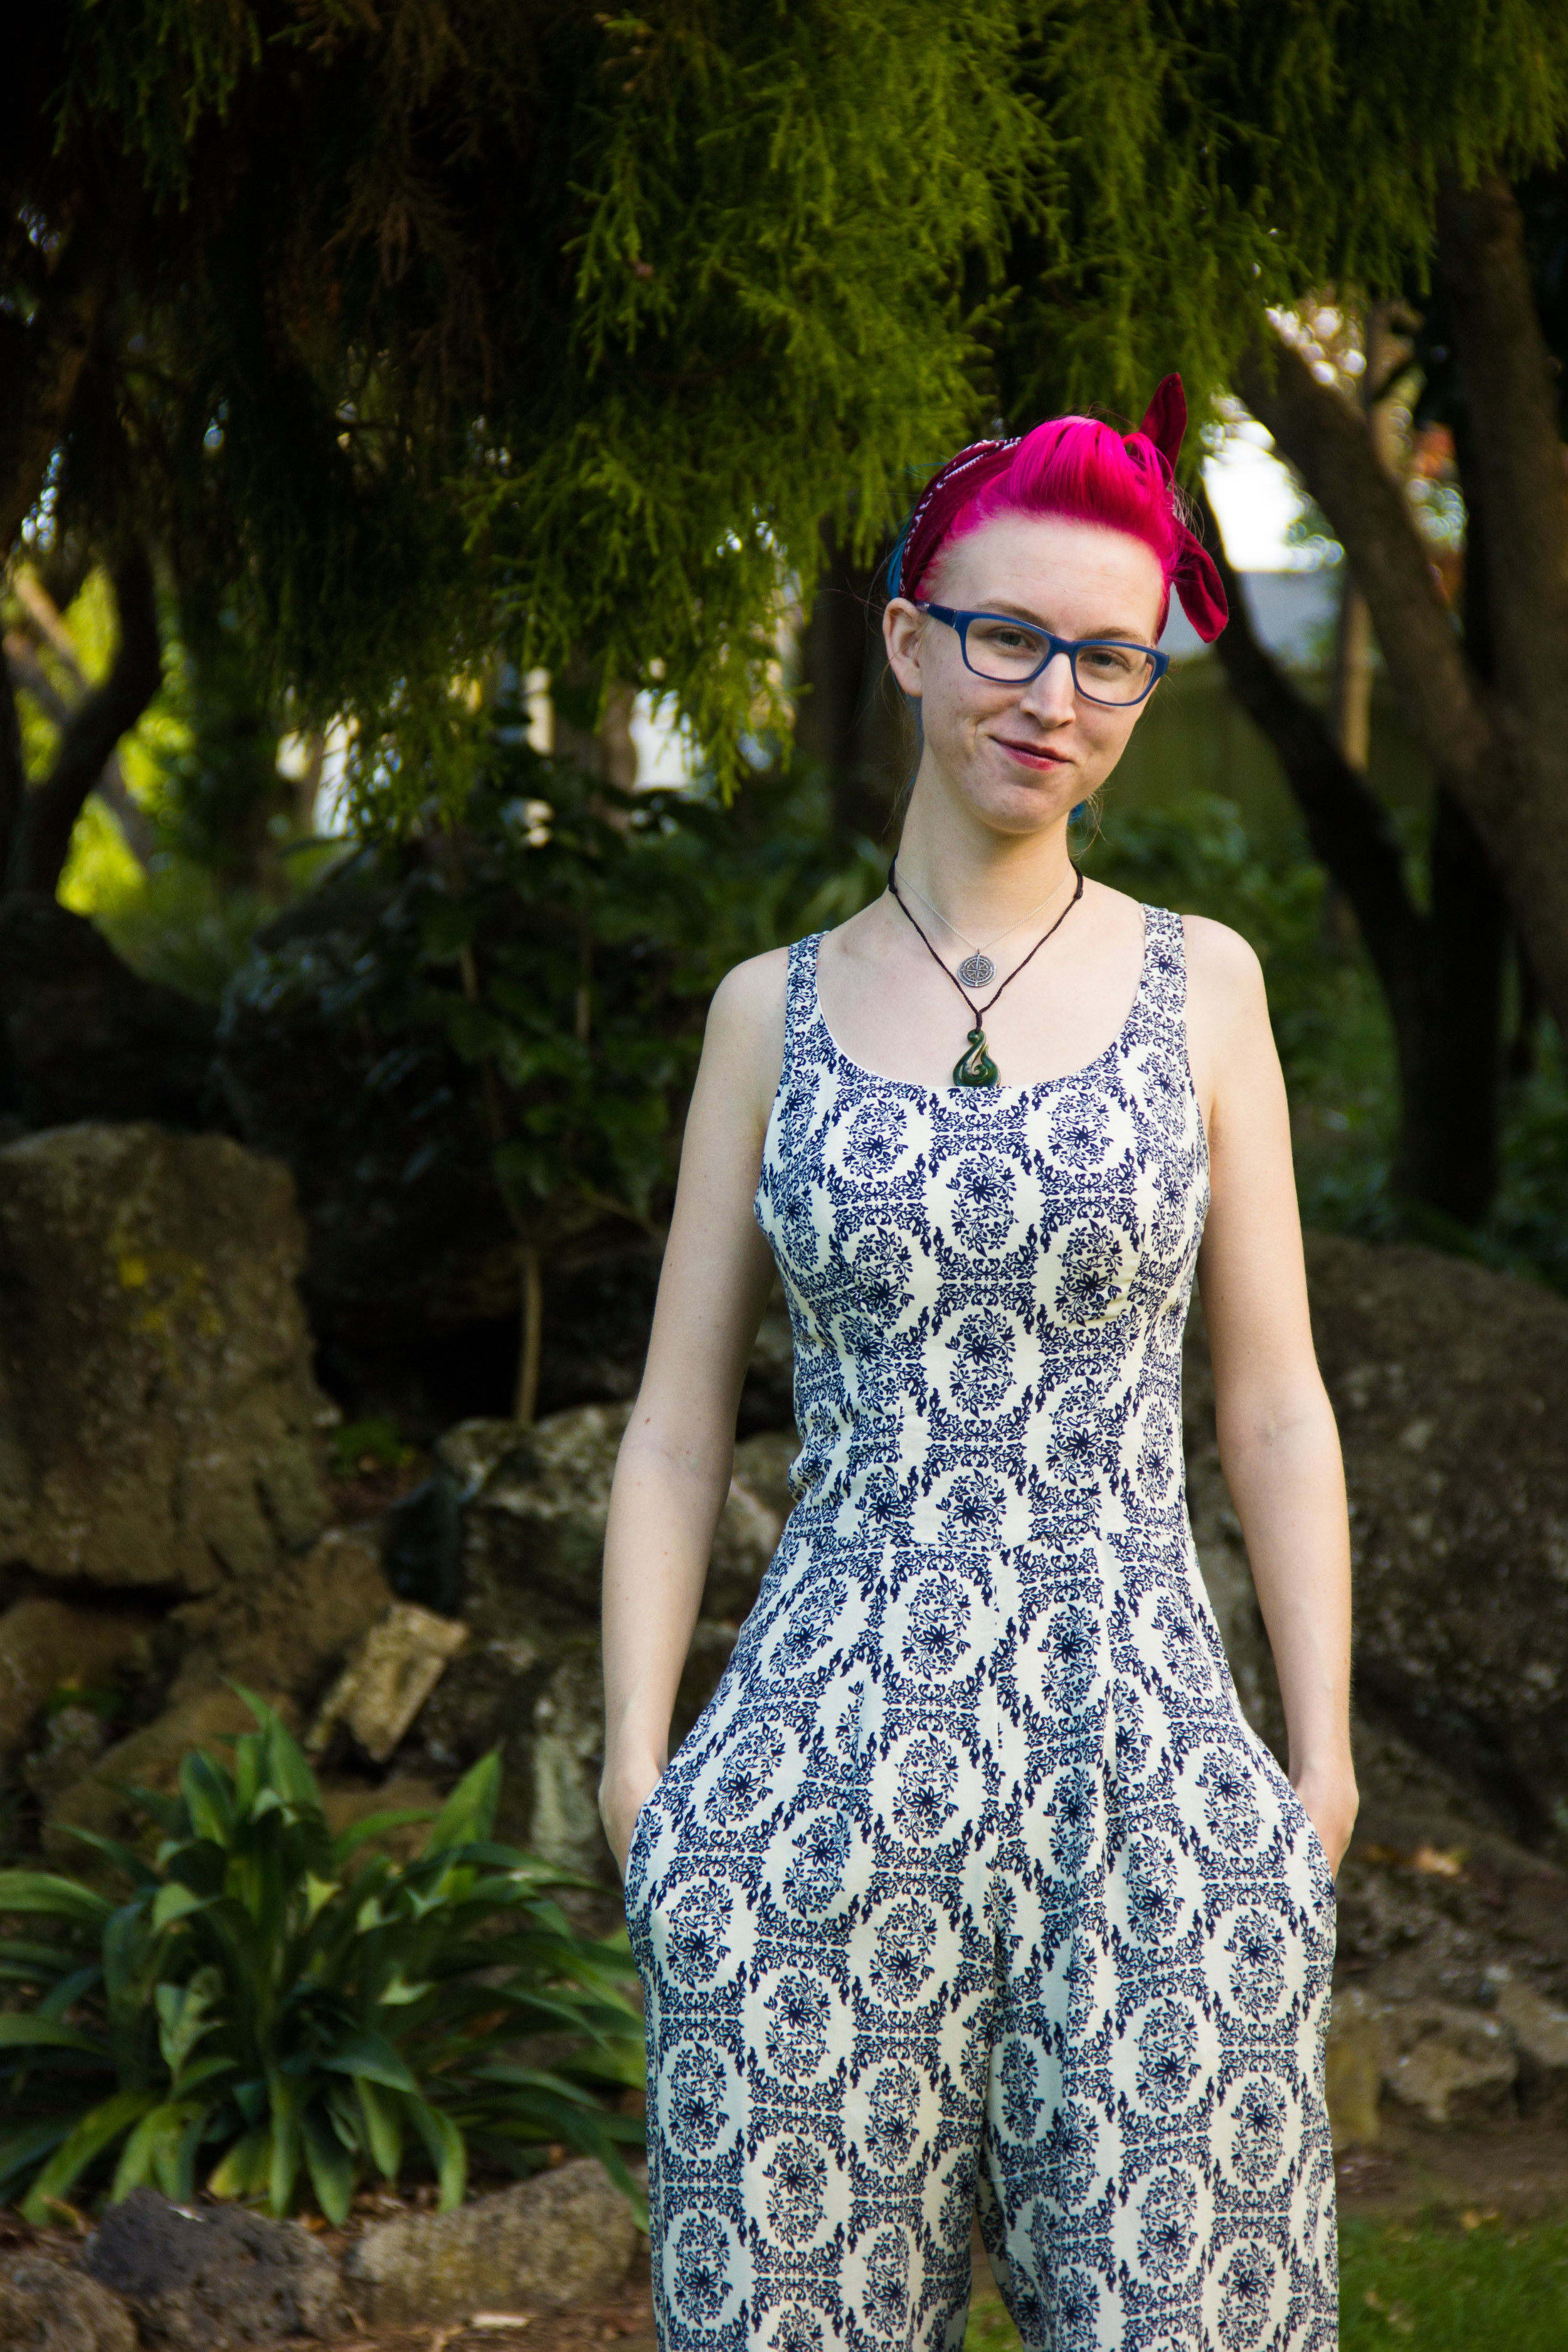
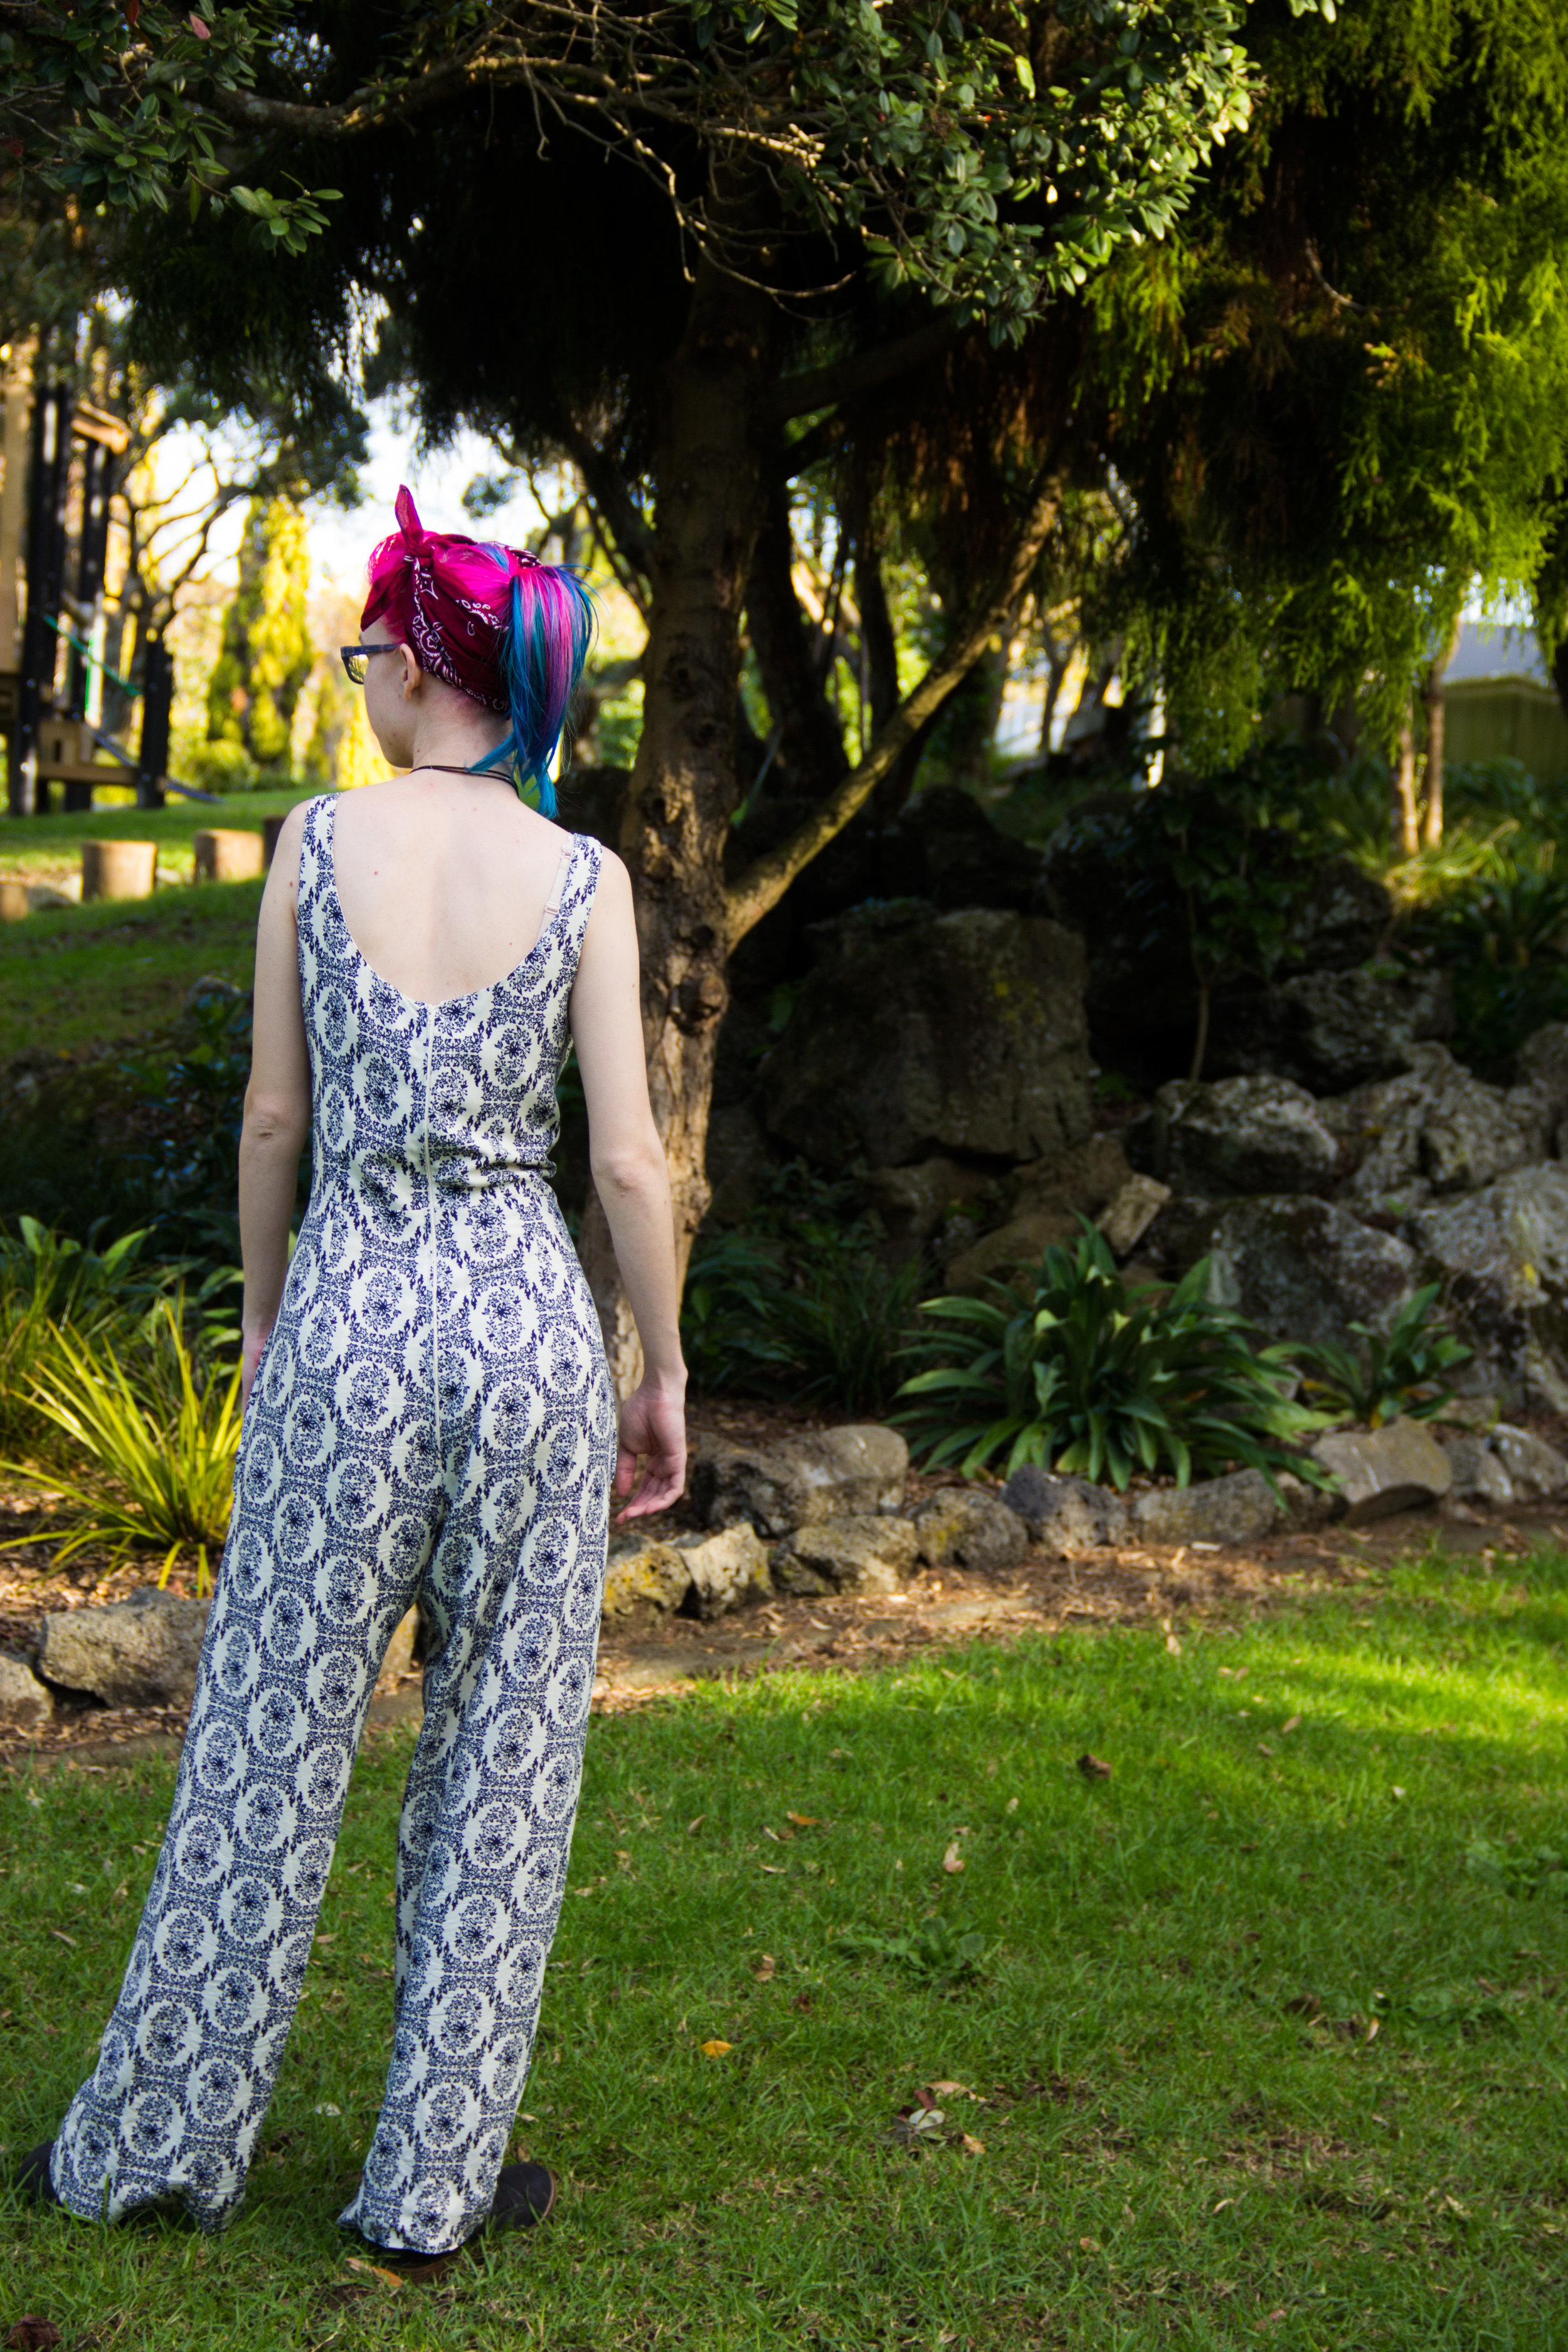
Originally, I bought this as dress fabric, but I stumbled across a jumpsuit on Pinterest that called to me, and I hatched a better idea. Who says I can't have a long-torso friendly jumpsuit? With legs that cover my ankles and room for the girls up top? My style shouldn't be influenced by my body type. This thing will make 'sitting like a lady' obsolete! Best of all, it'll have Pockets. Not the small kind, no. Pockets big enough to hold all my secrets.
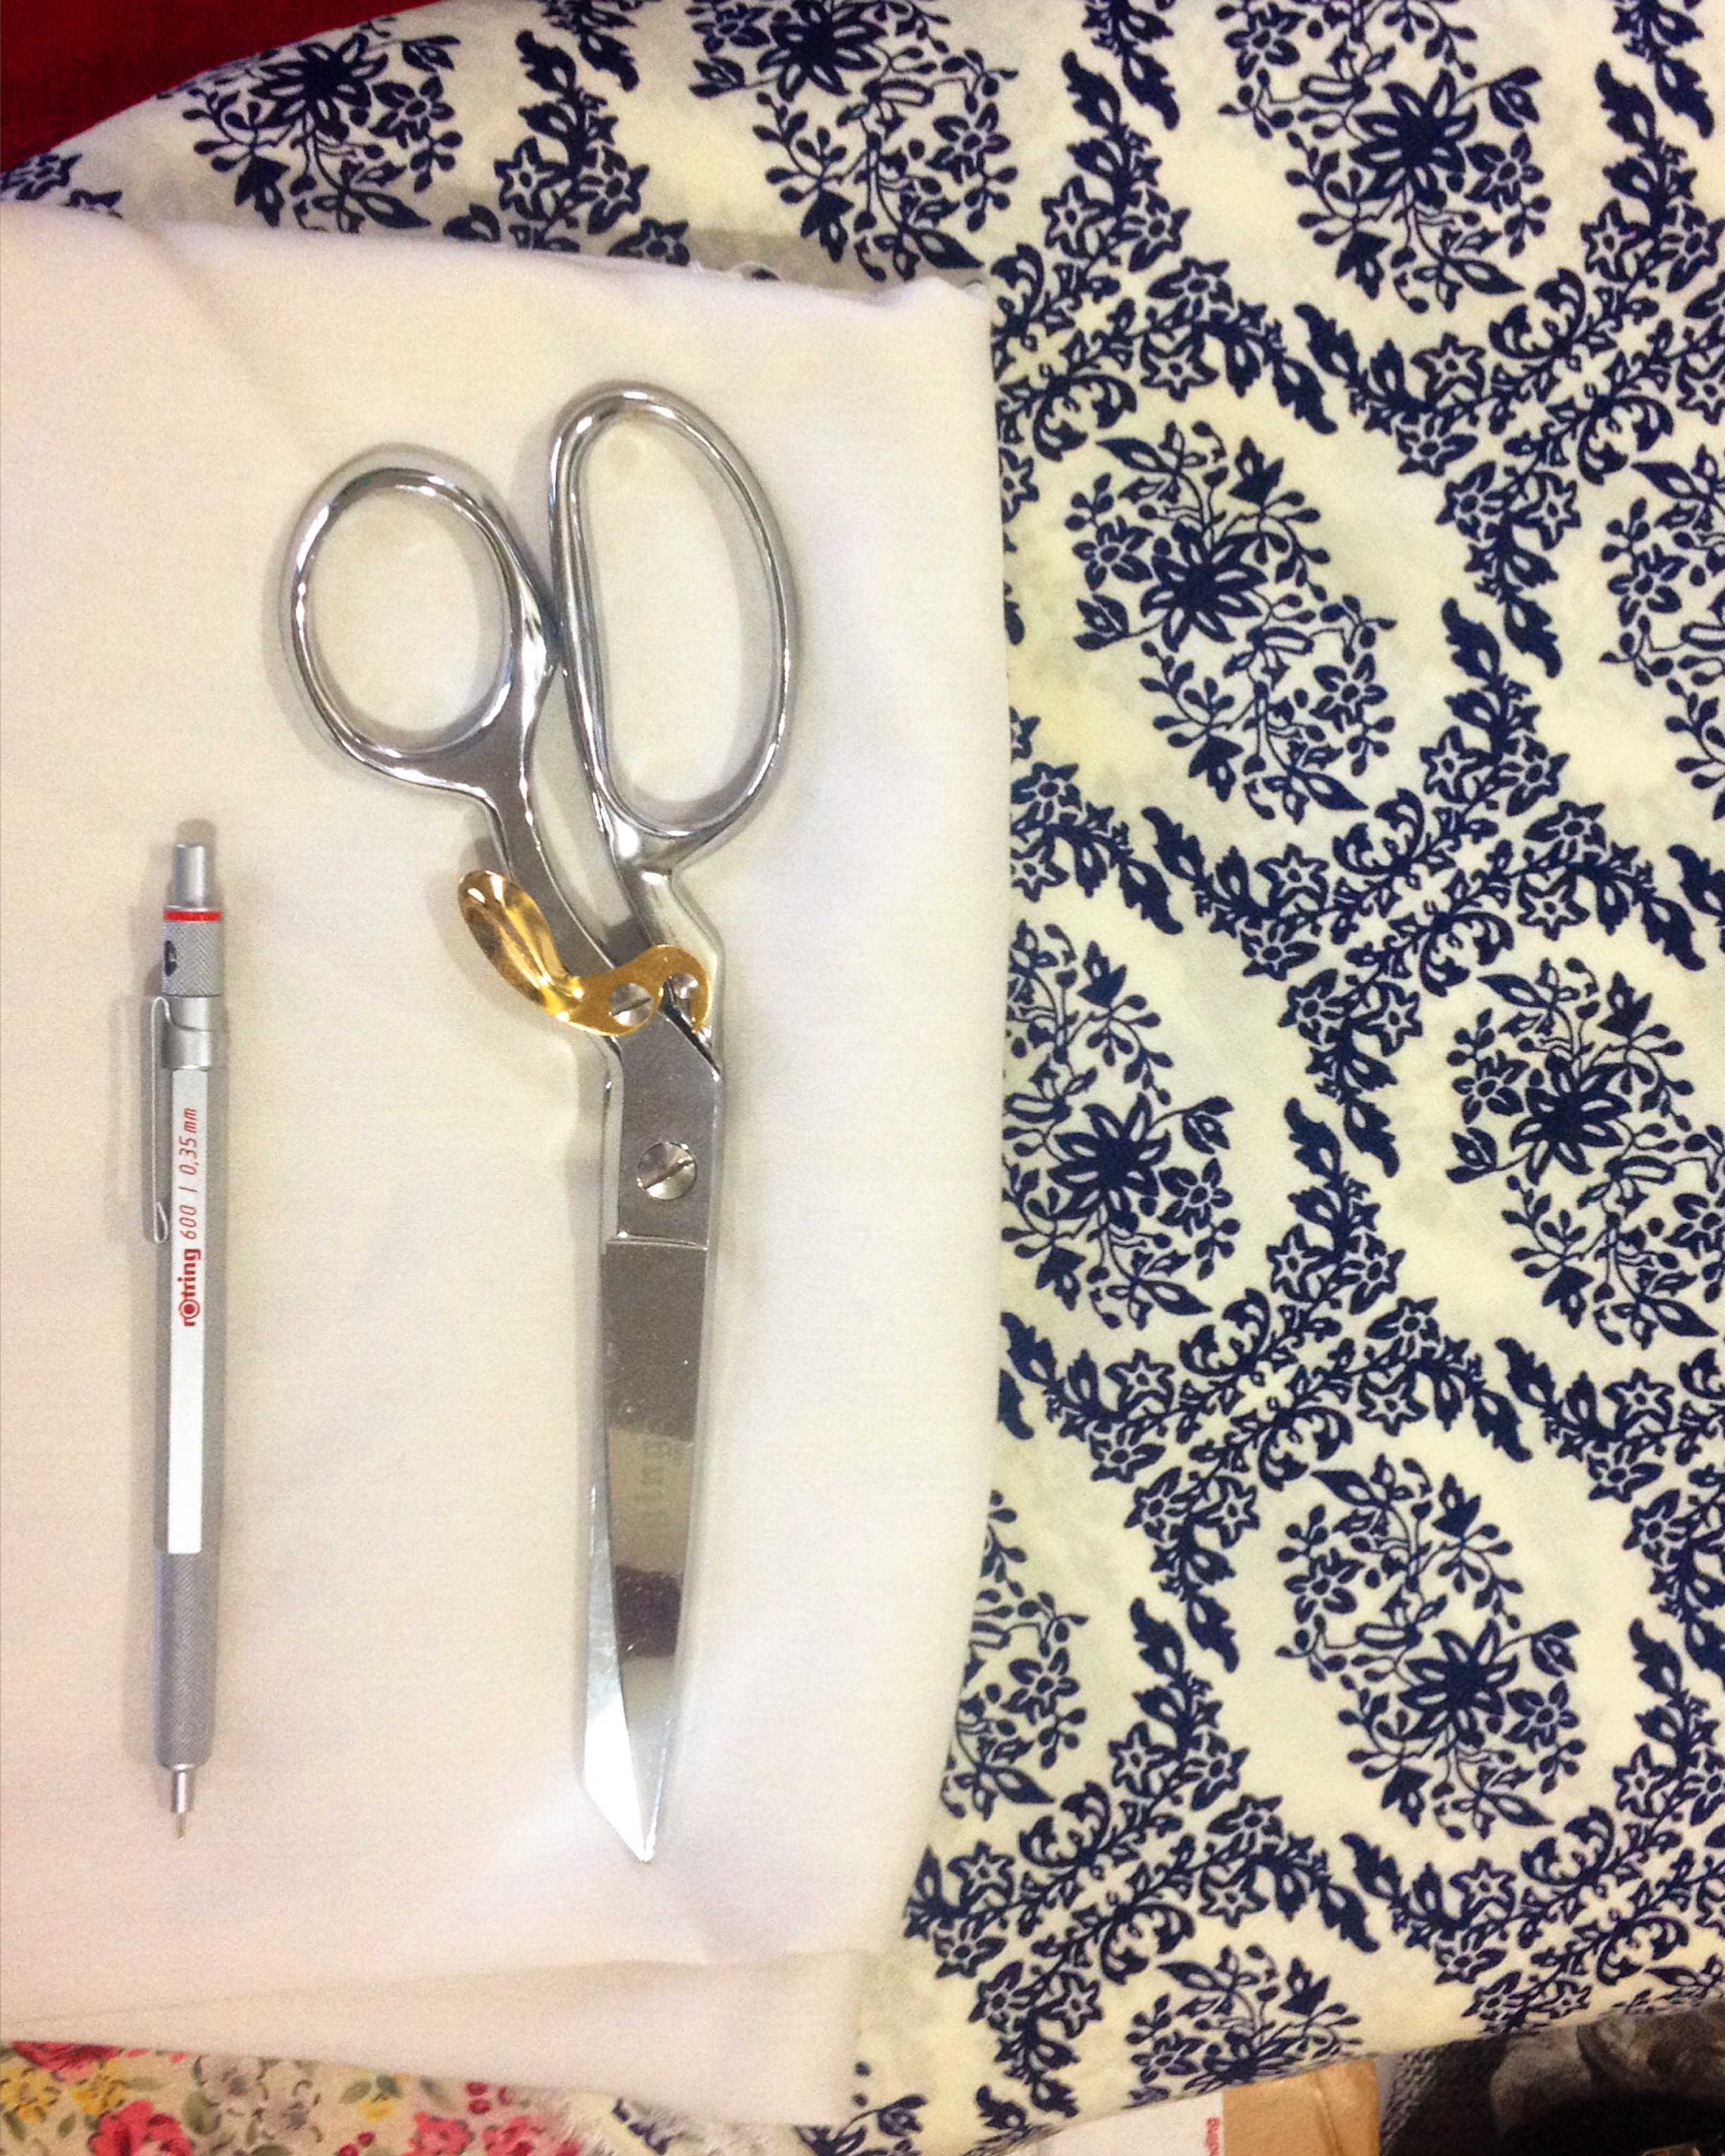
The inspiration-jumpsuit cost $59.99, but I found my fabric (100% Rayon) for $8/meter. My pattern isn't matched partially because of the darts, and partially because I came scary-close to running out of fabric, so if you don't trust yourself get an extra 1/2 meter. (You'll also need 1 meter for the lining (mine was a $4 end-of-bolt remnant that was a truly special shape indeed, a zipper, and some matching sewing thread if you haven't already got some in a scary tangled box somewhere) It took half a Saturday and a Tuesday night to draft the pattern, although most of that was starting from scratch as I didn't have a current block. The sewing took about another day, and then there I was, declaring that I was never, ever, ever going to wear anything else. Ever.
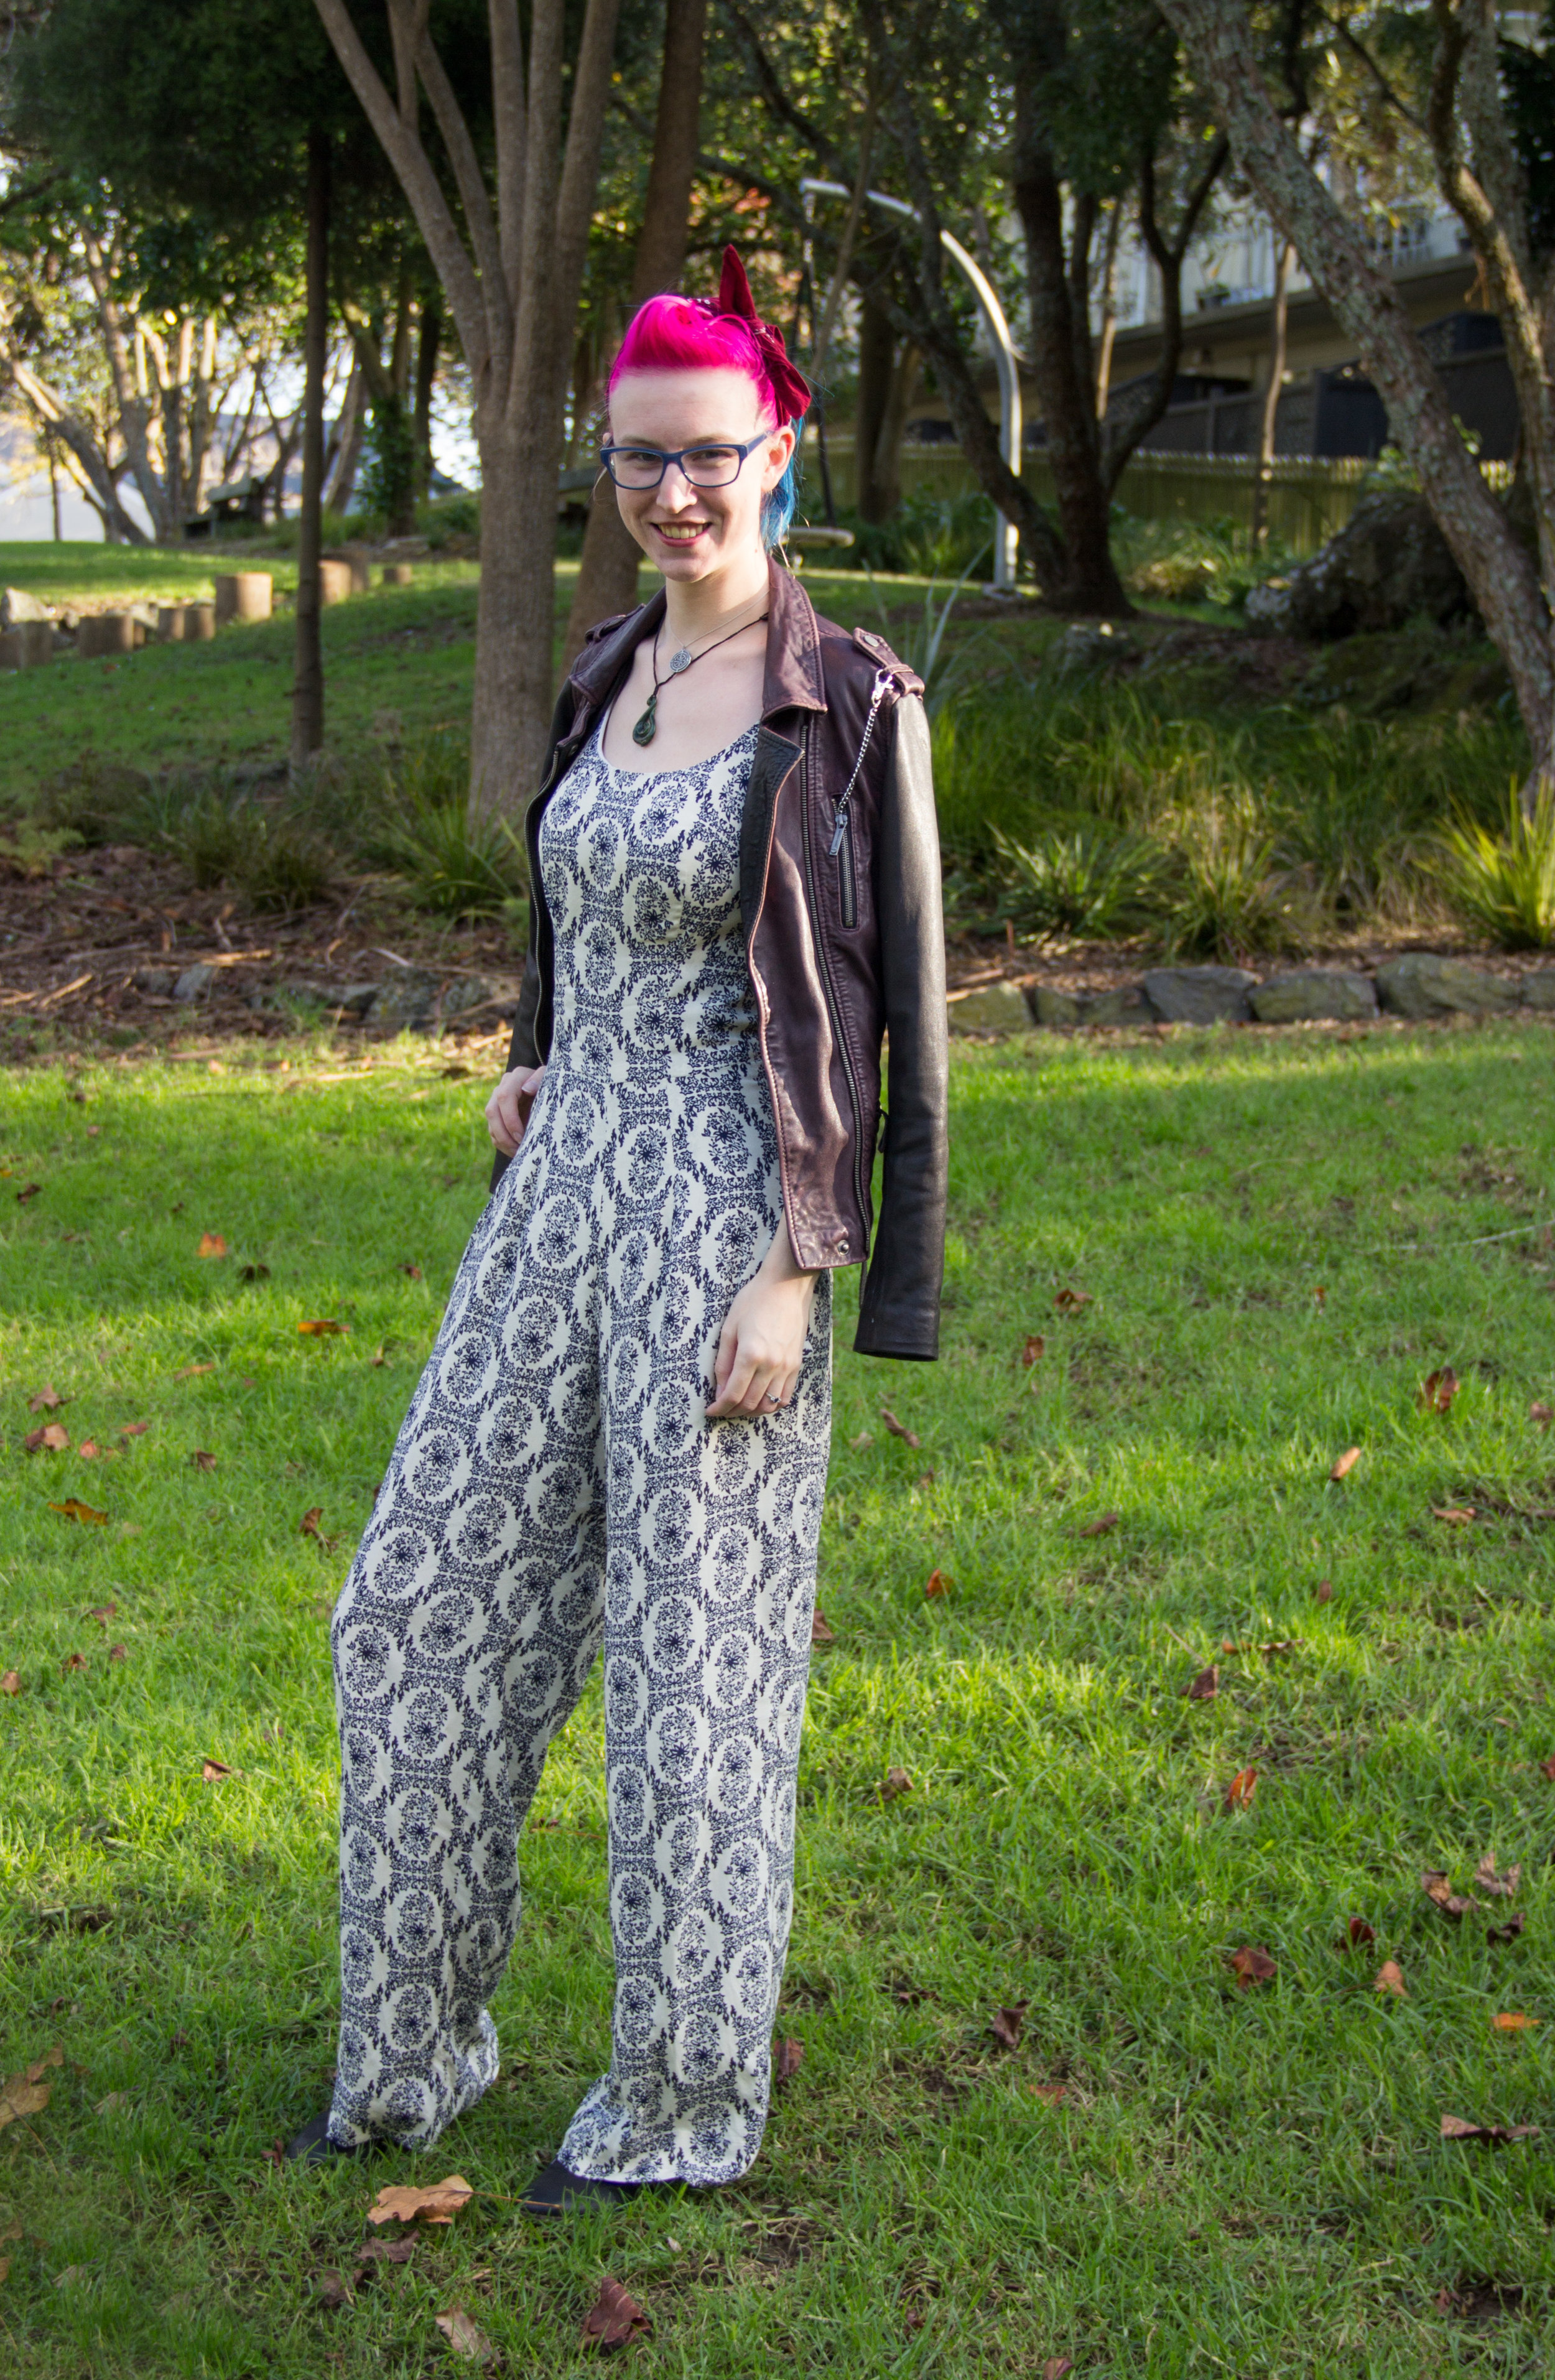
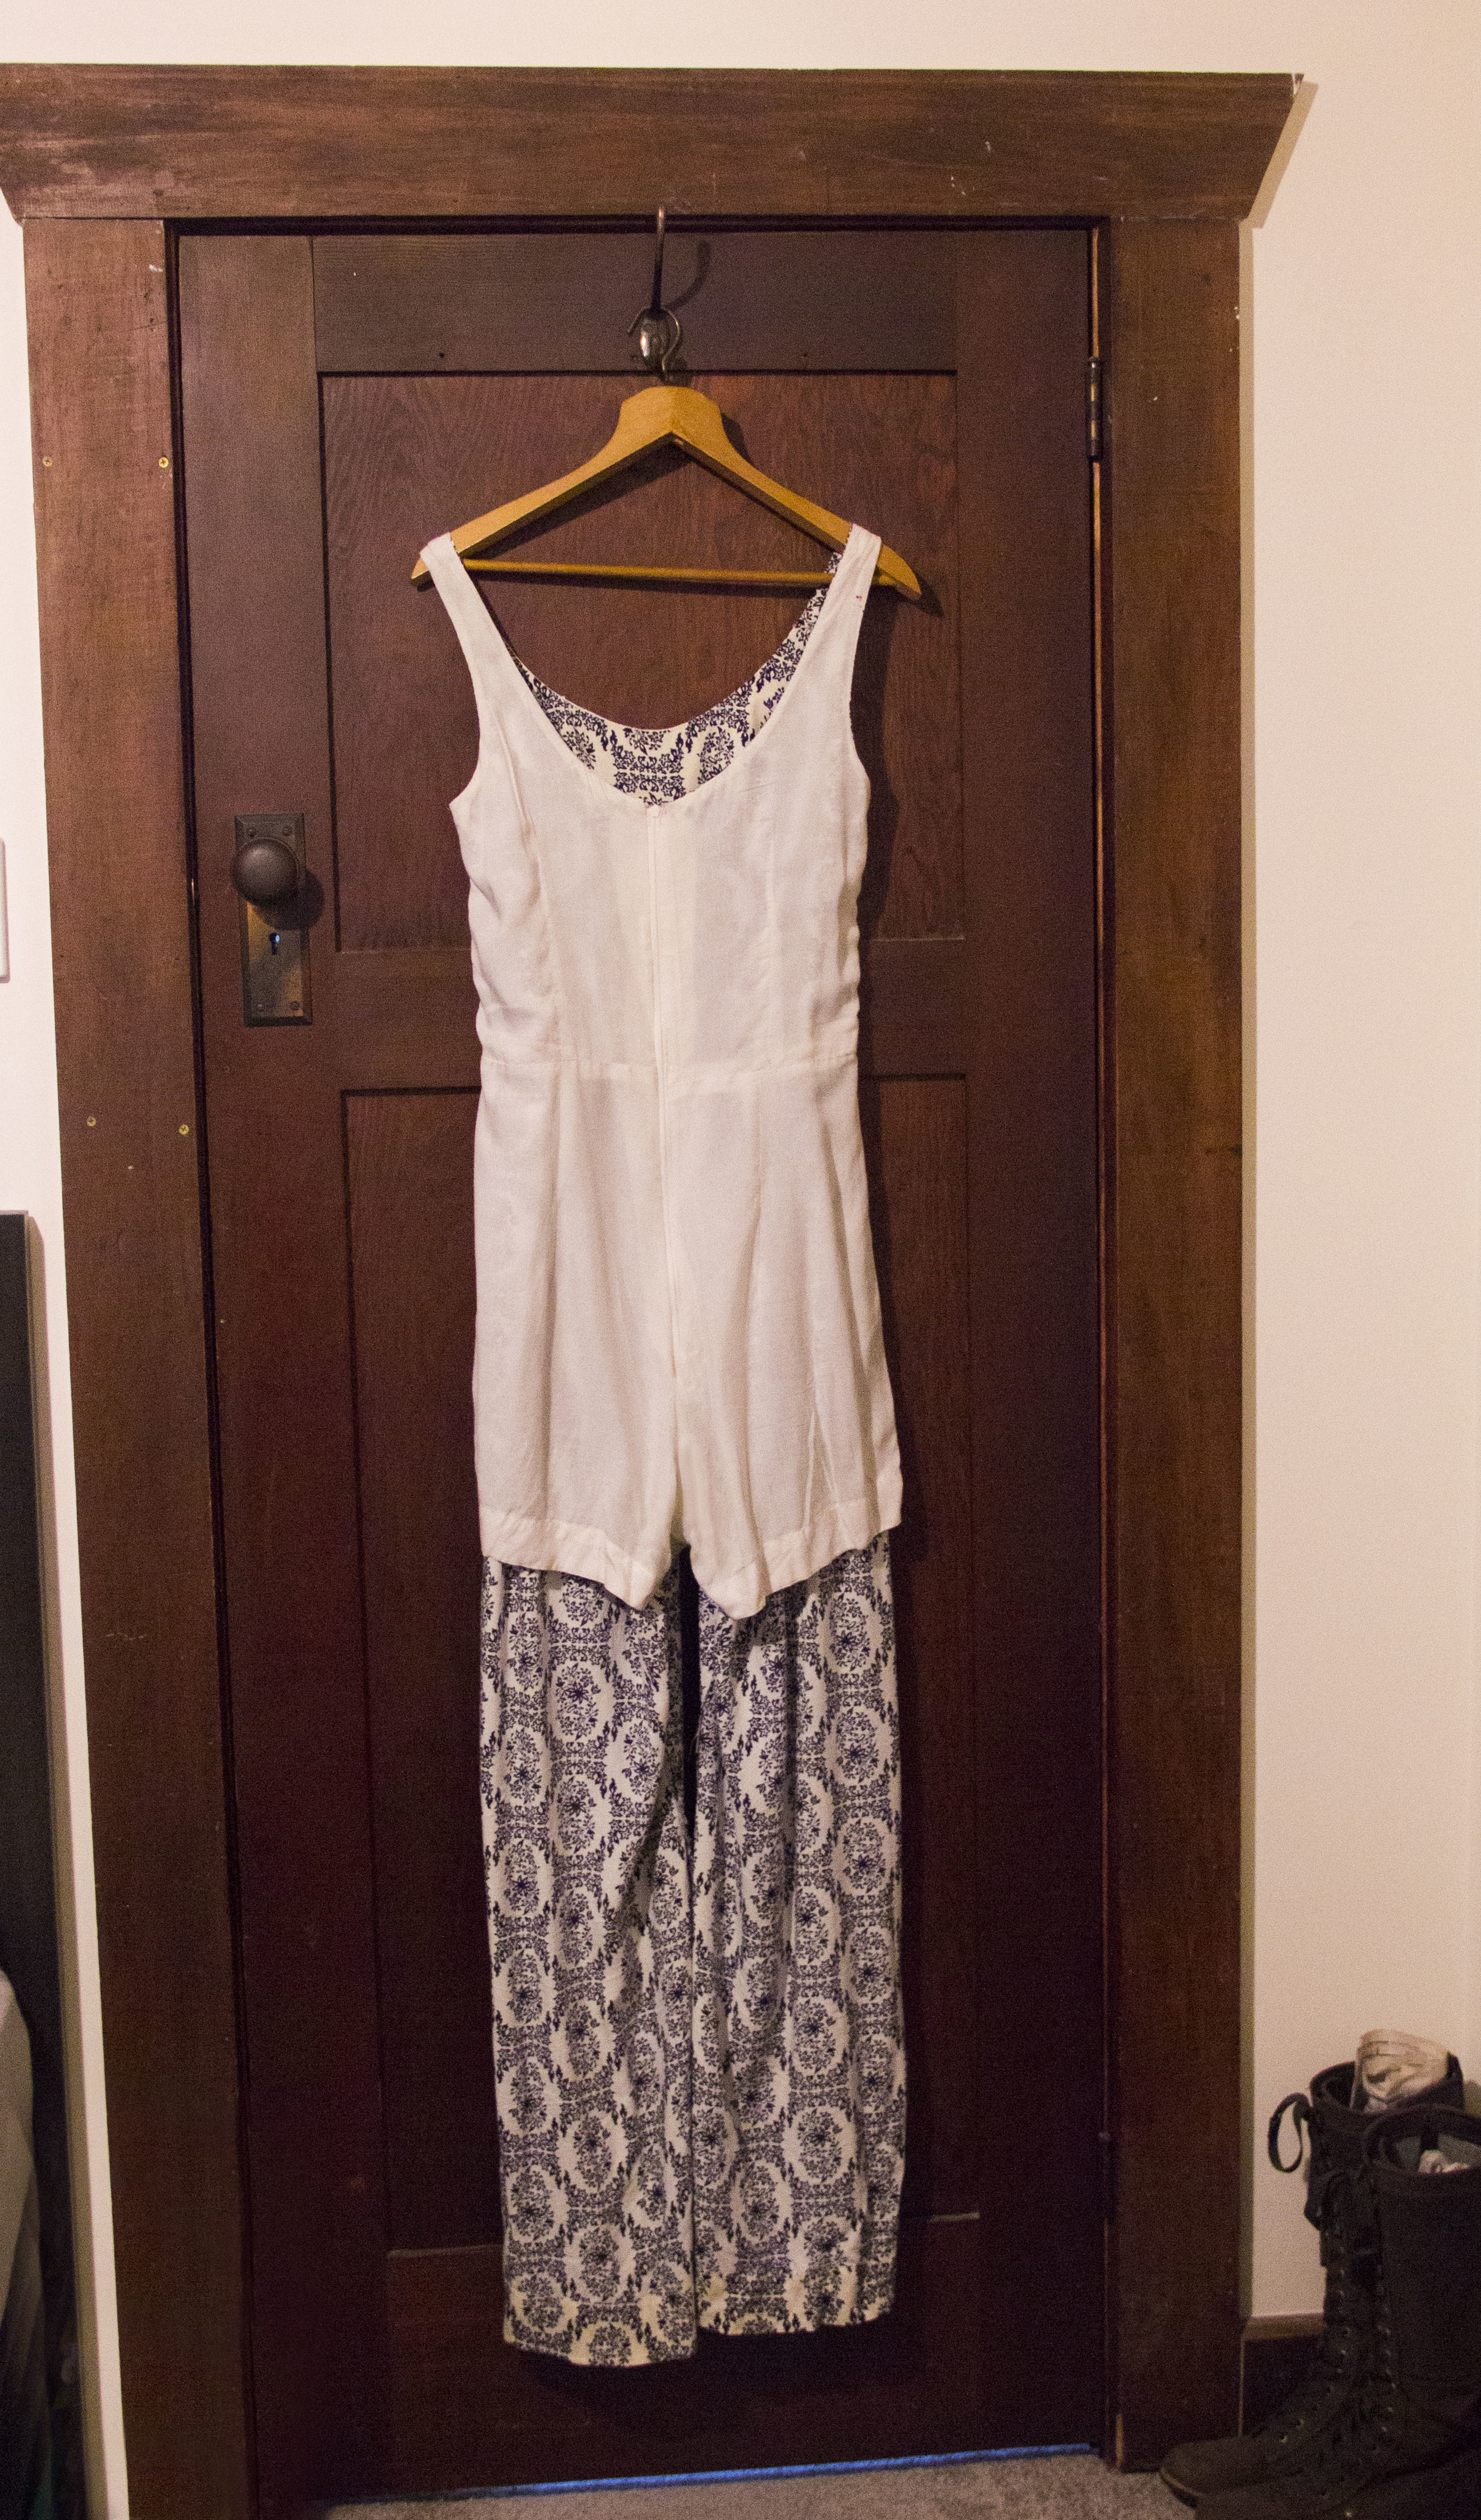
My new favorite outfit is lined with a cream colored Silk-Rayon blend that ends at shorts-length rather than continuing down the leg. This has the lovely effect of rendering the top opaque, eliminating any lines from undergarments, and making me feel like I'm being hugged by a cloud whenever I wear it. It fits just shy of snug at the top, and runs straight down with no shaping from the widest point of the hip. This gives it the swishy wide leg, and disguises any bulk that whatever it's got in its pocketses creates.
If you've been anxiously scrolling through the anecdotes of my misspent youth to find out how you, too can have the jumpsuit of your dreams, scroll no further. What follows is a basic how-I-did (how-you-should is, and always will be, up to you) - assuming that you have a pretty okay knowledge of altering things to fit your shape, and that you for the love of all things sewn please press your seams as you go.
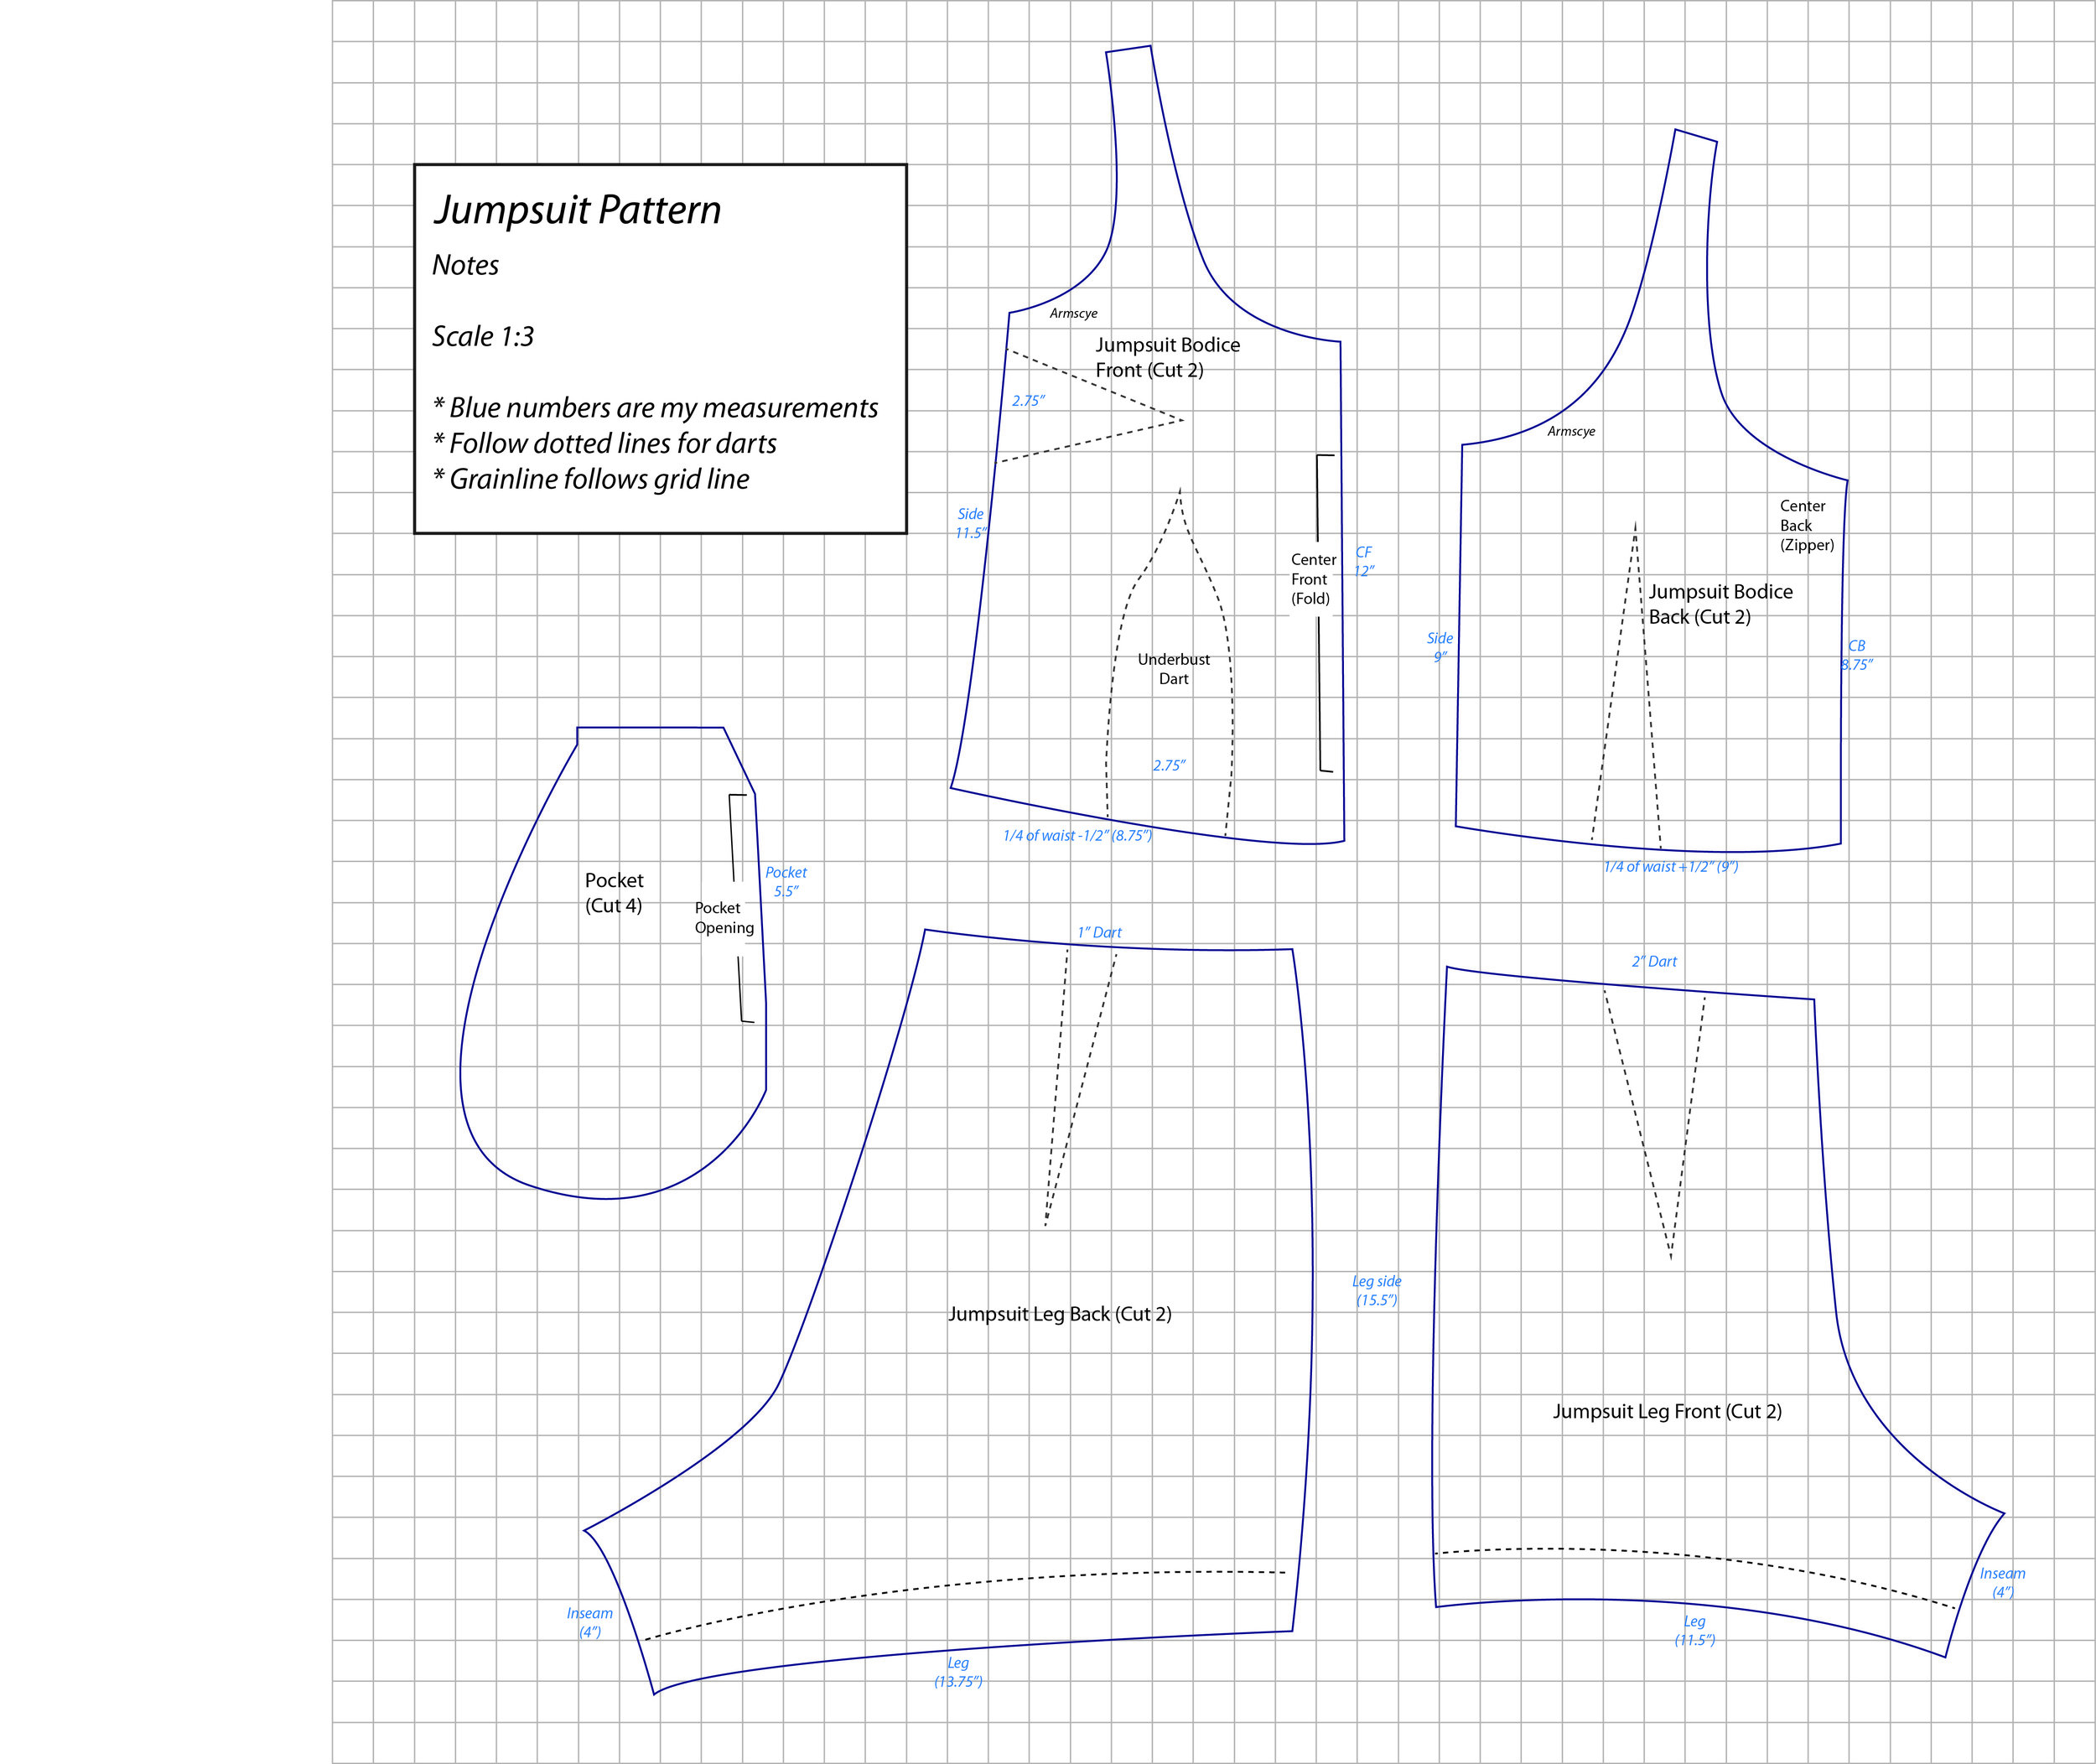
Do keep in mind that there's a solid 5" difference between my total crotch depth and the depth drafted (You'll want to keep this as it is if you intend to do any sitting in your newly minted masterpiece, otherwise you'll end up with the wedgie to end all wedgies) I drafted it at shorts-length, because I've done pants before and I know my legs don't have any odd alteration requirements, but you do you. For the bottom lining, I cut a set of pieces to the length of my pattern, and for the outer itself, I cut the pieces straight down the grainline from the pattern with a 37" inseam (my usual 35" and 2" for a wide hem), cut the outer leg line straight down until even with the inseam, and trimmed across at the hem.
I hold my hips in a way that defies logic, and my knees knock slightly if I'm not paying attention to them, but the wide leg of this design disguises that without any wayward wrinkles, so I'd imagine your difficulty won't lie in the legs, if anywhere at all.
You'll want to use your measurements in place of mine, and definitely make a muslin before you start cutting into your precious fabric (even if you got it on sale!). Feel free to add whatever seam allowance you desire - I used an inch for the side and center back seams to facilitate future alterations - and then sew those pieces together! I'd recommend doing the bodice and pants separately (don't forget your pockets!), then attaching the waist seam, then the zipper (mine is lapped, yours can be invisible if you like, extend it down a bit past the widest part of the hip), and finally the hem and edge finishing.
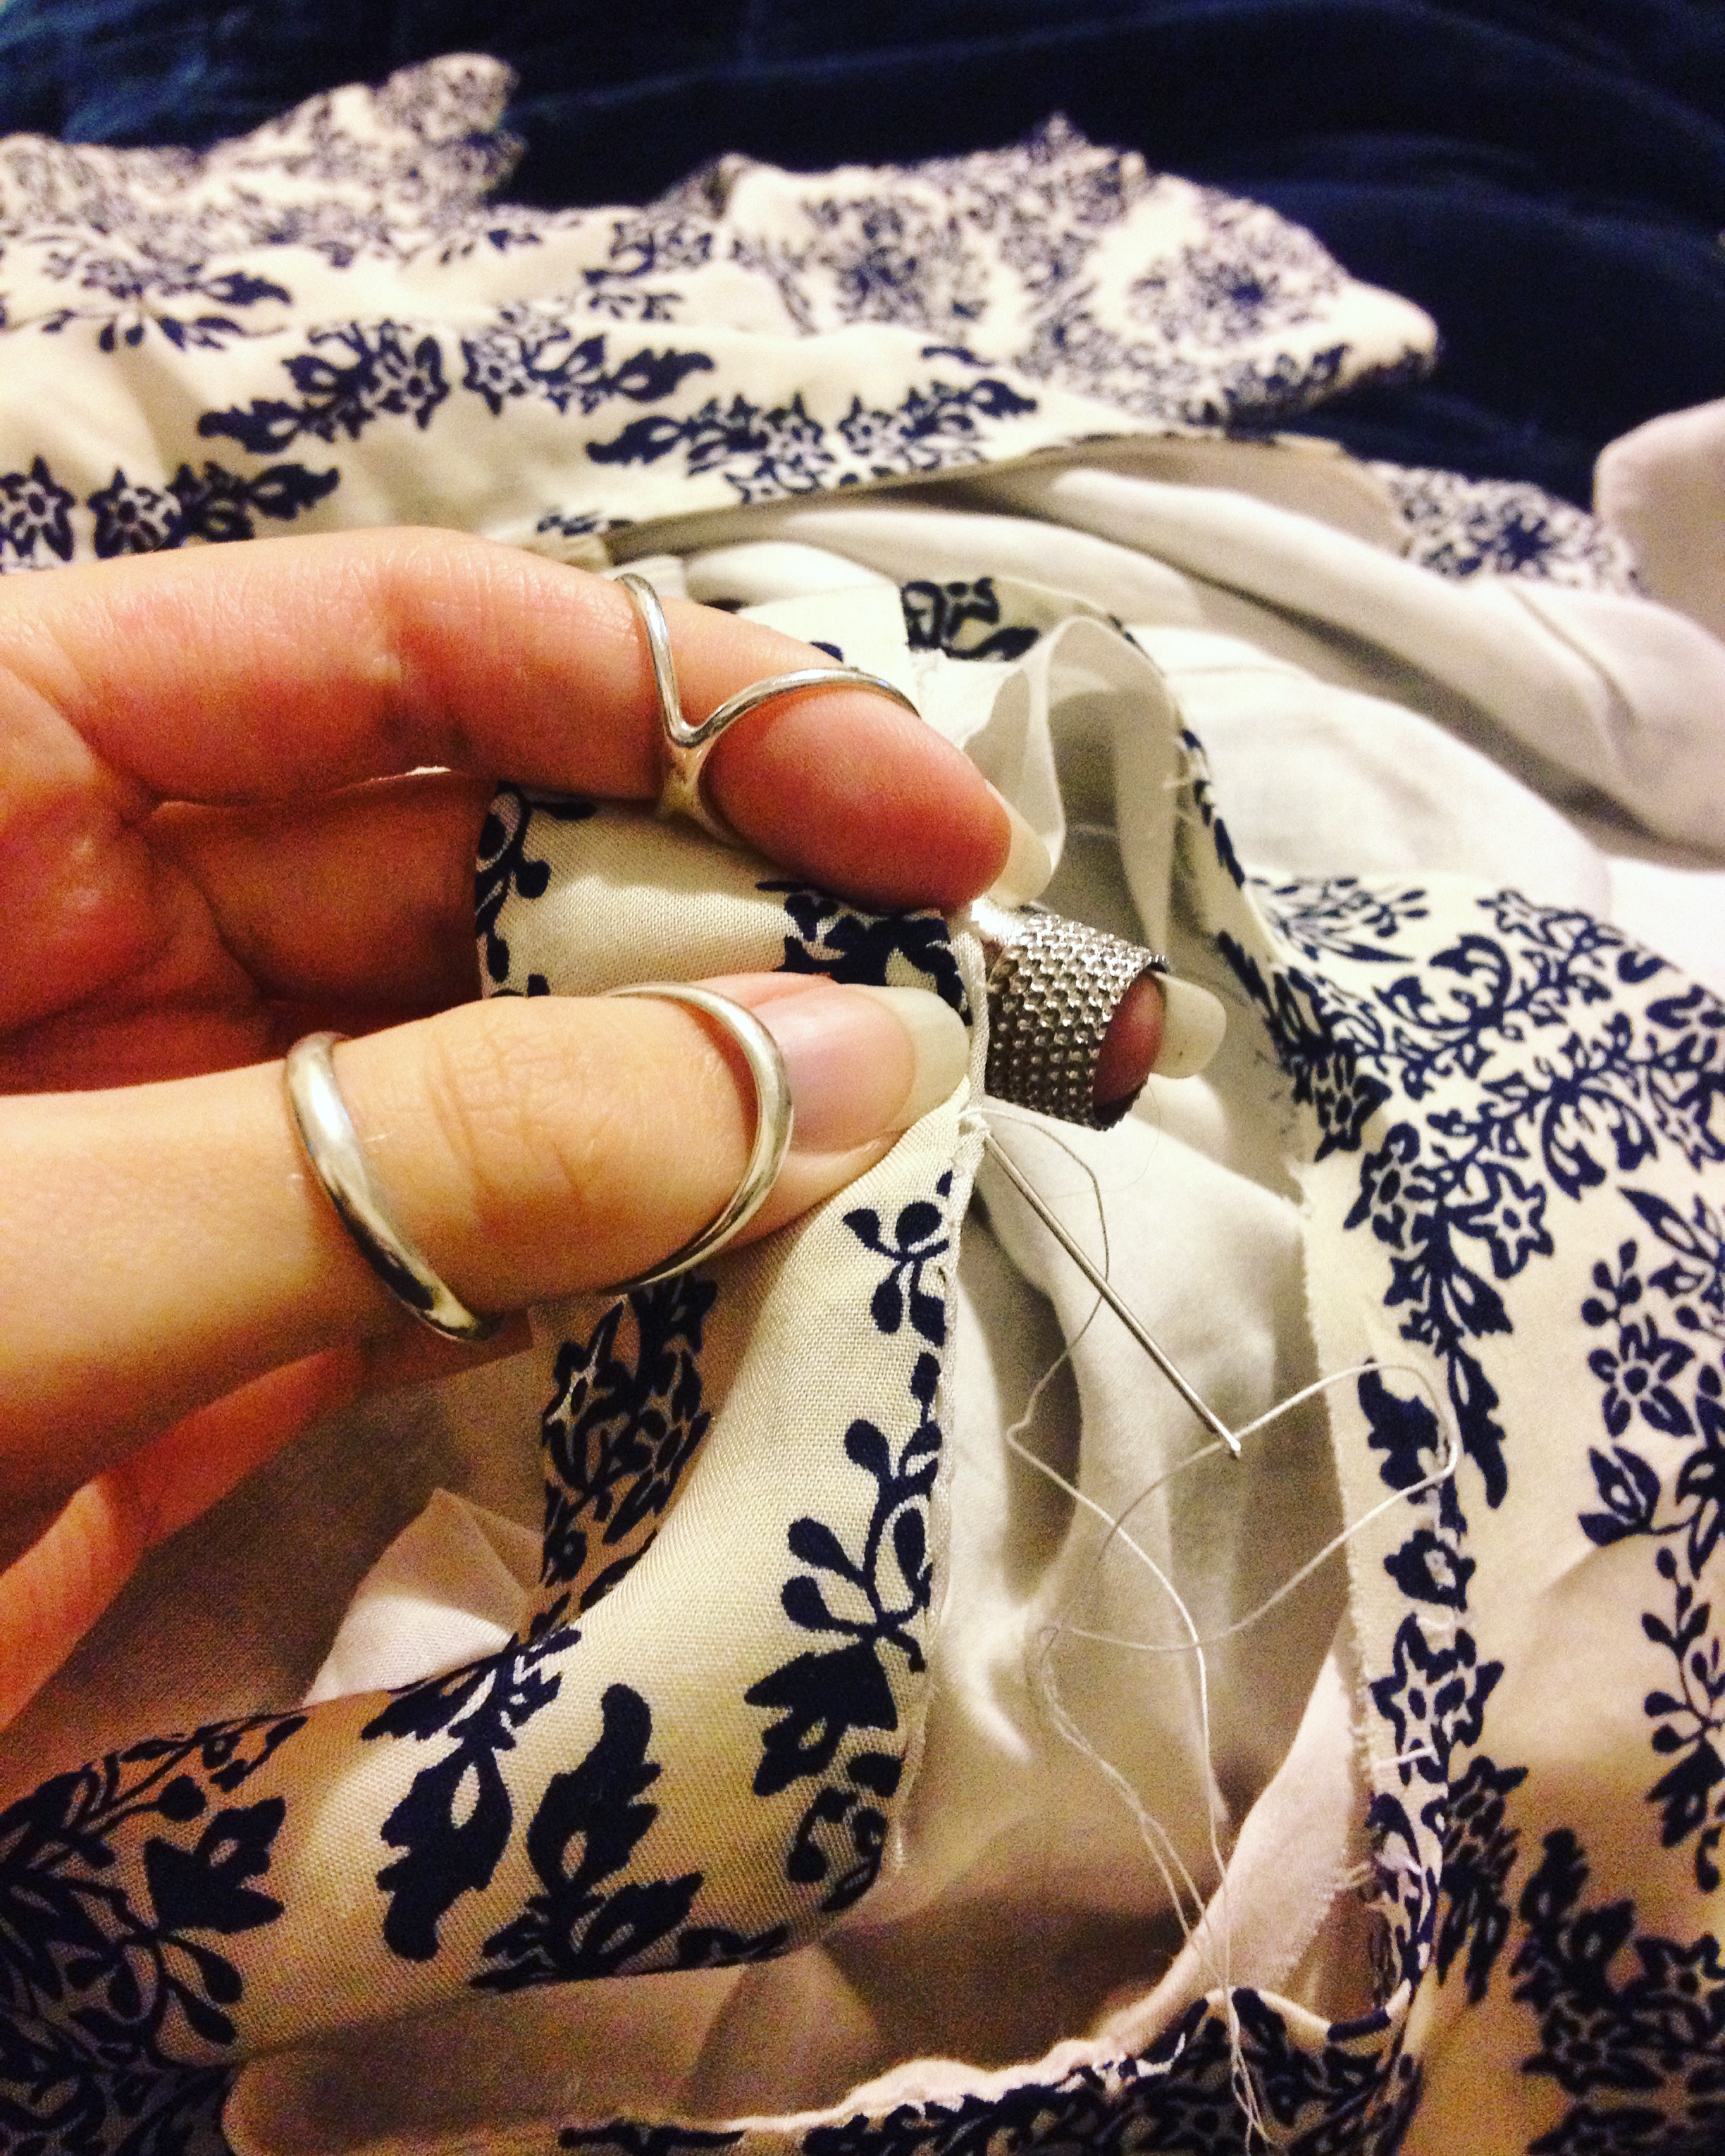
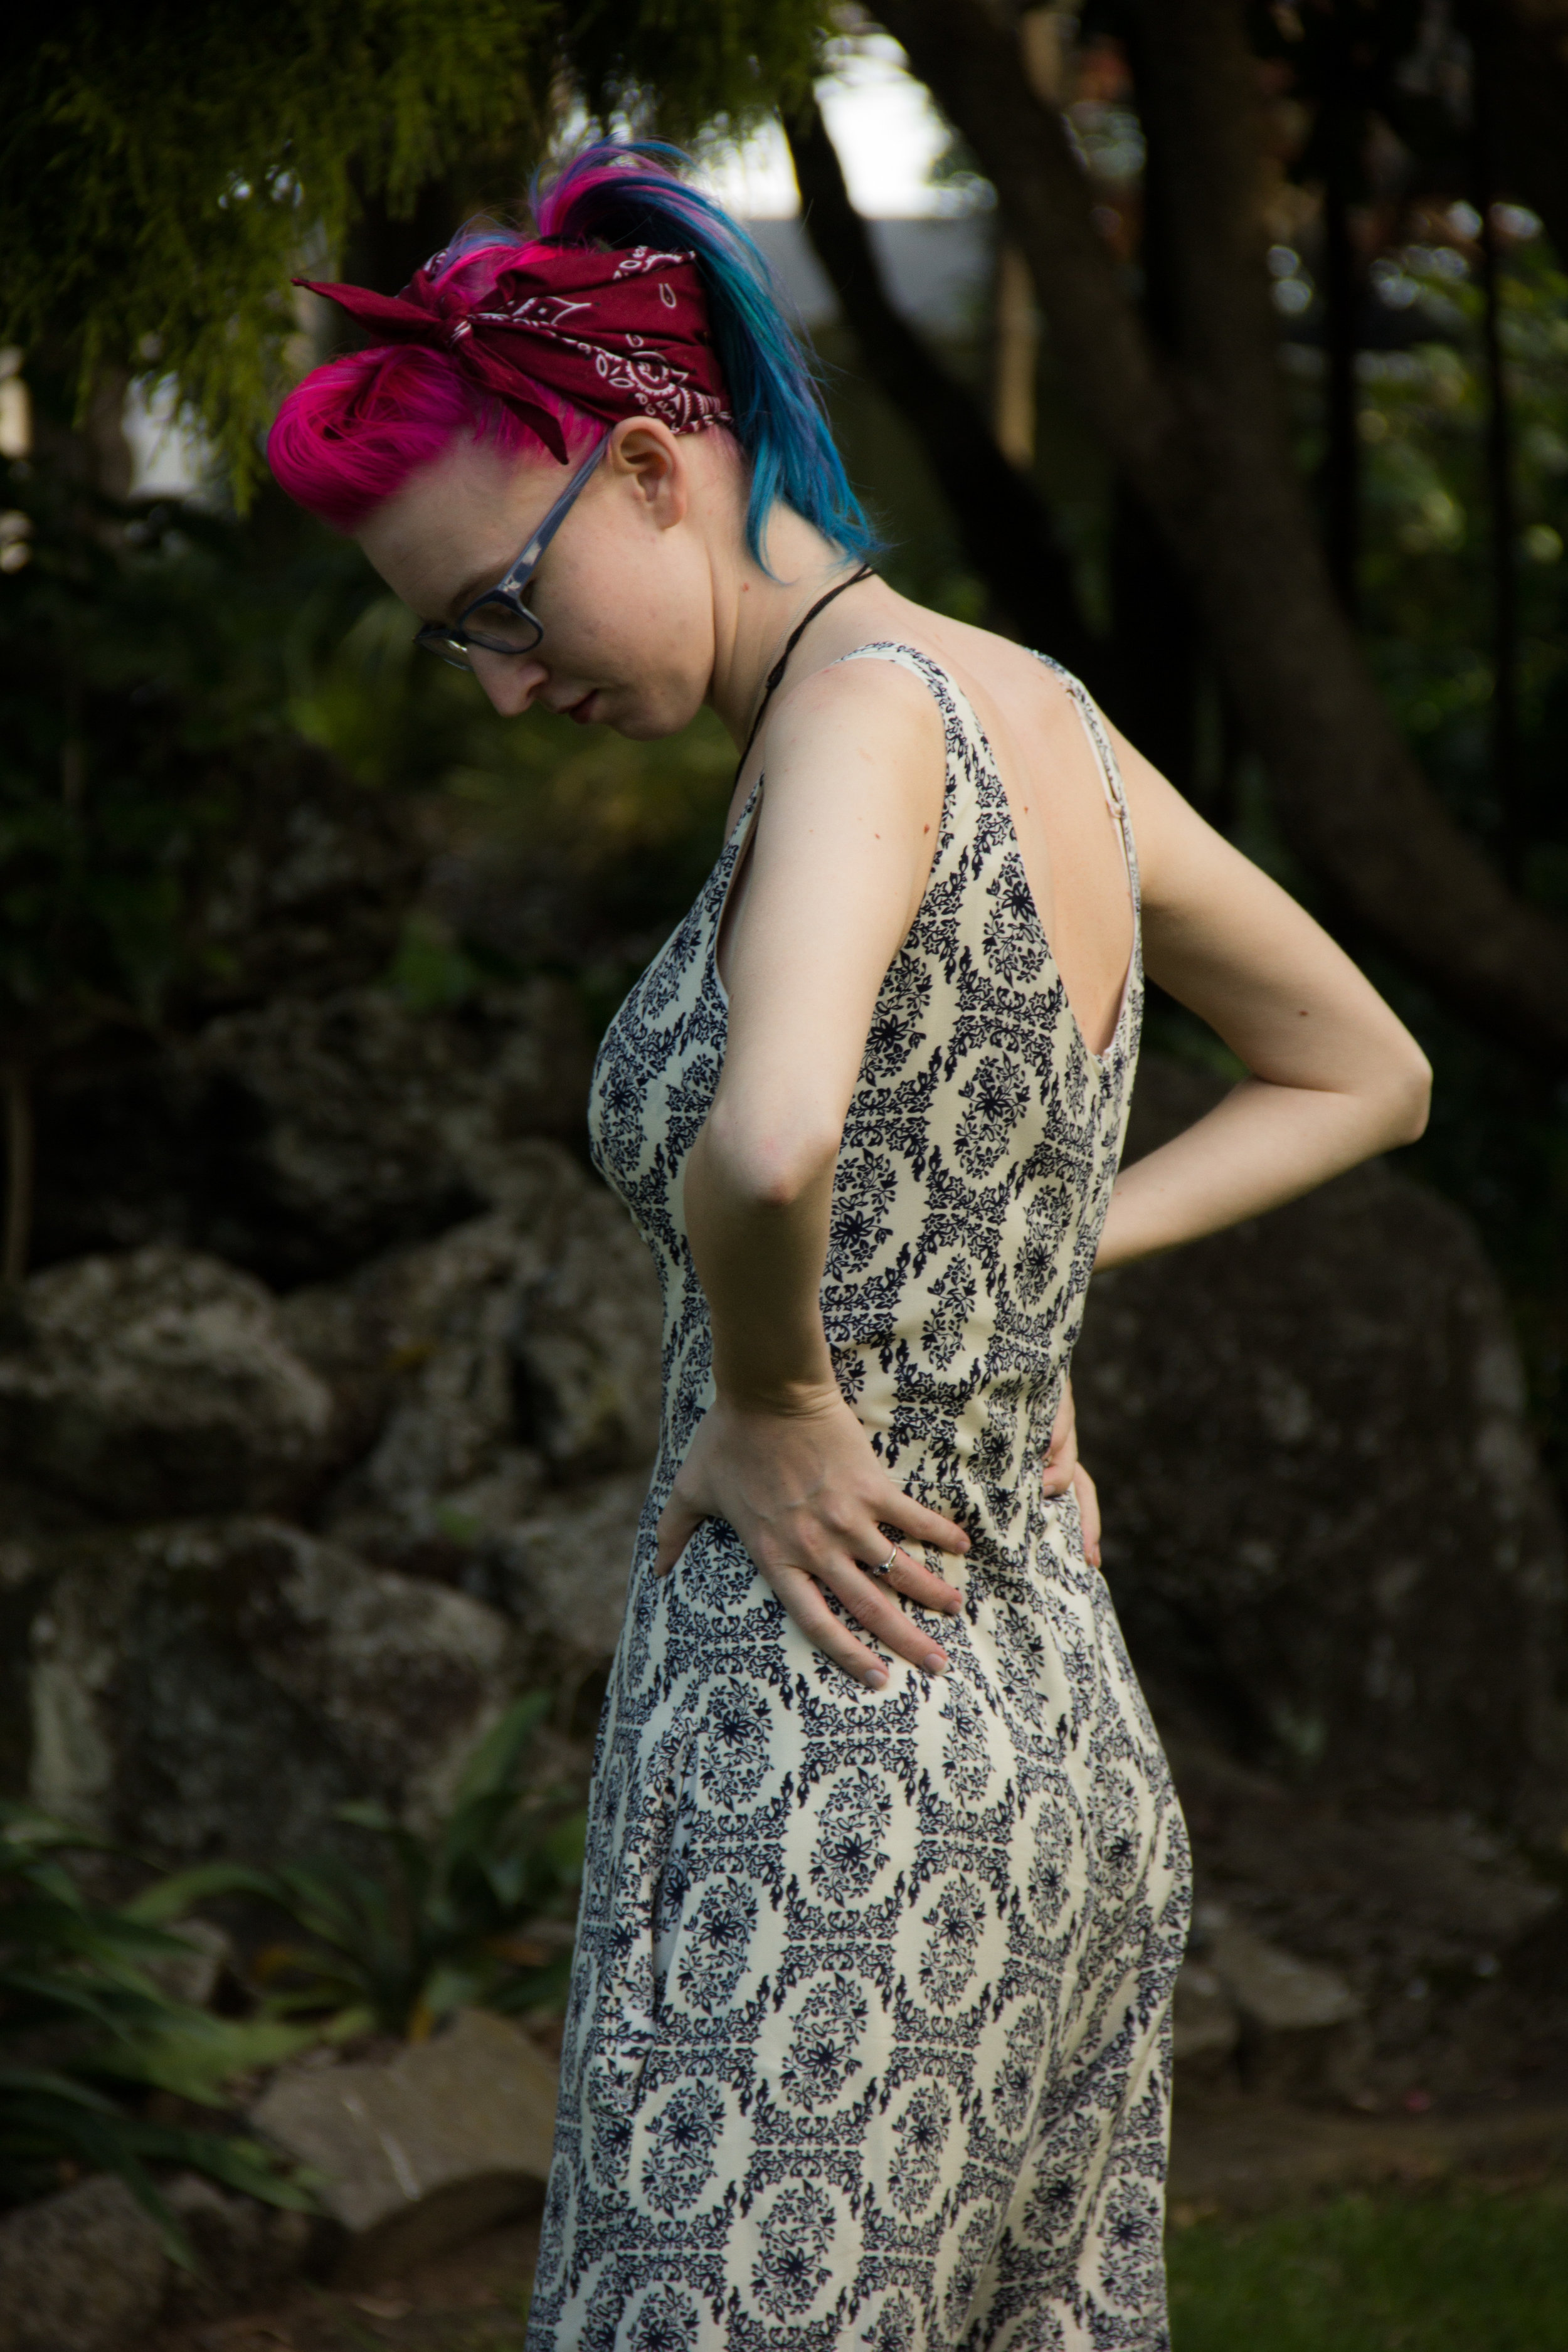
A quick note on edge finishing - I didn't remember to do armholes before side seams, so I hand stitched the armholes (not too tragic, I do love hand sewing) but you can be smarter! Also, once you've sewn the lining and outer neck pieces together and snipped your curves, you'll want to press the seam towards the lining and sew a line of topstitching about 1/8" in on the lining side. A quick press later, and this will keep your neckline lying nice and flat, without gaping and exposing any of your lining.
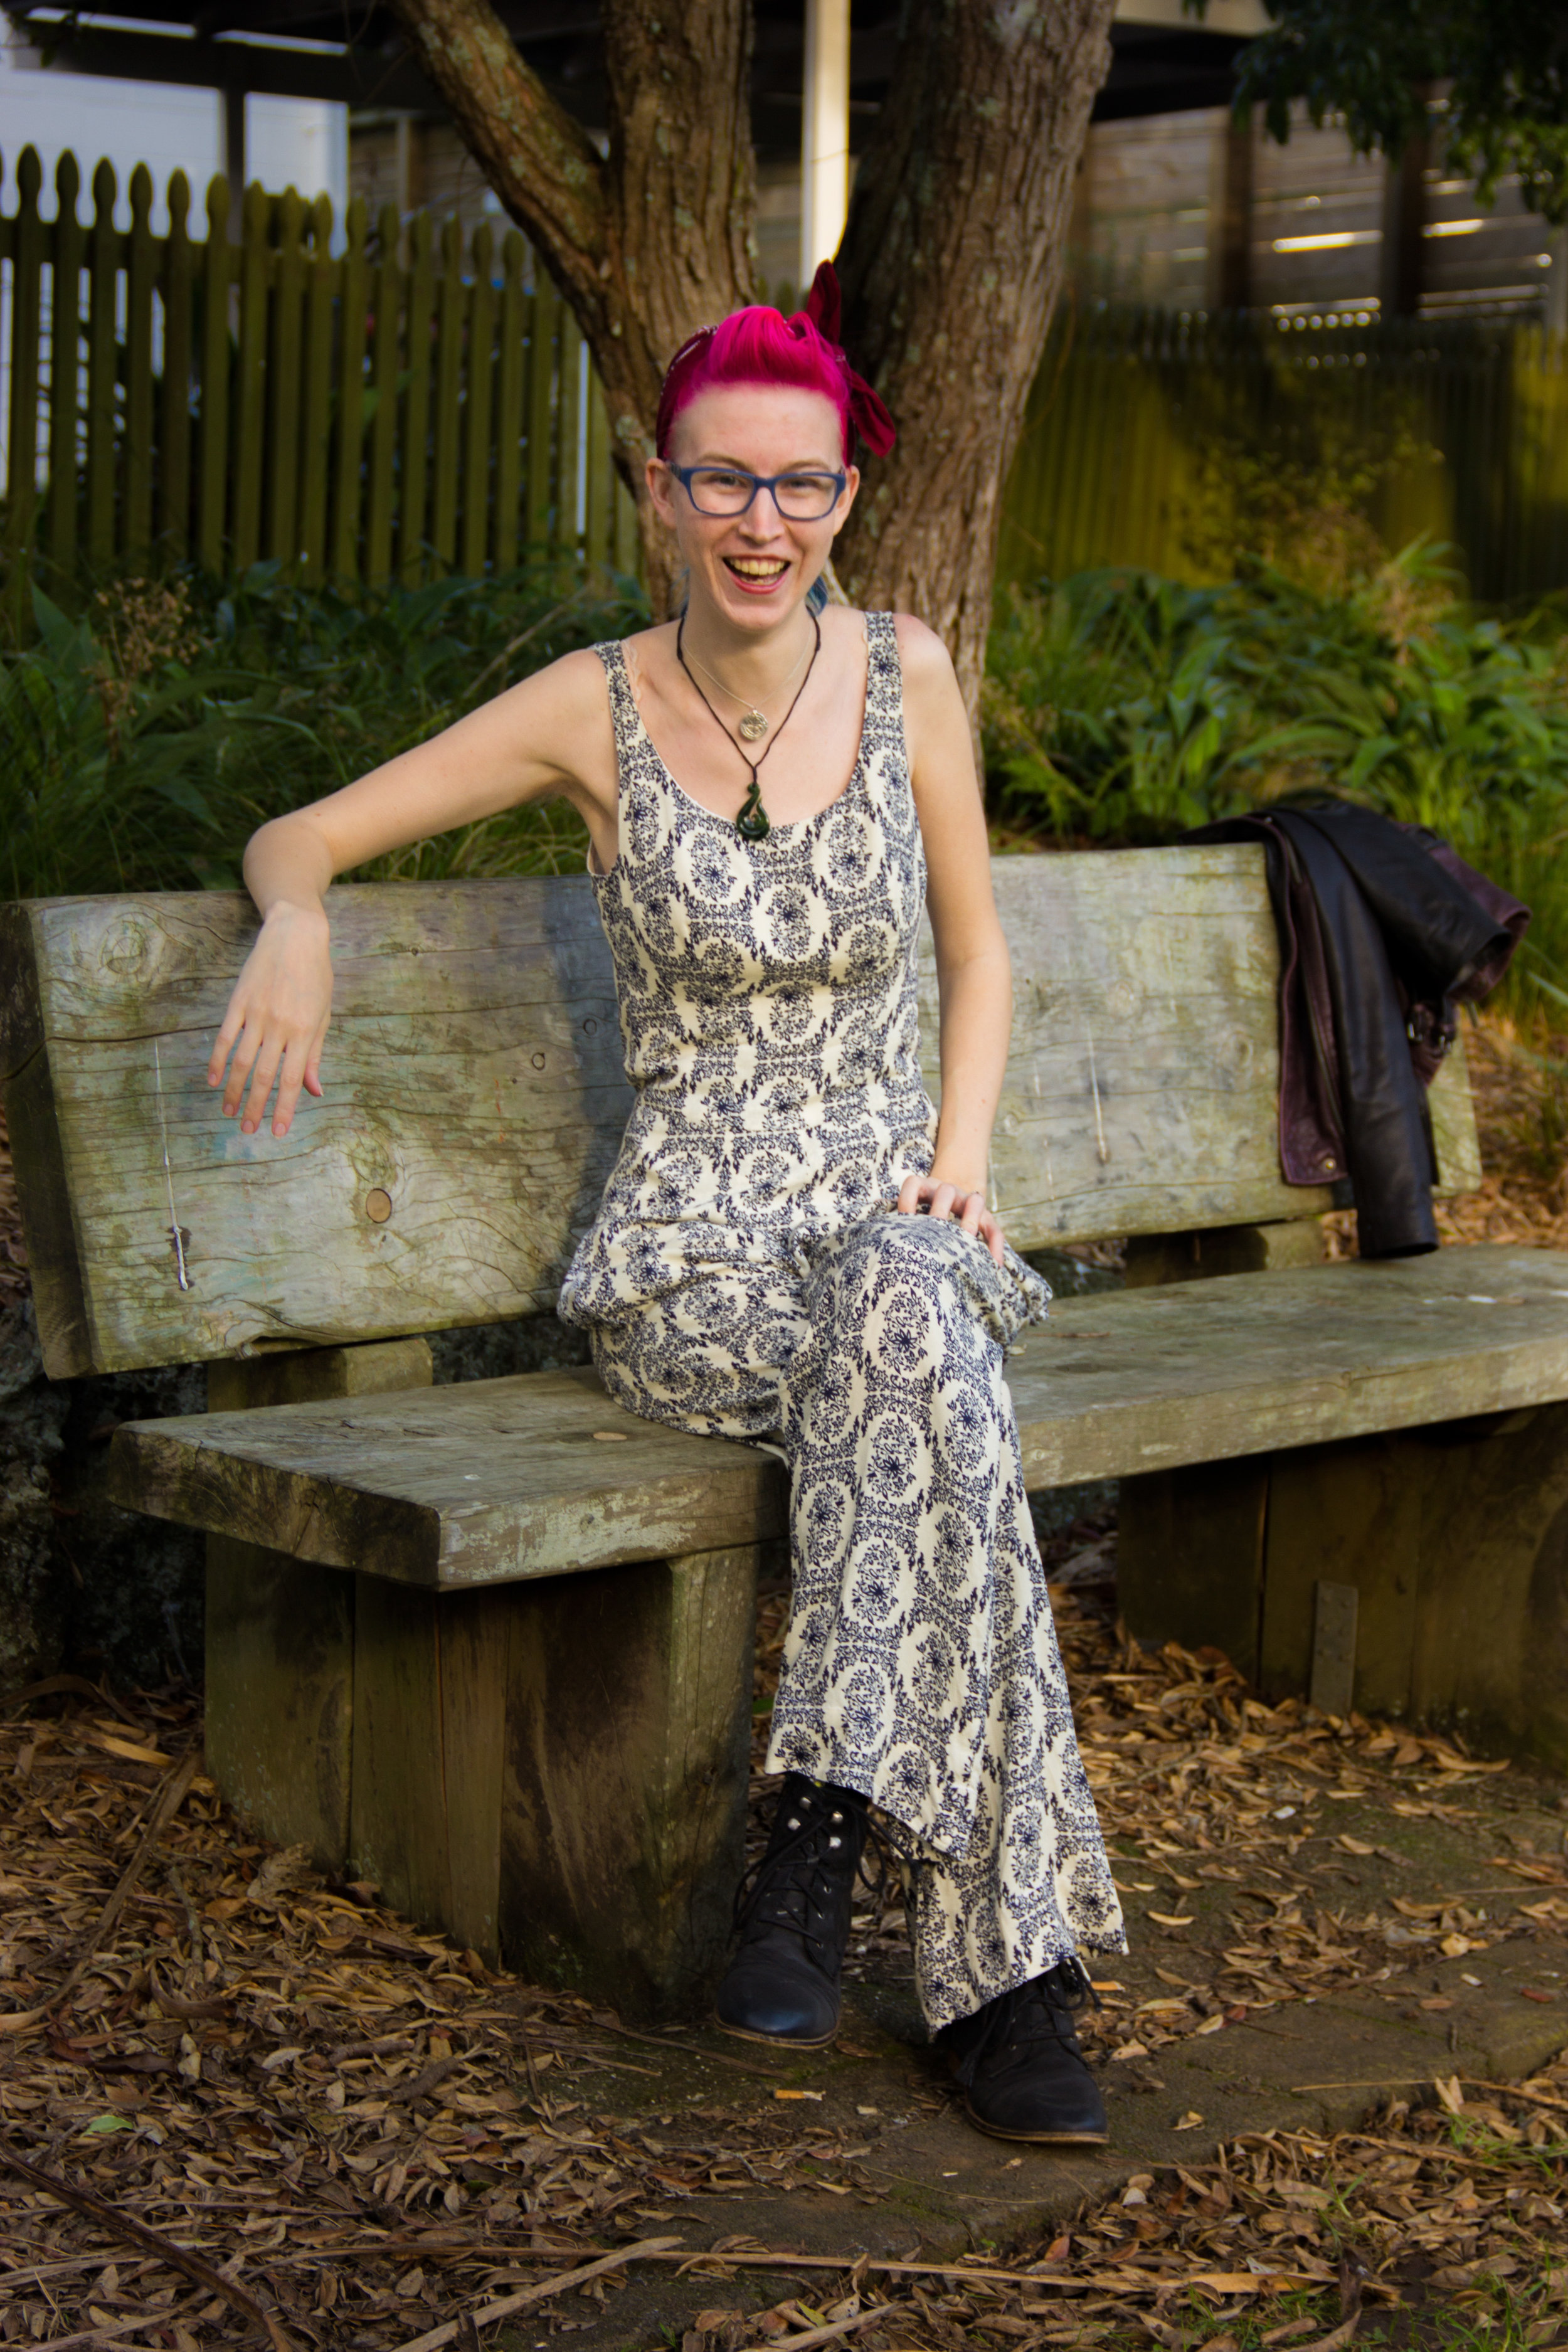
And Voila! You can throw it on in the morning without worrying about anything matching, it's flowy but you can still take it for walks on windblown beaches without worrying about flashing strangers your undies, and best of all, it has pockets. Pockets big enough to hold all of your secrets.
If I went and apologized every time there was a huge, unexplained gap between my posts, it would be all I'd ever do. I've been working on loads of new projects, though, and there have been some pretty exciting Life Events lately that I'd love to share with you, so hopefully you'll put up with me as I try to keep all my metaphorical balloons from floating away at once.
If you have questions about the jumpsuit pattern, or have fitting issues, leave a comment and I'll help you out!