
You know when you're shopping, or browsing online, and you see something really pretty, except it has some fatal flaw, like it only comes in fluoro orange, or you hate 3/4 sleeves, or it's too short? Something that reminds you why you (might want to or do already) make your own clothes? My fatal flaw is halter tops.
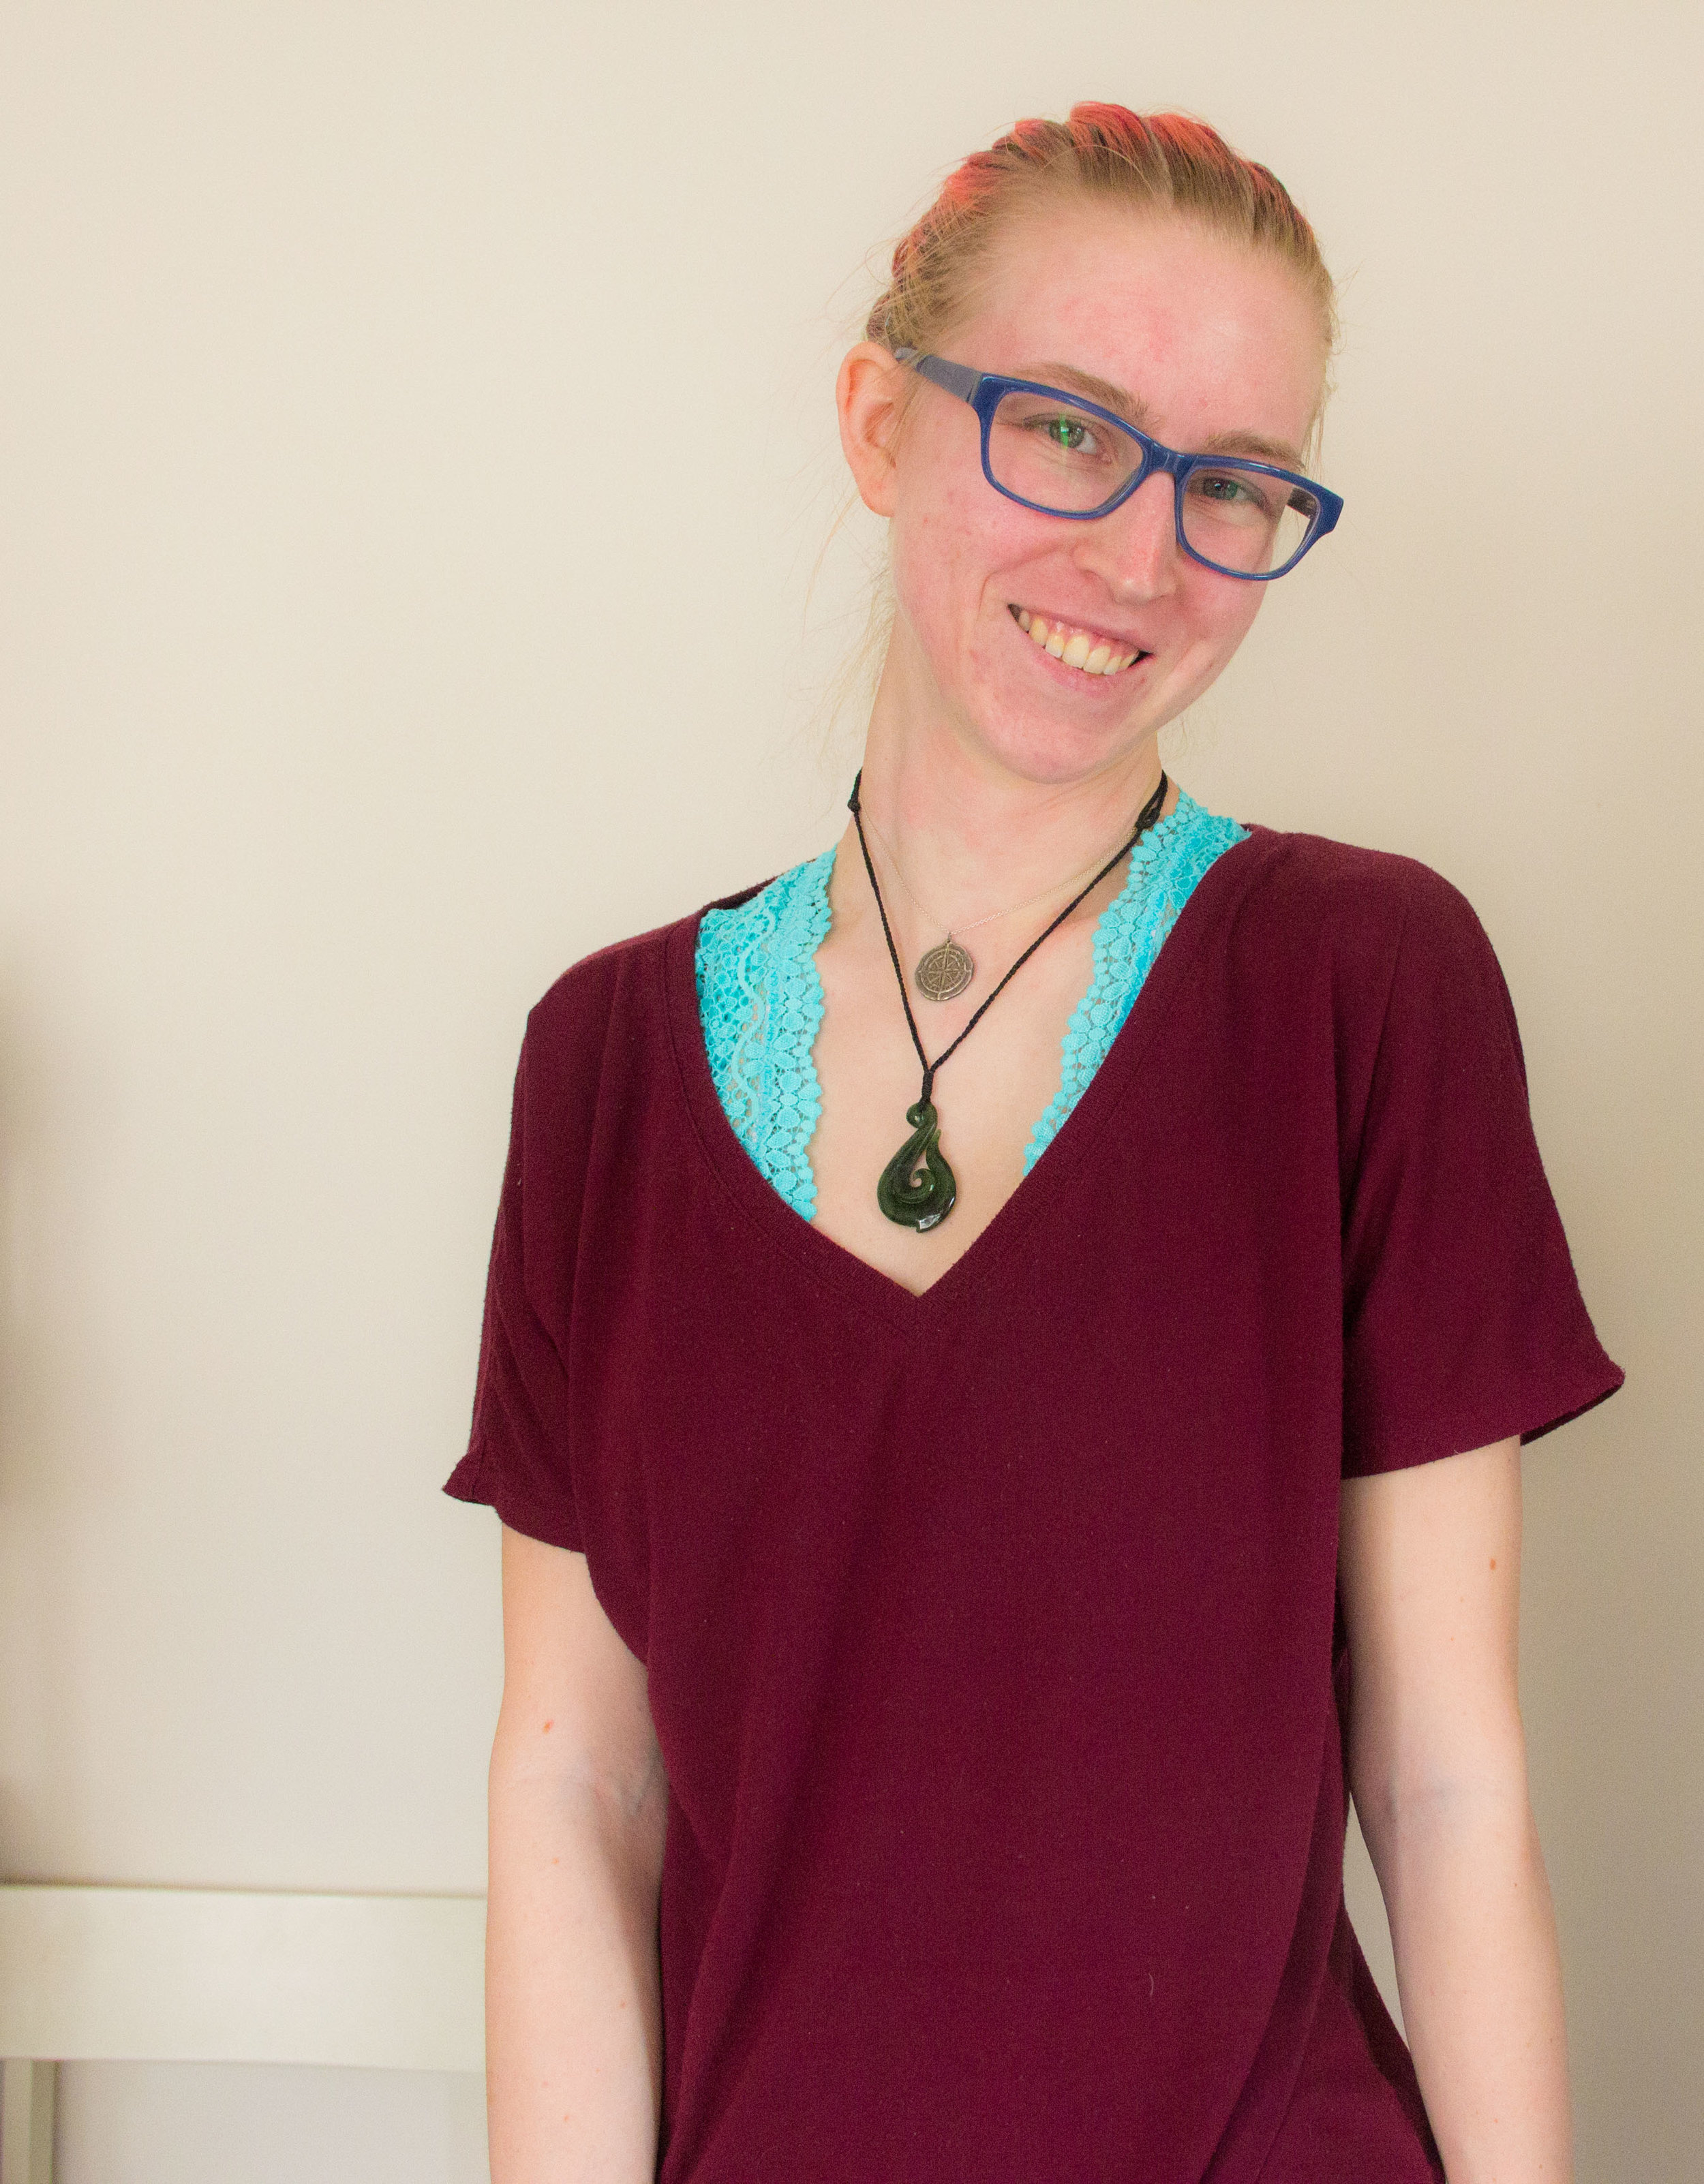
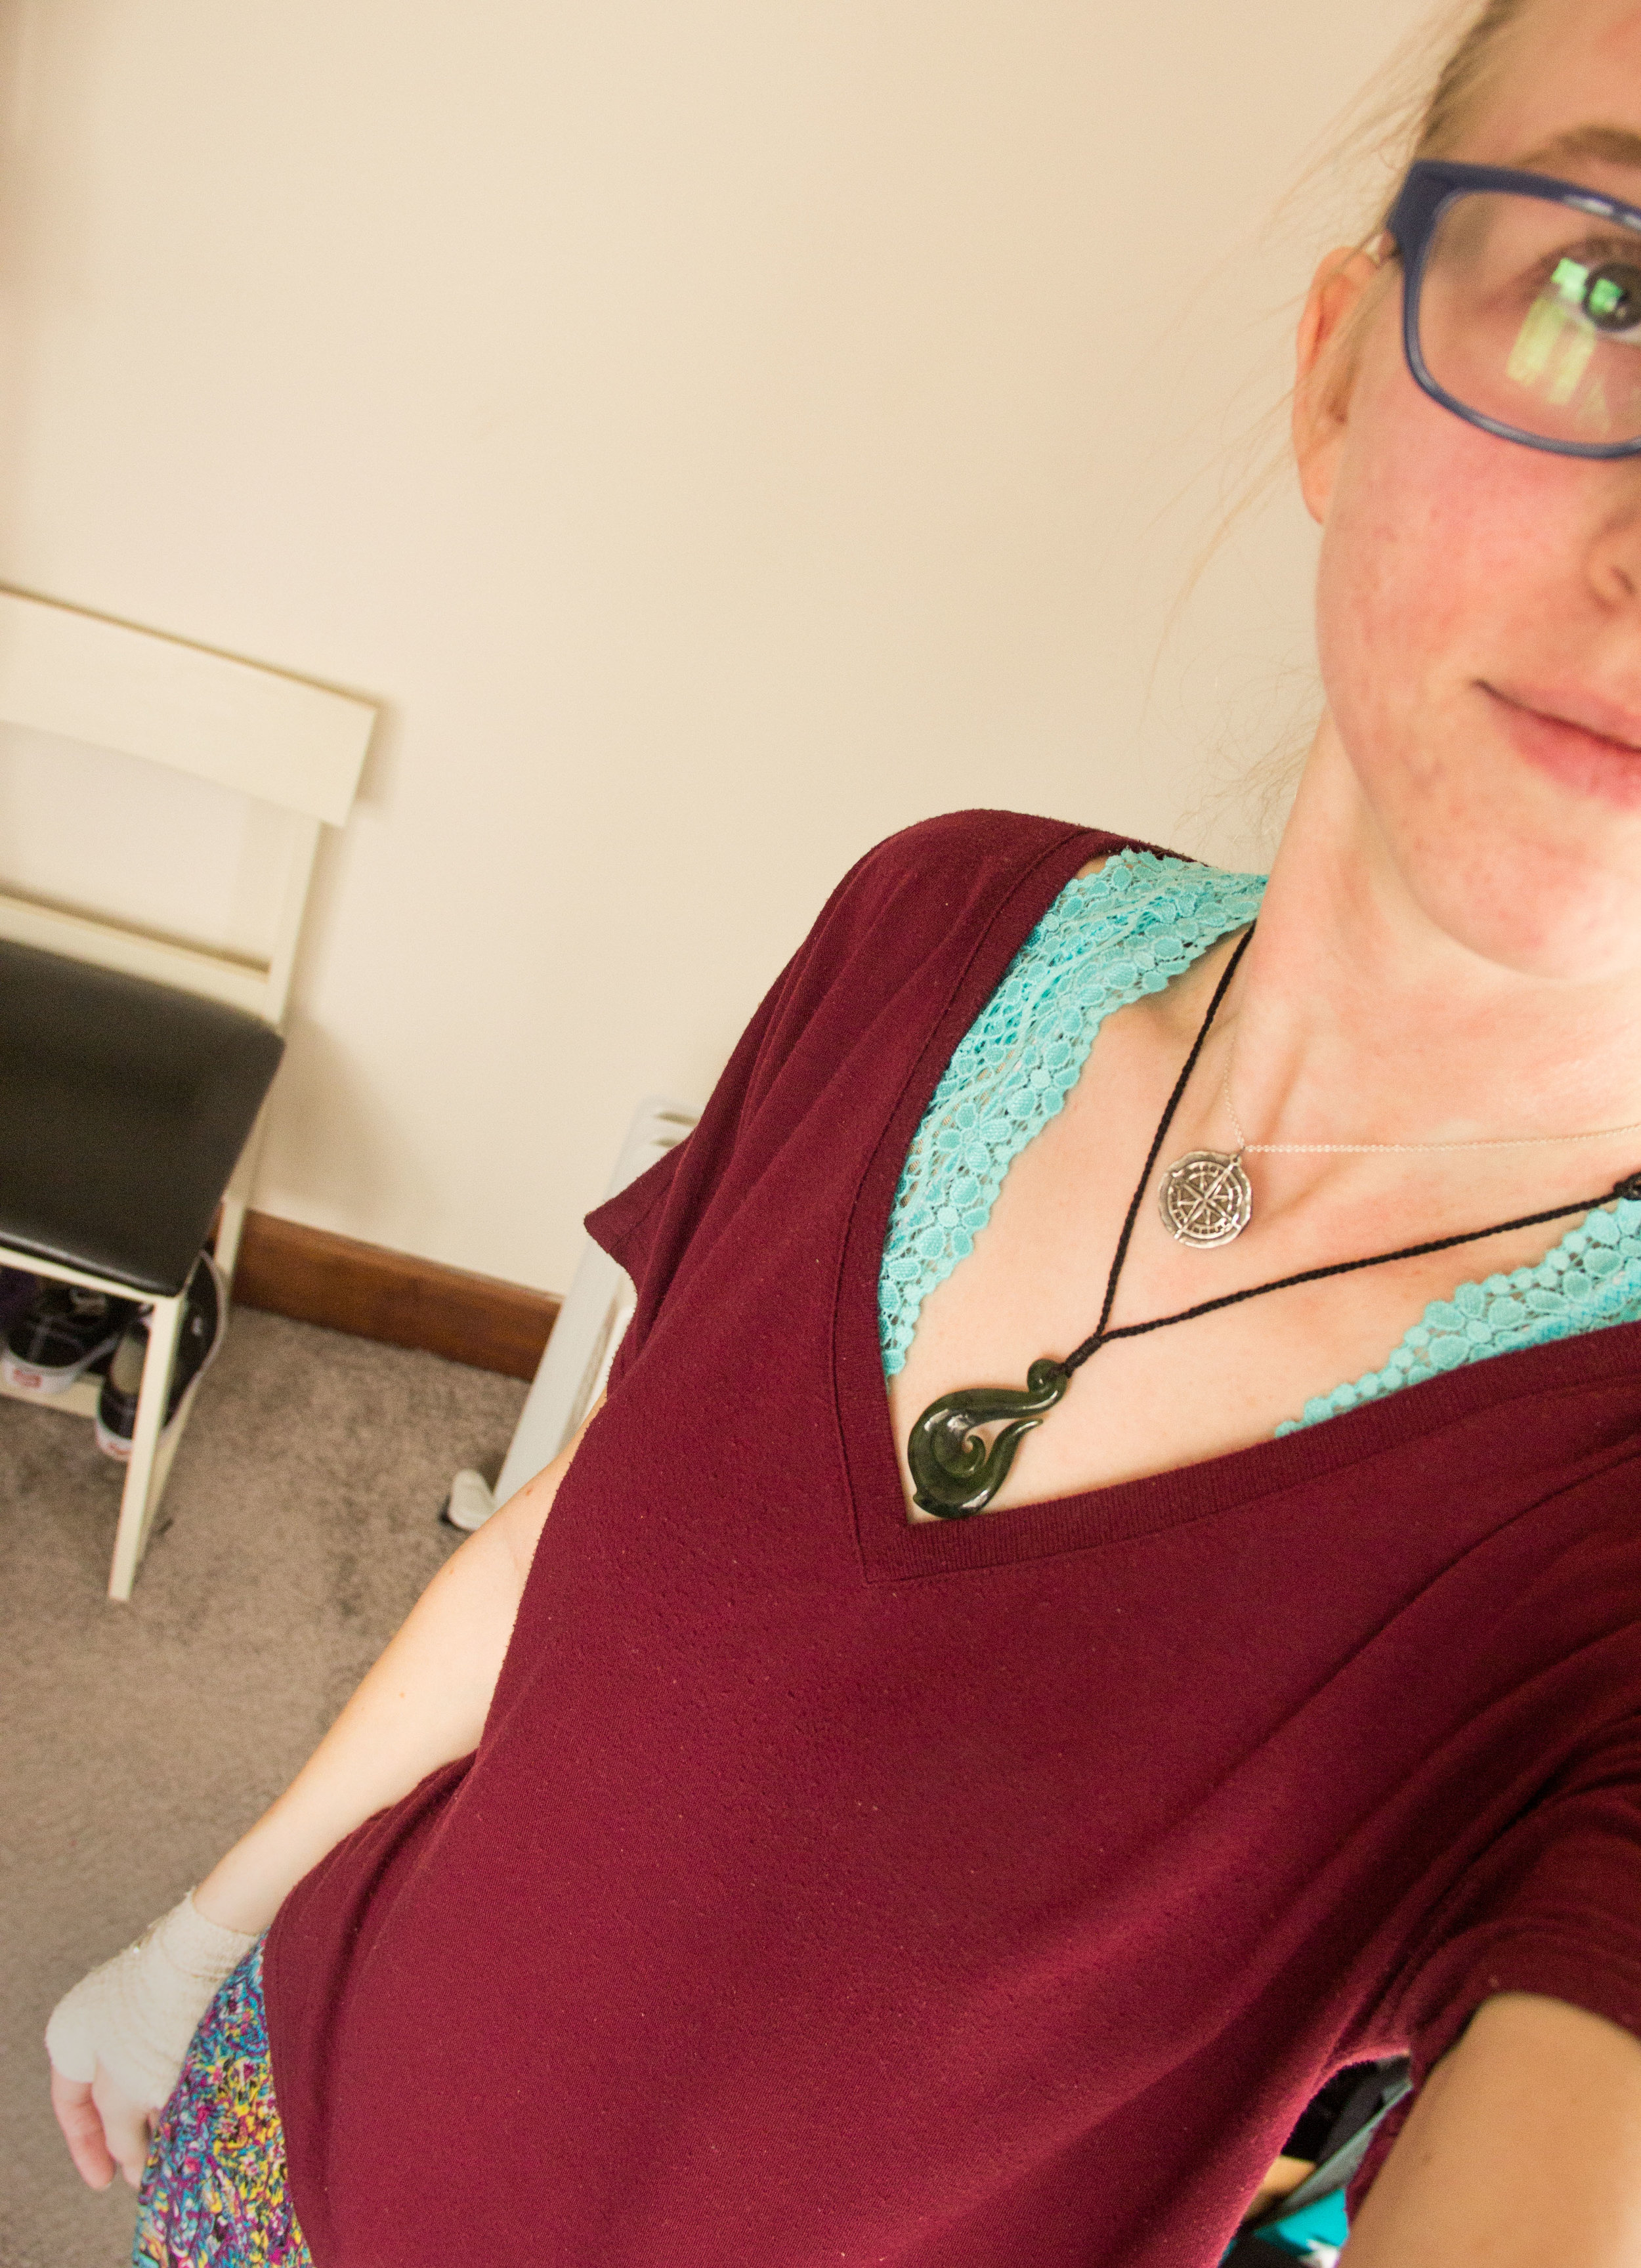
More specifically, halter bras. You might remember that one of the things I struggled with when I finished my last bra was not being able to show it off to people, which got me thinking about that cute ~trending~ thing now with a wide neck shirt and a lacy bralette, so the shoulder strap gets a little sunlight. The problem is, the bralette trend assumes you're not also looking to offer your girls a bit of support, and the very nature of the halter means that if you are supporting anything, it's by literally suspending your boobs from your neck. which seems...well. My little sister is the target demographic of the bralette trend, and I'm over here like:

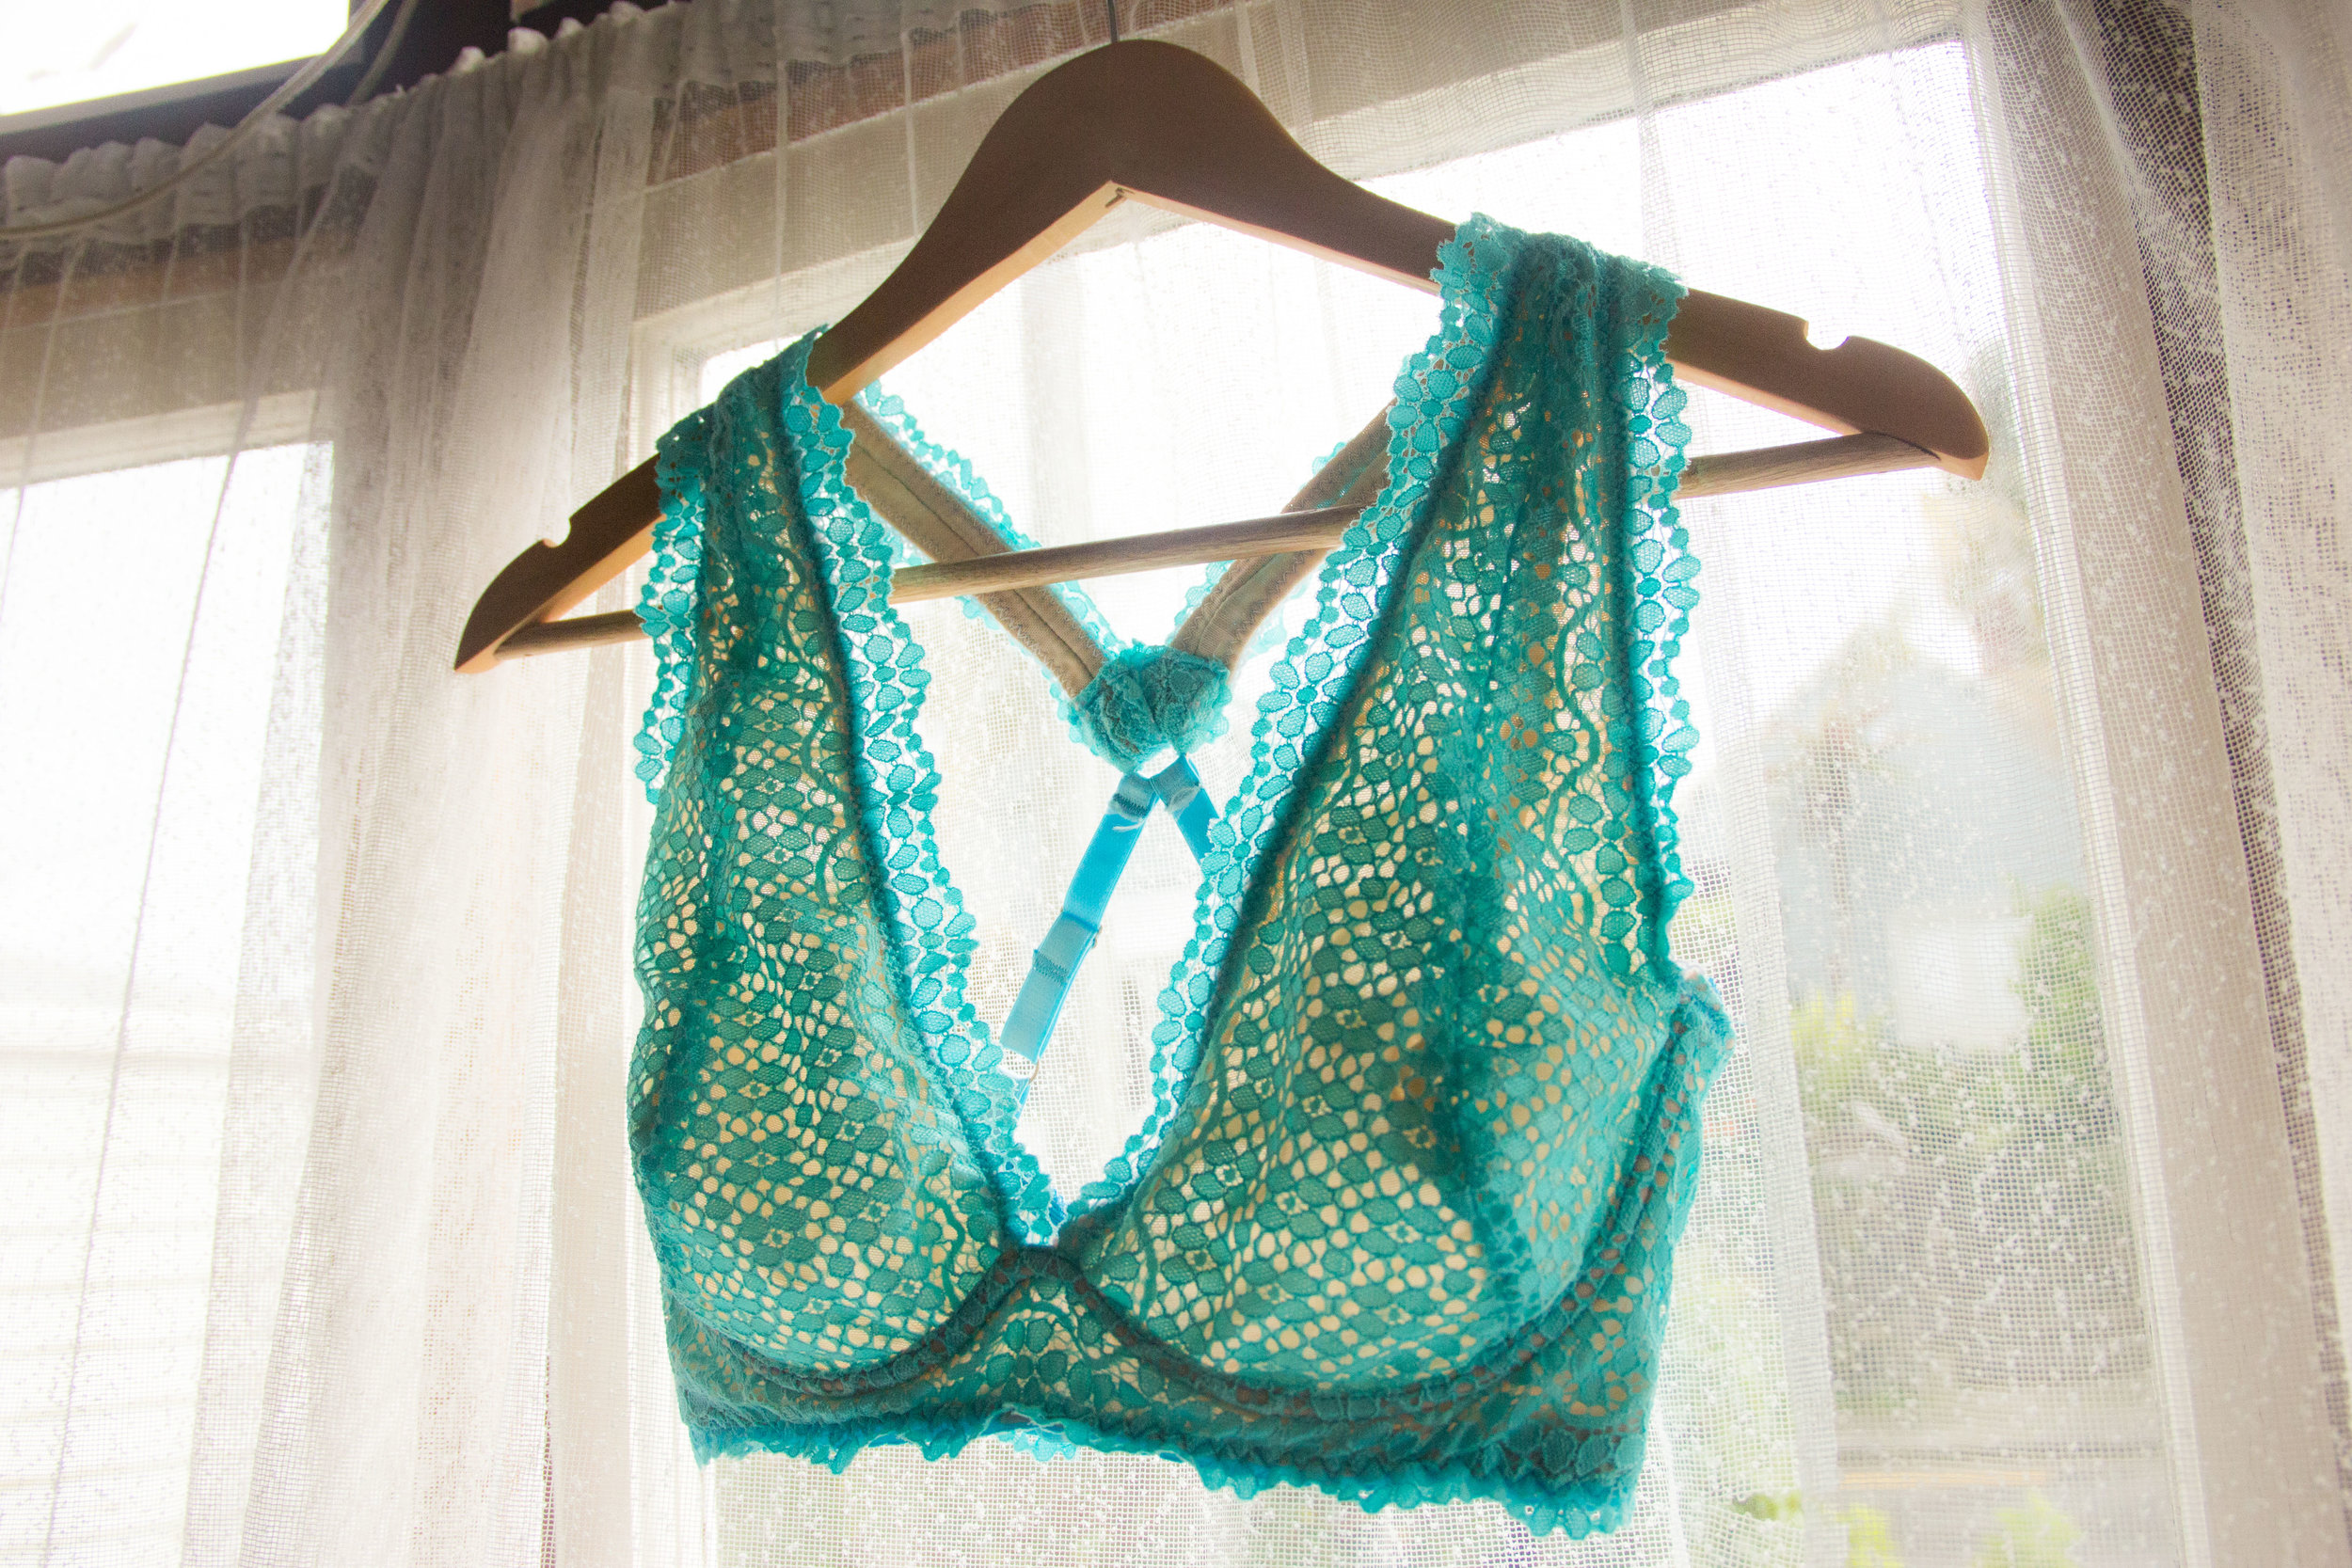
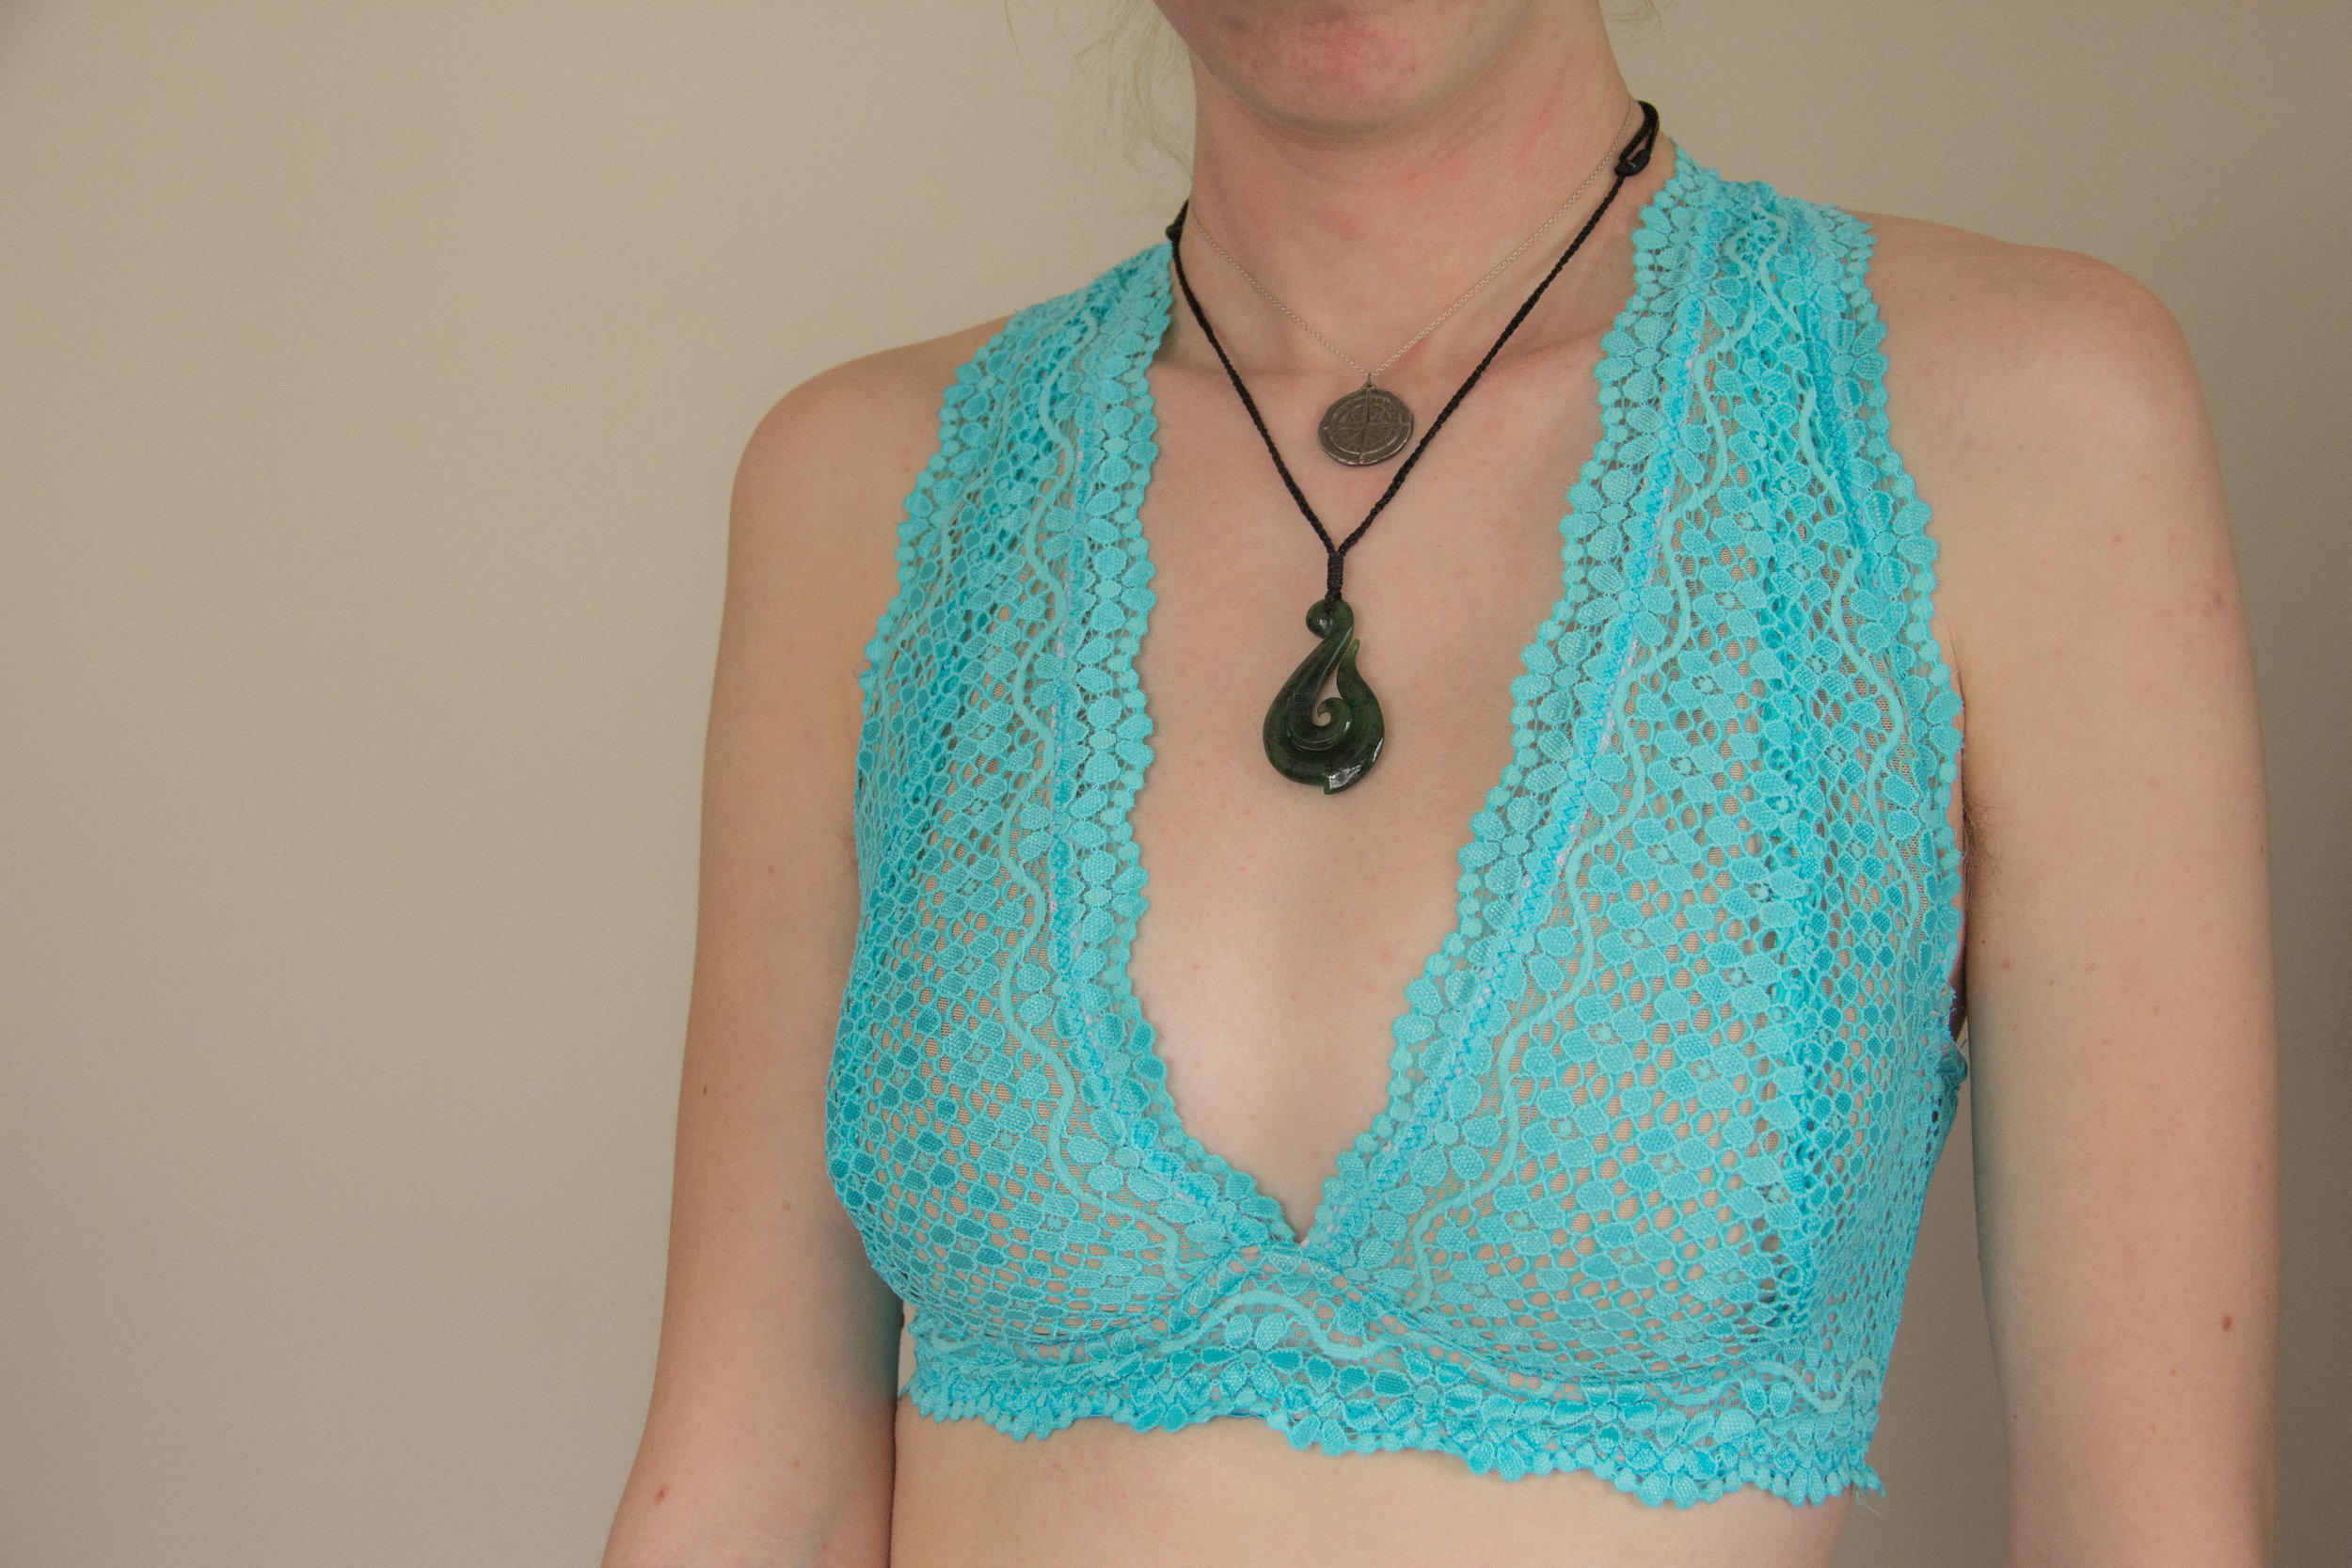
This bra is my solution. It takes all the fun of the cute bralette that one might show off with a wide shoulder or deep armhole, but keeps everybody tucked and contained without risk of escape. I've replaced the offending halter (that I remain convinced nobody actually likes) with an x-back, and it's got the adjustable-strap and clasp action of a traditional bra. It's also quite comfortable, because although it's got underwires, the cups are lined with powermesh and the shoulder strap area is quite wide. It doesn't have quite the up- up- and away lift that my bustier has, which is fine with me because hello, hella comfy, and hello, socially acceptable way of showing off of my lingerie makes in public!
After the bustier, this bra was super easy to draft and sew. Using the three piece cup pattern from the bustier, I split the upper cup in half and created a two piece cup with a single vertical seam. (Amy at Cloth Habit has a tutorial on this as part of her bible of a bra sewalong if you're interested.) Then, I just extended the top of the cup and eased the width down as I went, keeping all the shaping to the middle seam as I wanted to use the scalloped edge of the lace for the neck and armhole edges. I ended up taking a pretty sizeable dart out of the side cup of my toile in the underarm area - I think the new vertical seam contributed to the extra fabric, but the lack of space on the side helps steer my boobs toward center front at least a bit.

The cups and band are lined with nude powernet (beige is a lame color name and it's not allowed on this blog. The color is 'nude')- This is my first time lining a cup with a stretchy fabric, and it's actually worked pretty well, and it's super comfy. The color has the benefit of making it look like it's just a sheer layer of lace, when actually it's quite opaque. The center seams of both the lace and powernet are done in a narrow-ish zig zag, which seems to work quite well for maintaining stretch. You could also serge them. I've attached some lightweight picot elastic between the powernet and lace layers at the edges of the cups, which runs all the way up through the straps. (I picked turquoise for the picot elastic and Lynda sent me that, but she also sent some white because she wasn't really feeling the turquoise, and it turns out neither was I when I saw the colors in real life! The turquoise is much too dark. Thanks Lynda, for knowing exactly what I want even when I clearly don't!)

The cradle is a layer of lace, followed by two layers of sheer nylon cup lining (cut with the grain going opposite directions because it has a bit of mechanical give), and also a layer of powernet. I was debating the powernet layer, but this way it's more cohesive on the inside and outside, and there's a bit of extra padding and support. I think it would have been fine without it, but I also still like it.
The inside construction is pretty similar to your standard underwire bra affair - with one notable exception. The channeling is continuous! I got this idea from one of my old RTW bras (very comfy but it's a weird shape due to some other unrelated construction details... but it's hot pink so I'm keeping it around...) and since this is a plunge style, I thought it would work to try the continuous channeling idea. I was a bit nervous that the channeling would bunch in the concave curve at the center front bridge area, and although it does a little bit, it was pretty easy to steam that sucker into submission with my iron and then topstitch it down. The underwires are up two sizes from my last bra as well, and I think I've finally achieved underwire perfection! They fit my breast root exactly, although I still had to chop about an inch off to clear my sternum bump and get the plunge effect. Such a clean finish though!

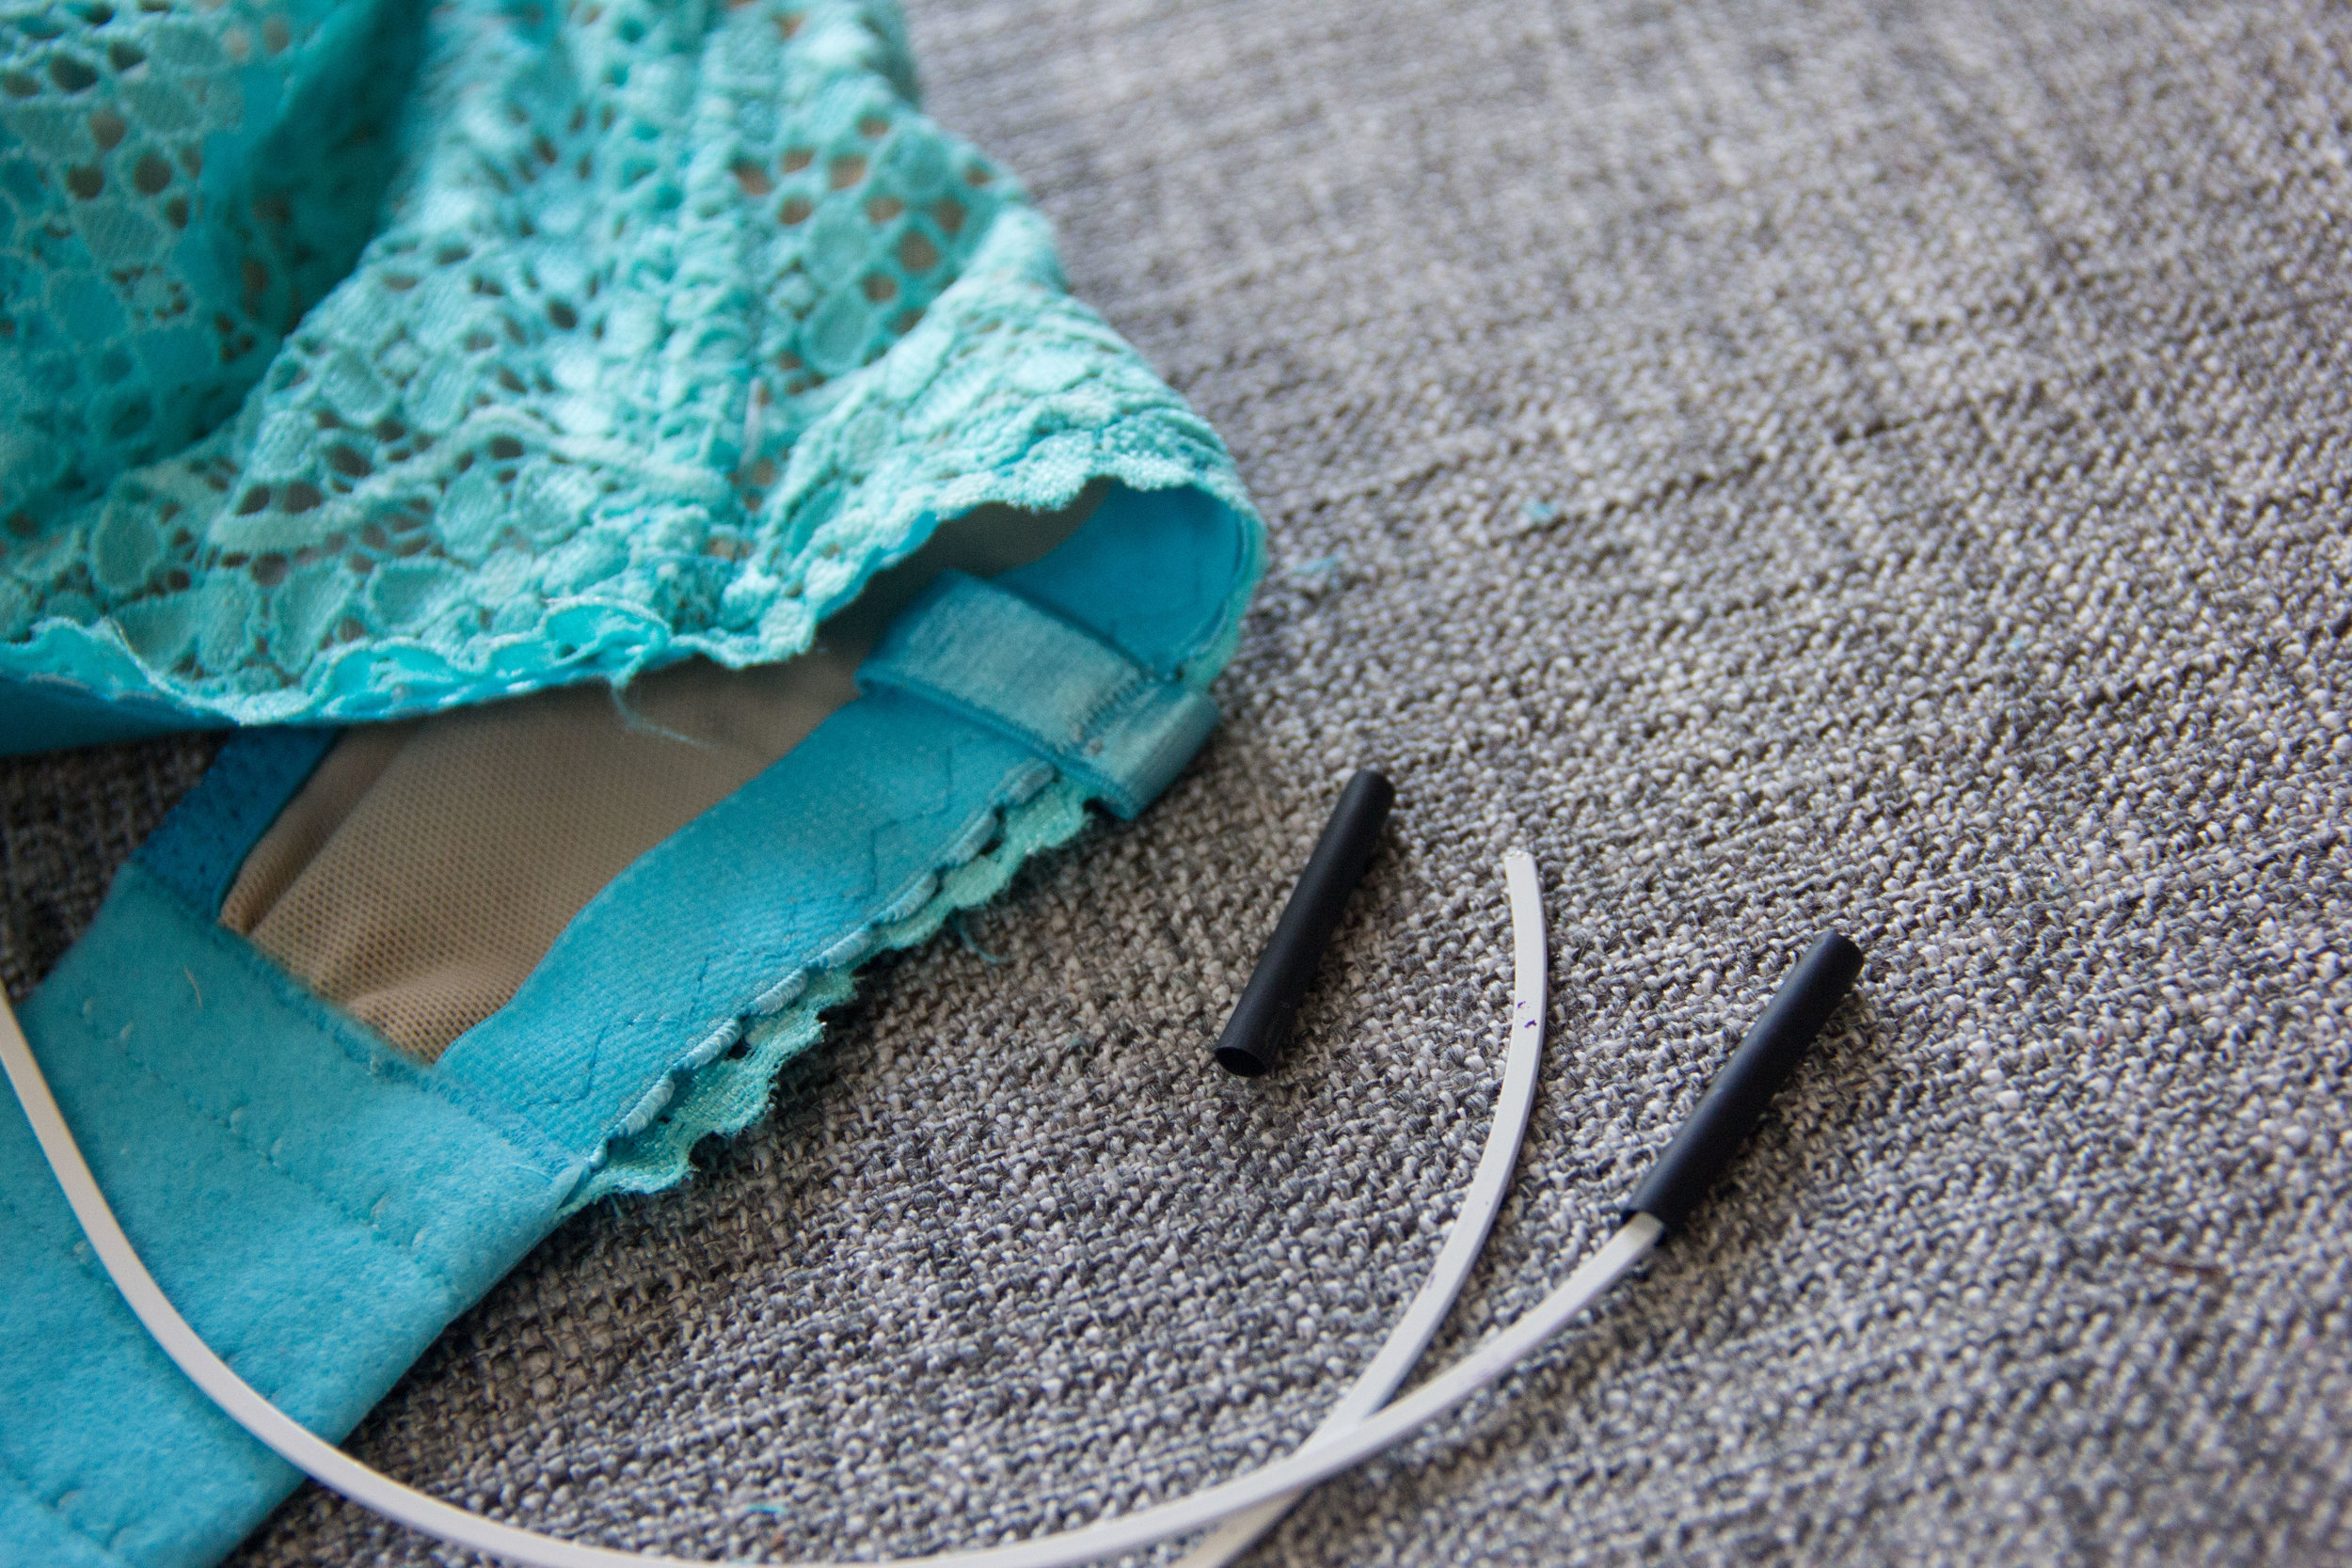
Speaking of underwires - just a quick tip/rant: I have to cut off my underwires because my sternum isn't flat, and I do so with a pair of fairly heavy duty pliers. On a few previous bras, I have tipped the cut ends with plasti-dip, which was $4.50 for a can I would get through maybe if I tipped 200 underwires... but unfortunately the plastic texture made it near impossible to slide it into the channeling. I tried coating it with nail polish but it just peeled off - so in a fit of desperation today I went to a car audio/specialty electronic store to see if they had heat-shrink tubing (which was what I wanted in the first place but the fella at the home improvement store looked at me like I had two heads when I asked if he stocked it...) - and I found it! A whole meter for a whopping $2.50! It worked like a charm! I didn't have to wait for it to dry, It fit through the channeling, and I got to play with fire! I let the tubing overhang by about 1/8" so it has this little flexible nub on the end of the underwire, which I can actually feel in a super-comfortable kind of way. Problem solved!
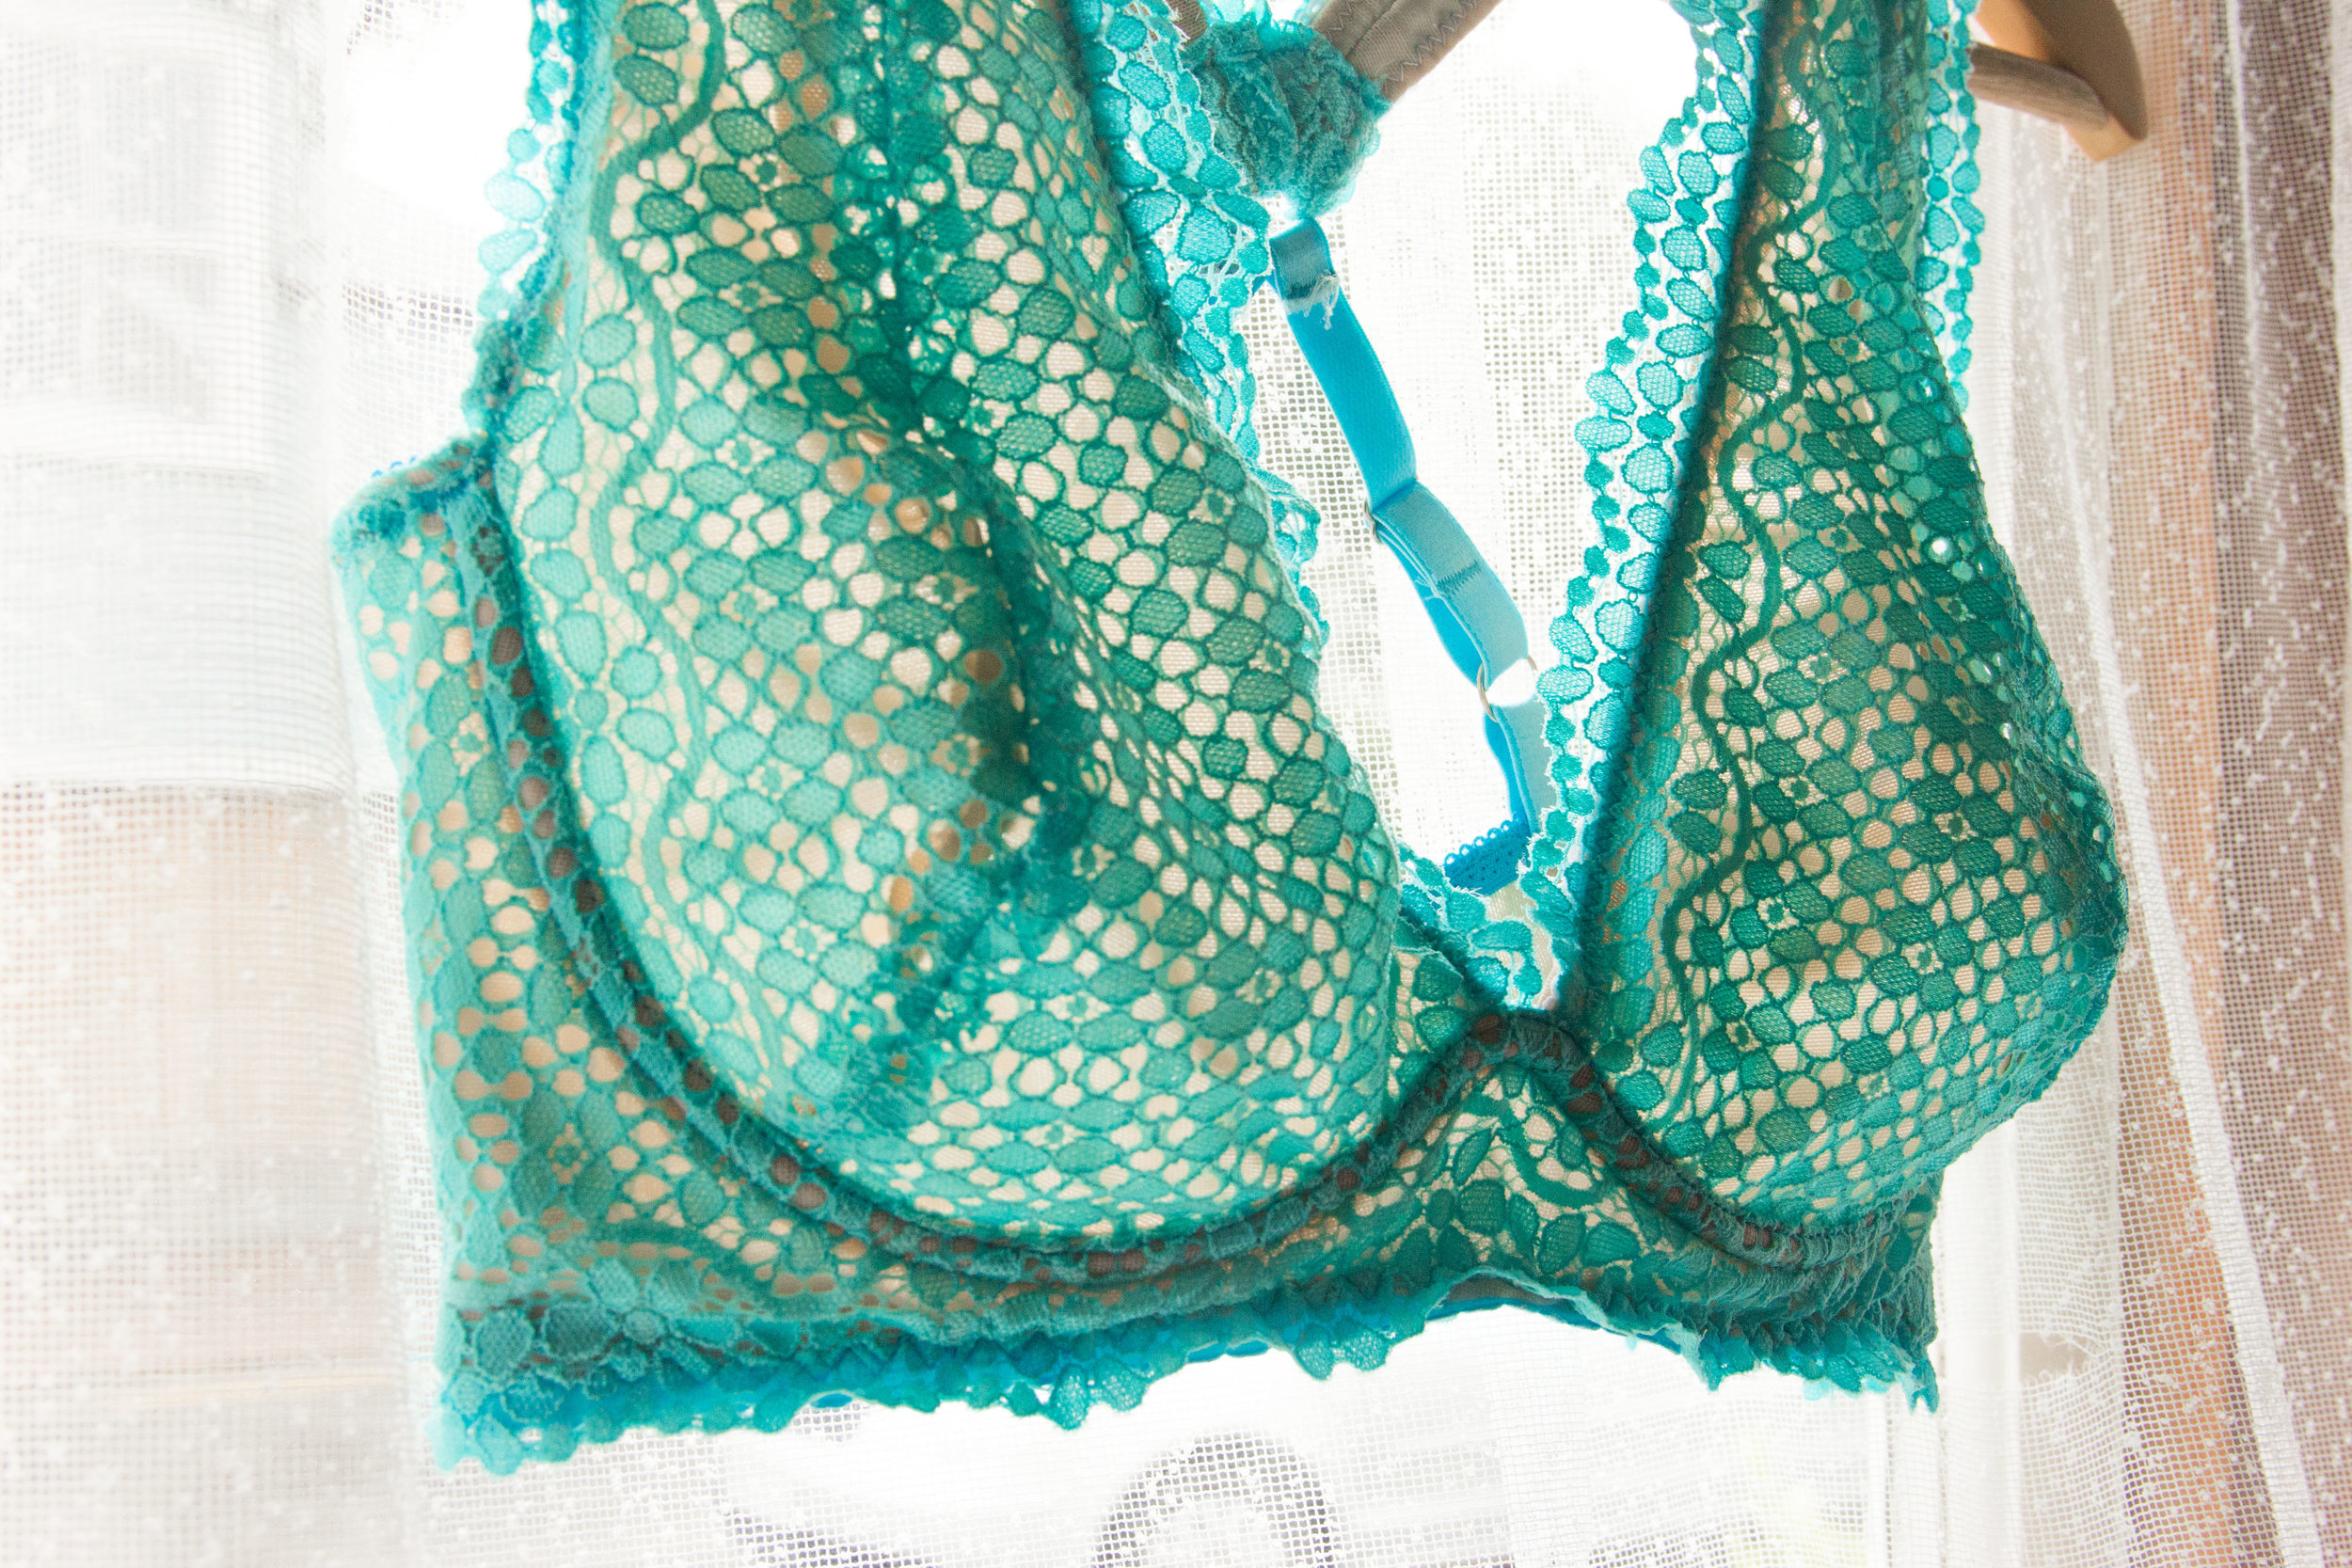
The strap situation is also pretty straightforward: the extended cup situation carries on over the shoulder, and the two sides are joined through a 19mm ring from a large ring and slider set, and the bottom straps are 1/2" elastic joined through this ring as well, and then attached as normal to the back band with a set of rings and sliders. One could also conceivably attach the two lower strap pieces directly to opposing lace strips and have them overlap, but I quite like the ring on this one.

So. I really like the style of this bra (especially that it becomes part of the visible outfit!) but I'm debating whether a future version should include some more stable cup support, or at least shape adjustment to get a bit of lift back. An internal powerbar of some 15 dernier nylon, perhaps?
This is probably the most expensive bra I've made so far. It took (almost entirely) two whole meters of stretch lace, and a considerable chunk of powernet. Usually 1/8 of a meter of powernet would be enough to get through the back bands of like...four bras... but this was all one. Plus about three times as much picot elastic as usual, for those long cup/strap edges. Overall, though? totally worth it. Every time I add up how much my me-made bras cost, it still comes in to under half of what I could pay (or have in the past paid) for RTW bras - and besides, the fit is way better. Plus I get to pick the colors.

Here's the quick and dirty details:
2m 6" stretch lace, 1/2m powernet (I used more than half of my piece), 1m 1/2" strap elastic, 1 set each of 19 and 12mm hook and eyes, bra clasp, 19mm underbust elastic, underwire channeling and wires (mine are size 40 this time) and about 3m of picot elastic. All of this swag is from Elle Joan's shop, as usual! Also: 1 piece of 3mm heat shrink tubing (From Jaycar if you live in Auckland).

There we have it! Another week, another bra. I'm really enjoying posting again every week, because it's motivating me to get all of these cool projects done! Also, I got a lot of really awesome feedback from the bustier last week, and many of you it seems are interested in making a self-fabric clasp, so I'll be doing a tutorial on that just as soon as the last of my supplies come in from the US! I've also got an upcoming Hawaiian vacation (and it's nearly summer here in NZ and I have a wardrobe to plan!) so stick around for swimsuits, more bras, at least one hideously fabulous Hawaiian shirt, and some pretty dresses on the way! Yay!
I shall leave you with this gem, also from the PrimaDonna video, which basically describes my relationship with stairs:
