
(This is part two of the Shirtmaking Chronicles - Part 1 contains the wearable muslin, my first attempt at this pattern, and can be found here.) I feel like we're getting somewhere. I feel like this might be progress. Like this might no longer be a square peg in a round hole, but rather an oval peg. Maybe hexagonal. I don't want to force it, though: we're definitely not there yet.
So. After the first attempt, I reduced the sleeve cap ease: I also made some other alterations but we'll do a side by side in a couple paragraphs, so I'll run you through them in a minute.
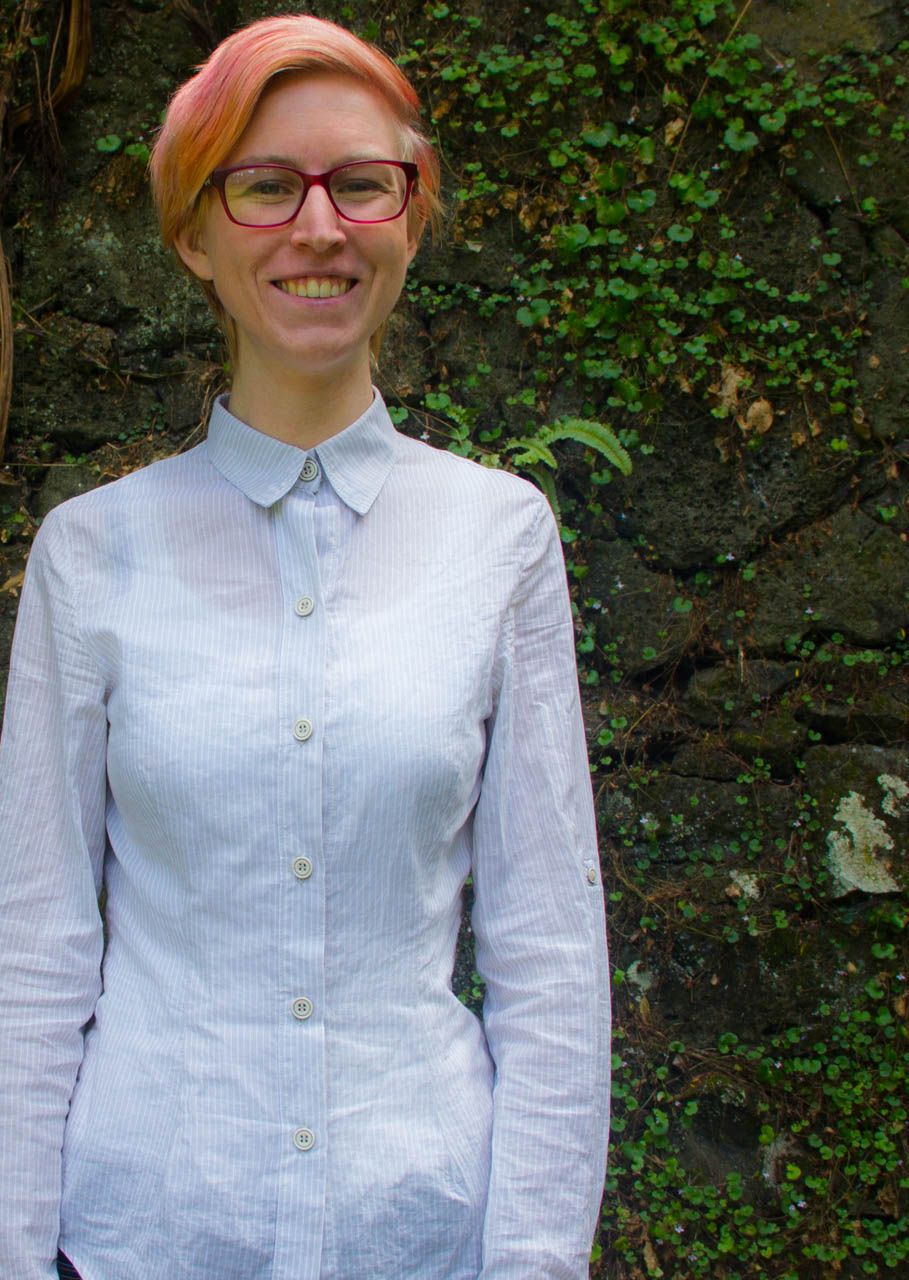
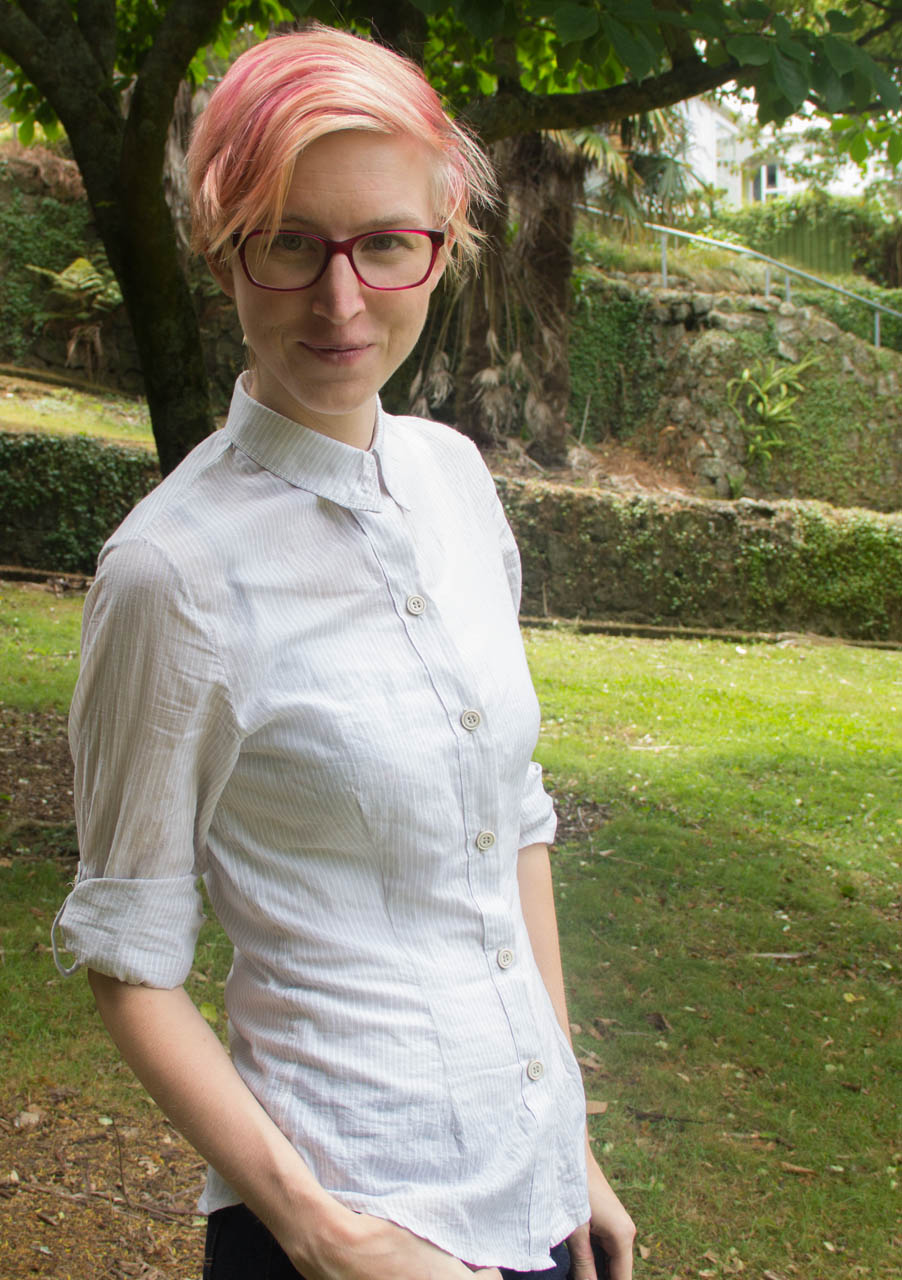
The fabric is 100% cotton from The Fabric Store. It's very sheer and very loosely woven which makes it very shifty, especially on the bias, but it's light as a cloud and totally huggable. Those stripes were a lifesaver in making sure my pieces were cut on the grain ( I actually ended up re-cutting one of the front pieces when I realized it wasn't.)
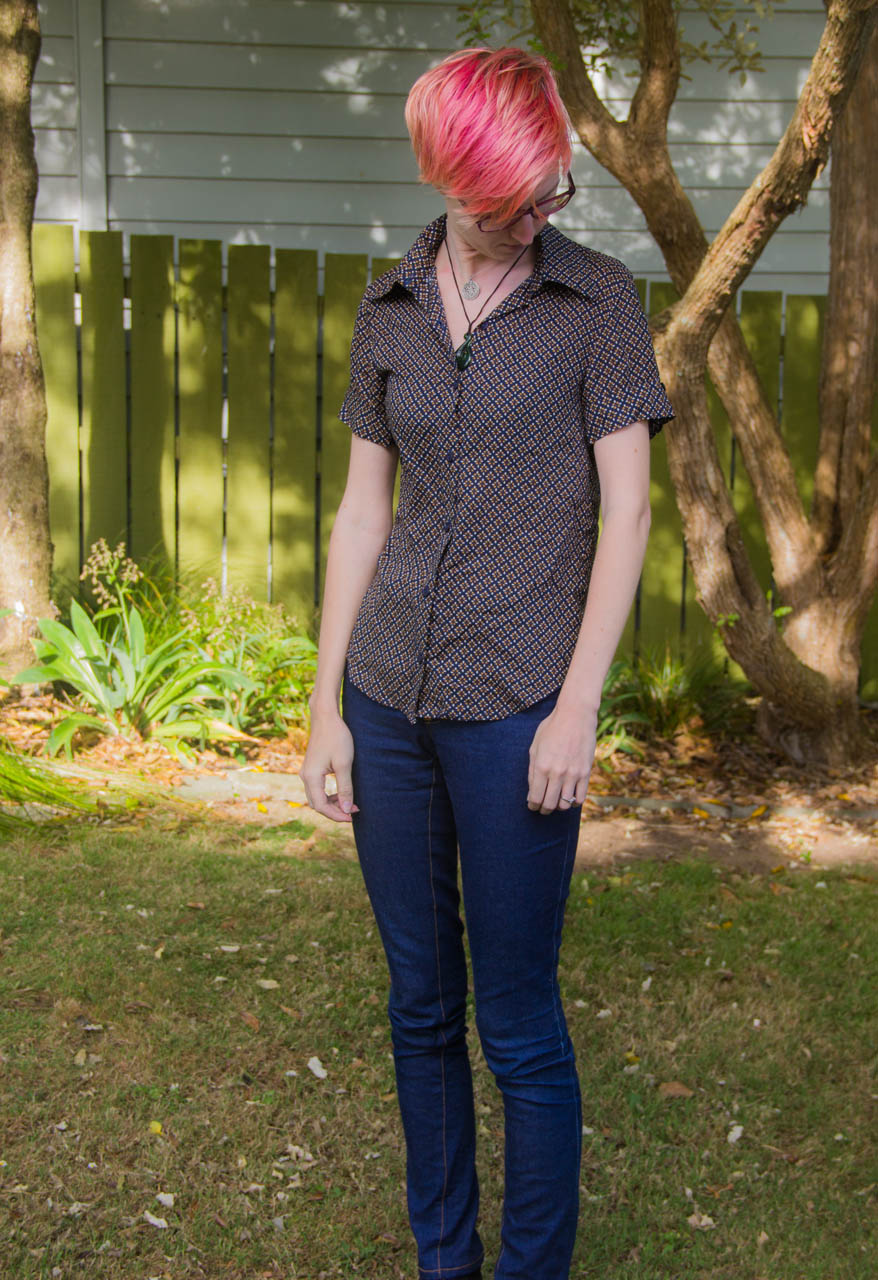
I bought this fabric just after I finished my floral bustier. I was so happy with the way it turned out that I wanted to be able to sort of subtly wear it out in public, and I decided a sheer button-up was the answer to this wardrobe goal. (That's why I didn't put pockets on this one, even though we all know how much I freakin' love pockets)... Now that I've done it, I feel happiest wearing it with a tank underneath, but hey, the option is there.

So there's the inspiration. Remember I'm currently editing Butterick 5526 to turn it into the button-up shirt of my dreams. Let's investigate the pattern changes I made:

- Reduced sleeve cap ease by 2 inches, leaving .5 inches ( a reasonable amount, I think - per this tutorial.)
- Used this tutorial for the placket, ditching the pattern's placket entirely. (This is the placket I've used for all my collared shirts so far - Jon's was the first.)
- Removed 5/8" from collar height and 1/2" from collar stand height, to mimic the collar on my very favorite RTW shirt of all time, and take this thing out of the 70's.
- Added 1" to length at hem (have since decided to add at least 1" more)
- Got rid of the weird ease/extra length in the collar so that it actually fits into the collar stand.
- Cut off the top of the back piece and added seam allowances to make a yoke piece for a more traditional shirt.
- Added darts! I'll talk about this more in a second, because it was an afterthought.

Whew! That's a lot! Considering I've got more planned, how long until this becomes no longer B5526, but rather a custom shirt draft that fits only me? It's also worth mentioning that I didn't follow the instructions at all, and that all seams are either flat felled or french, depending on the location. I also burrito'd the yoke- that was kind of the whole point of cutting a yoke piece..Such a satisfying part of the process. Also, it adds stability which was important for this fabric.
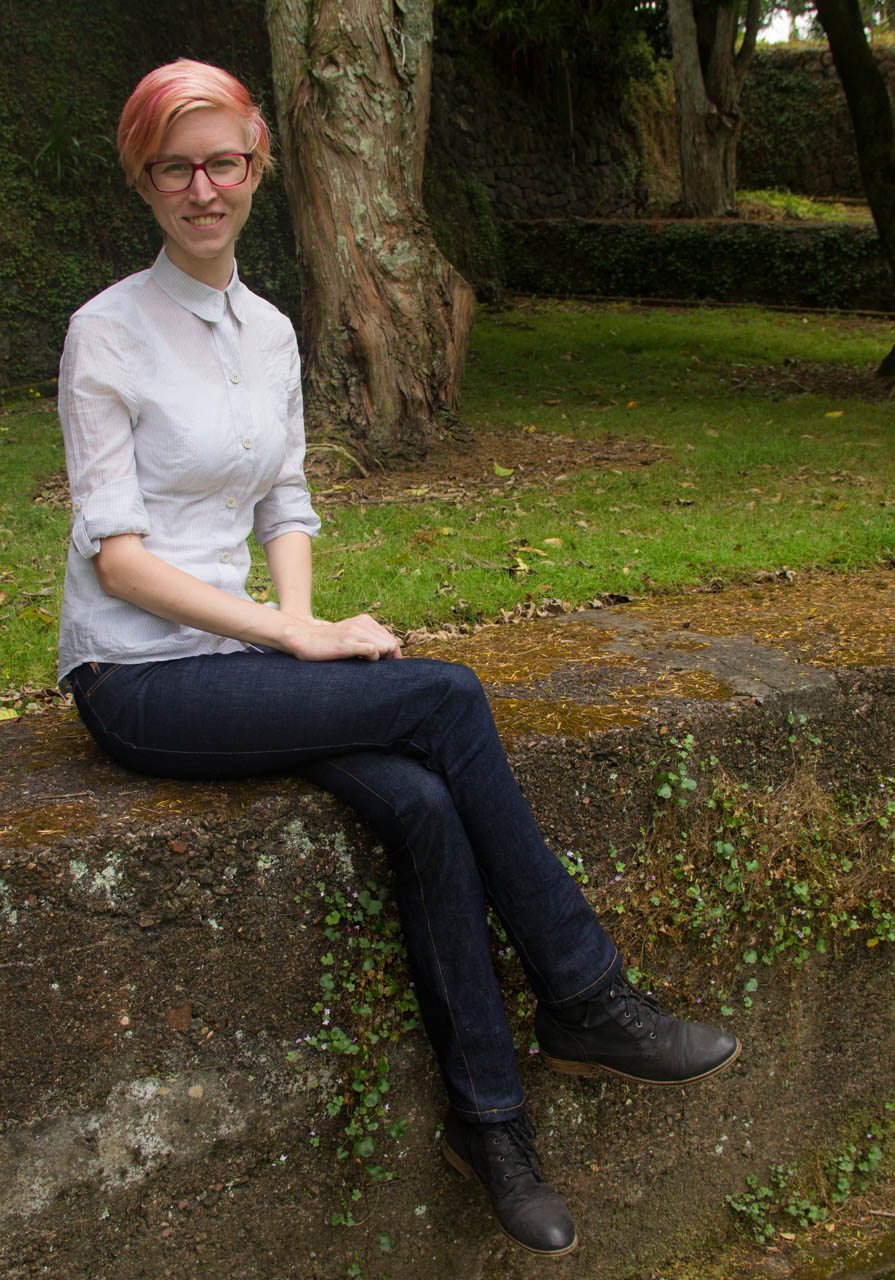
Let's have a comparison, shall we? The shirt went together well. The good news is, by sewing the side seam allowance as intended I've solved the bust gaping issue, as I suspected. The bad news is those armscyes still need work. I've got a small pucker near the top of the left shoulder but I already reset that sleeve four times and it was starting to tear, so I've decided to leave it. In retrospect, I think I should have staystitched the sleeve caps before sewing them in, as the bias areas grew significantly during the sleeve setting process. I'll do this on a future shirt: if it doesn't work my plan is to reduce the sleeve cap ease more.
As far as the actual fit of the sleeve, I've got three issues I think. For the wrinkle at the top of the shoulder, my plan is to grade out by 1/4". I have gaping at the front of the armscye, which I suspected in the last version but purposely didn't touch for comparison purposes. Now, I plan to dart the armscye and transfer said dart to the bust area (and adjust the sleeve curve accordingly). The pattern doesn't currently have a bust dart, but I have a bust that needs darting so that's where we're at. Lastly, although not so glaringly obvious unless you're looking for it - I'm contemplating raising the armscye. This should not only help with sleeve fit, but also will allow me to get rid of even more of its extra puffiness, but we'll see what the armscye dart thing does to the shape of the armhole before I decide for sure. Next time, I'll also finish the hem with bias tape instead of folding it up, and I'm going to lengthen the body 1.5". I initially didn't think it was too short but when I tuck it in it tends to work its way out. As a side note: With my first muslin you guys had some really neat suggestions in the comments, so if you see anything I've missed let me know!

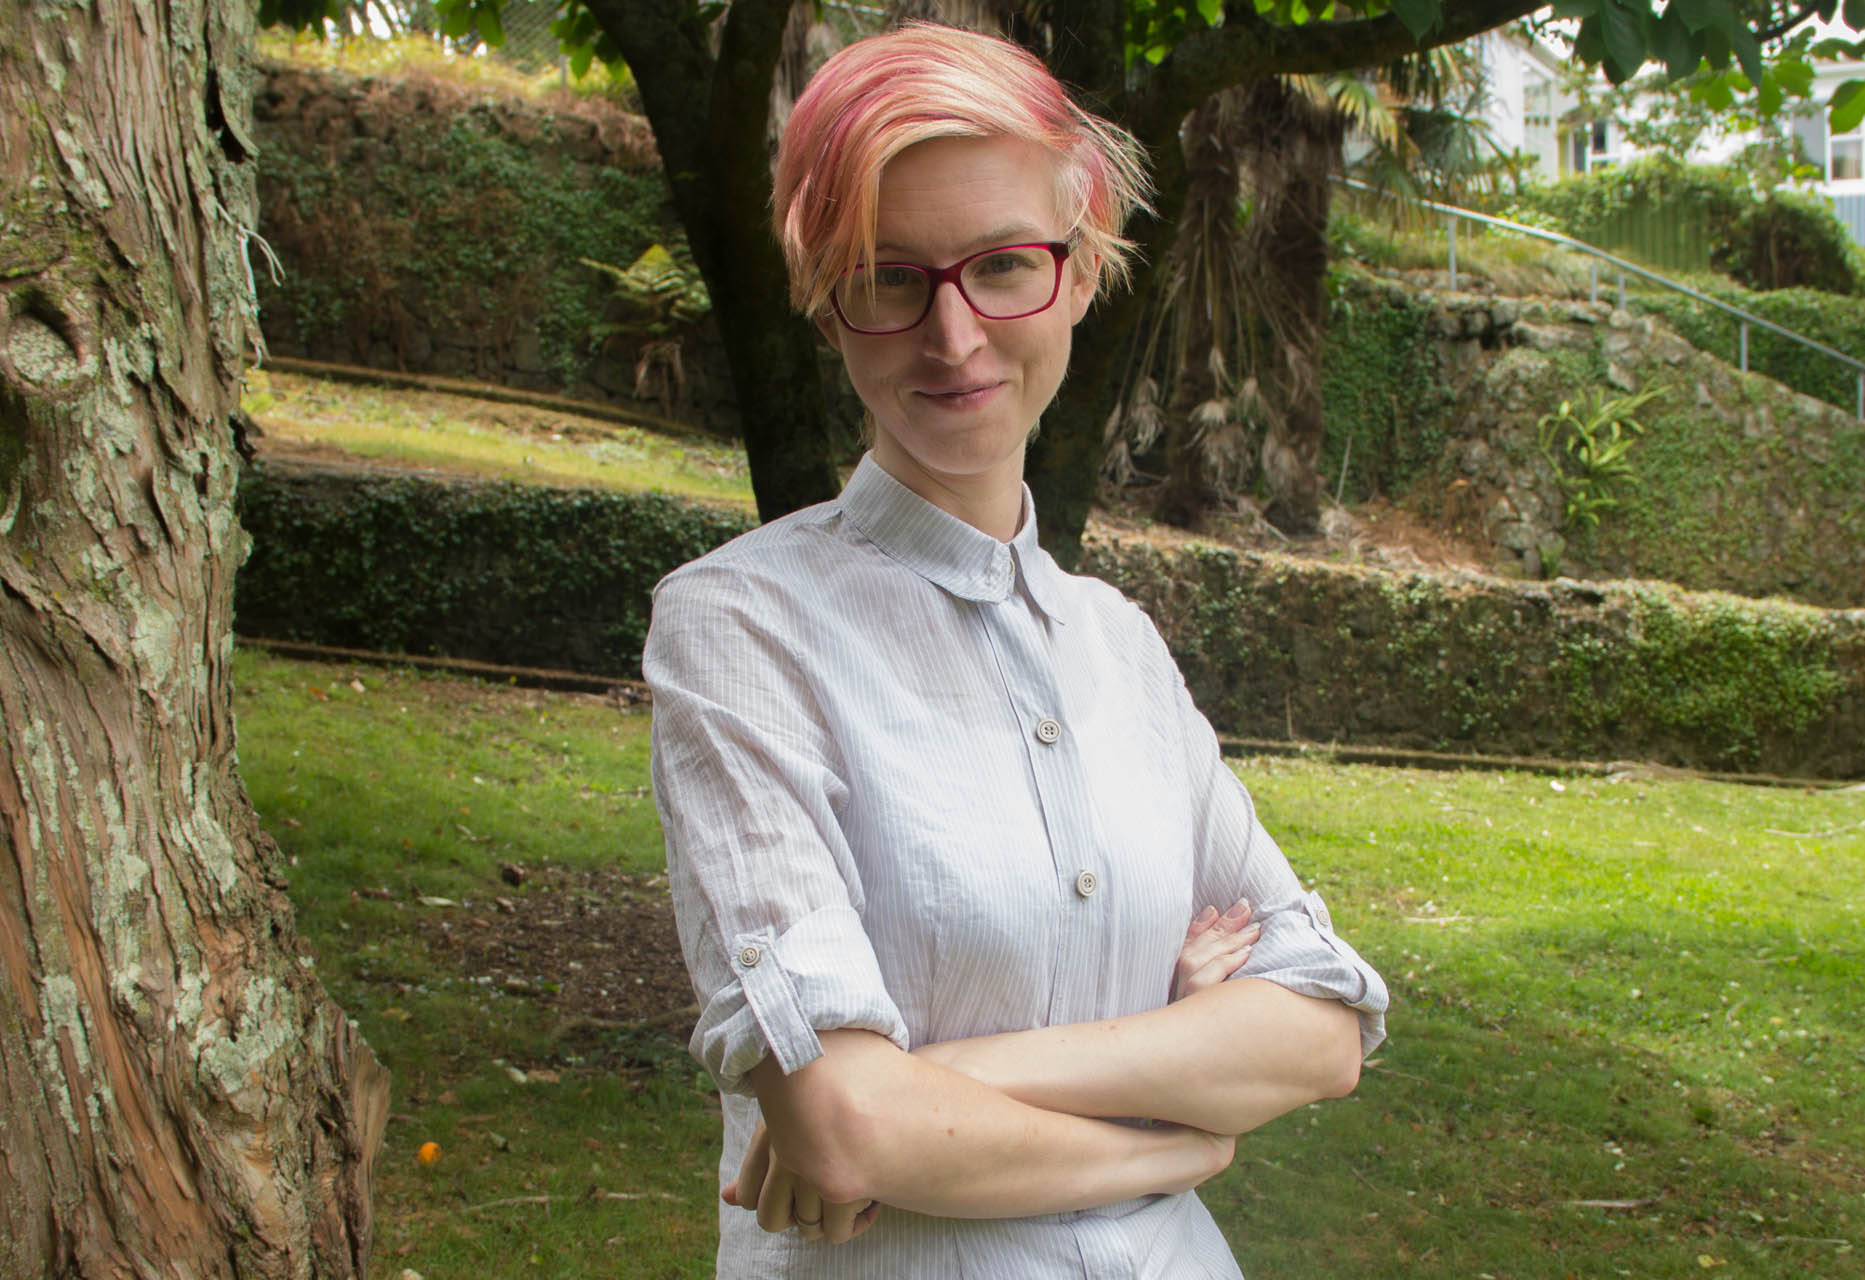
The little sleeve tabs are also very cool: I'll probably be wearing this shirt an equal amount with the sleeves up or down, but I do quite like having the little tab there when they're rolled up. I'd like to remove some of the extra ease in the sleeve so that it rolls more snugly, and I think I'll move the tab attachment up an inch or so. It's too low so I keep sticking out my arms (like, imagine the upward flap in the chicken dance) to pull the sleeve cuffs out of my elbows when I bend my arms, and this at one point led to me spilling a glass of sangria ALL OVER the kitchen table and floor. And my new shirt. I blame the shirt. The stains did come out, though, which is nice.
Now, the darts. I was a bit on the fence about them. The short sleeved iteration feels a bit sack-like, which is ultimately why I decided to fit this one a bit more heavily. My hang-ups were that since the shirt was sheer, you'd be able to see the darted fabric through the shirt, and also since the shirt is striped, the darts would disrupt the stripe flow. Both aspects drawing attention to something I wanted to be subtle. Eventually, the pull was too strong, so I pinned darts out on the shirt while wearing it (inside out), transferred them to the pattern pieces for future reference, and stitched them in.

I am so much happier with how it fits, post darting. I realize I could probably get the same fit with the princess seamed view of this pattern, but like I said, I'm trying to preserve future prints and patterns here. I've got some plaid fabric in line and I think I'd prefer the relaxed fit there over disrupting the plaid with darts. At least now I have the option, though - and what a great option it is! This one, although definitely wearable, is not without its flaws so a part 3 is already in the works. I feel like we might finally have a good jumping off point to start working towards the perfect sleeve, rather than an acceptable sleeve. Here's hoping the third time will be the charm!