
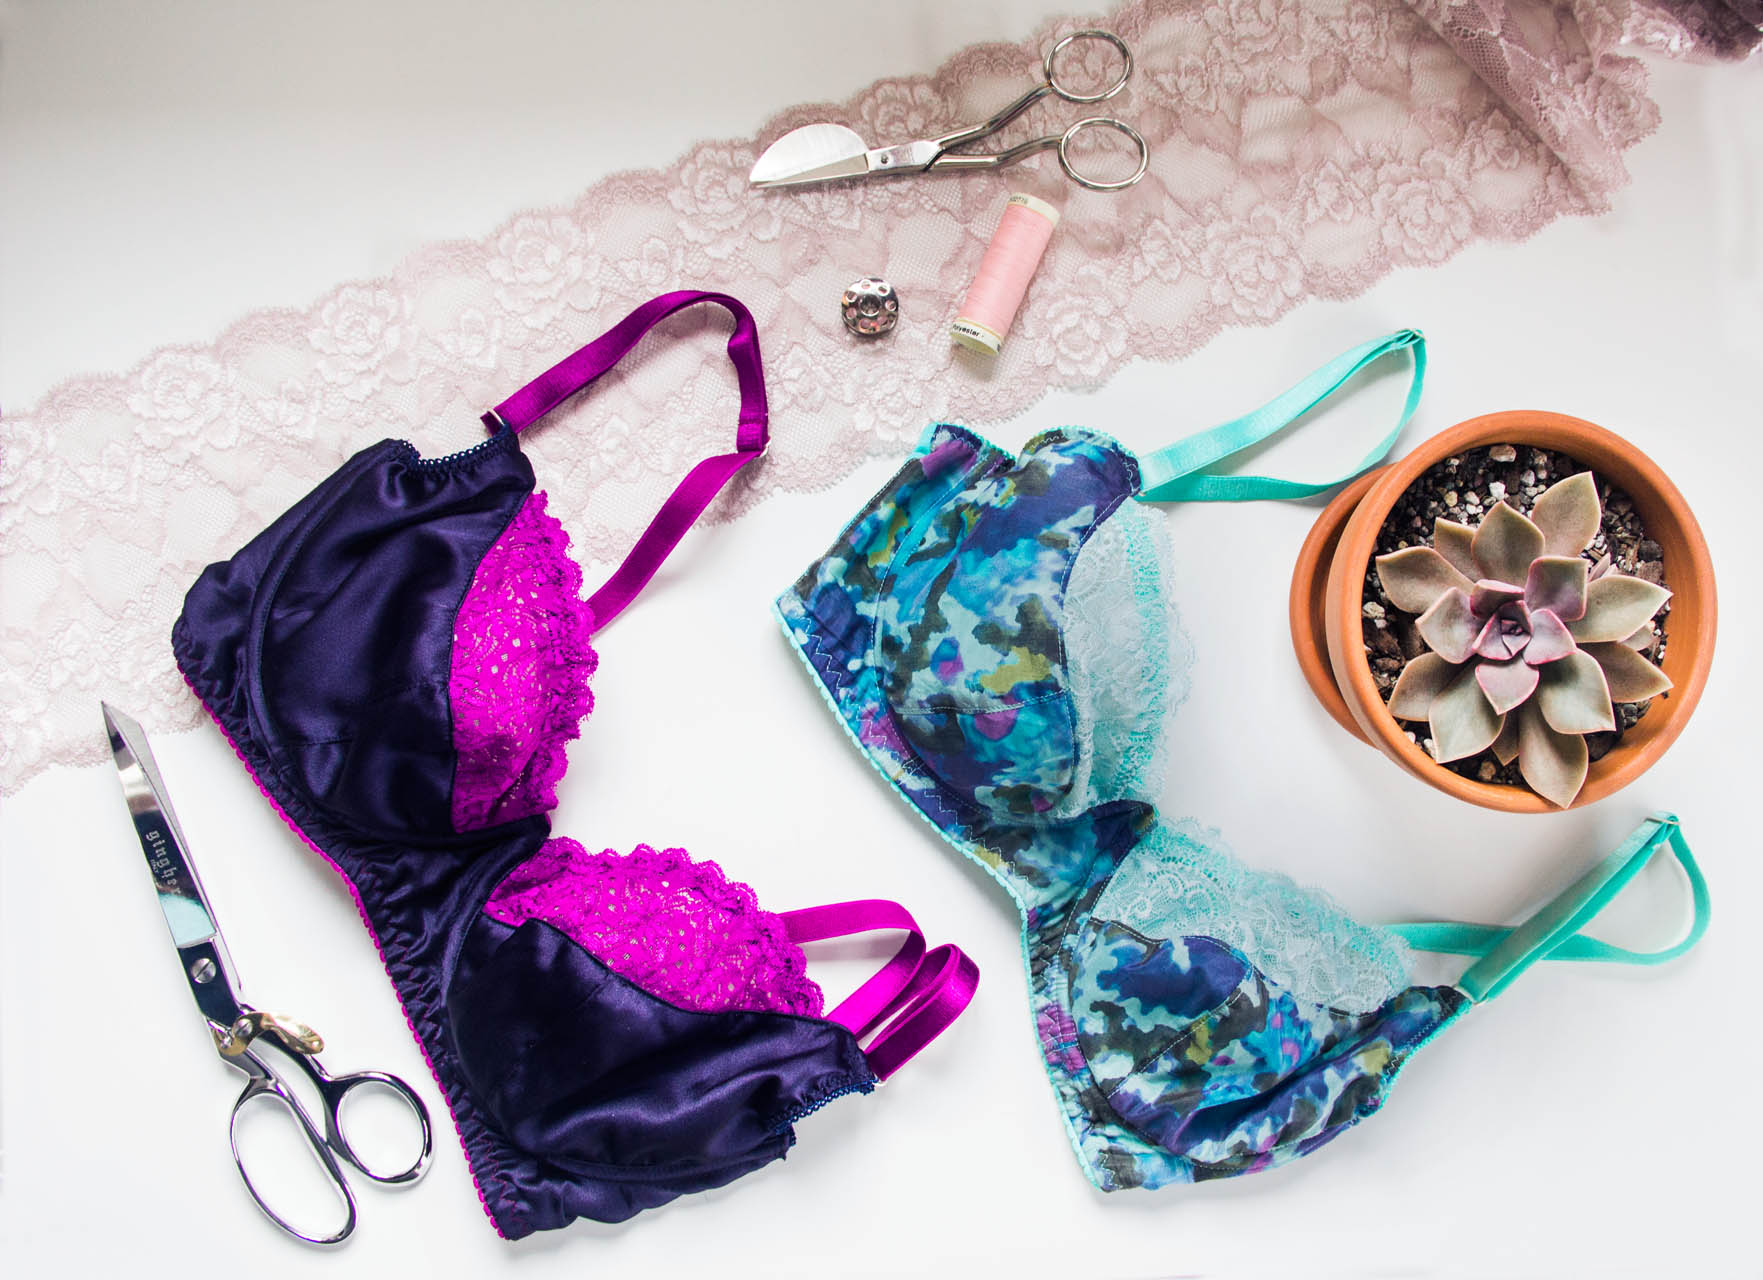
Harriet! Hi Harriet! Cloth Habit's new pattern, the Harriet Bra, has been taking the sewing world by storm the past few months - my instagram, facebook, and bloglovin' feeds are all full of Harriets in all shapes and sizes. It's wonderful, and it's high time I joined the party! (I actually made the first bra in this post a while ago, but I'm only now getting around to blogging it!)
I'd been waiting aaaaaages for this pattern to be released, and even before I laid eyes on the samples, I'd already committed to buying the pattern. Why? First, Amy (the blogger behind Cloth Habit and designer of Harriet) was my main source of knowledge when it came to learning about bra sewing - her sewalong is free but I felt like I owed her for all the invaluable information she'd imparted. Second, I've realized lately that even though I can (and do) self-draft bras and whatever else I want, there's a lot I can learn by investigating the choices other people make when drafting a pattern.

So, I got myself a copy of Harriet and.... promptly got stuck. See, Harriet's my first. Not my first bra of course, but the first one I didn't draft myself. My first time making a bra from someone else's instructions - and someone else's sizing.

When I drafted mine, I just used my measurements and a ruler. There were no cup sizes or any such trivial weirdness, so it was easy to draft. Once I reached the fitting stage I was even further removed from 'traditional sizing' - No cup sizing here, just inches, french curves, and stretch percentages. Here I was with the Harriet, faced with figuring out which size to print out, and not a clue in the world.
My main problem is that I was measuring at the 28E but that called for a size 36 wire - I generally use a 40. After attempting (and failing) to draft smaller cups into a band with my size 40 wire, I decided to just cut and sew my size as drafted and see where I ended up.

While the bra itself has some fit issues, it was leagues better than my original attempts to 'frankenbra' the pattern. The wire fits differently than I'm used to (more on that in a moment) but I definitely wouldn't qualify it as 'too small' - even though it's a whole two sizes smaller than the wire I usually wear.

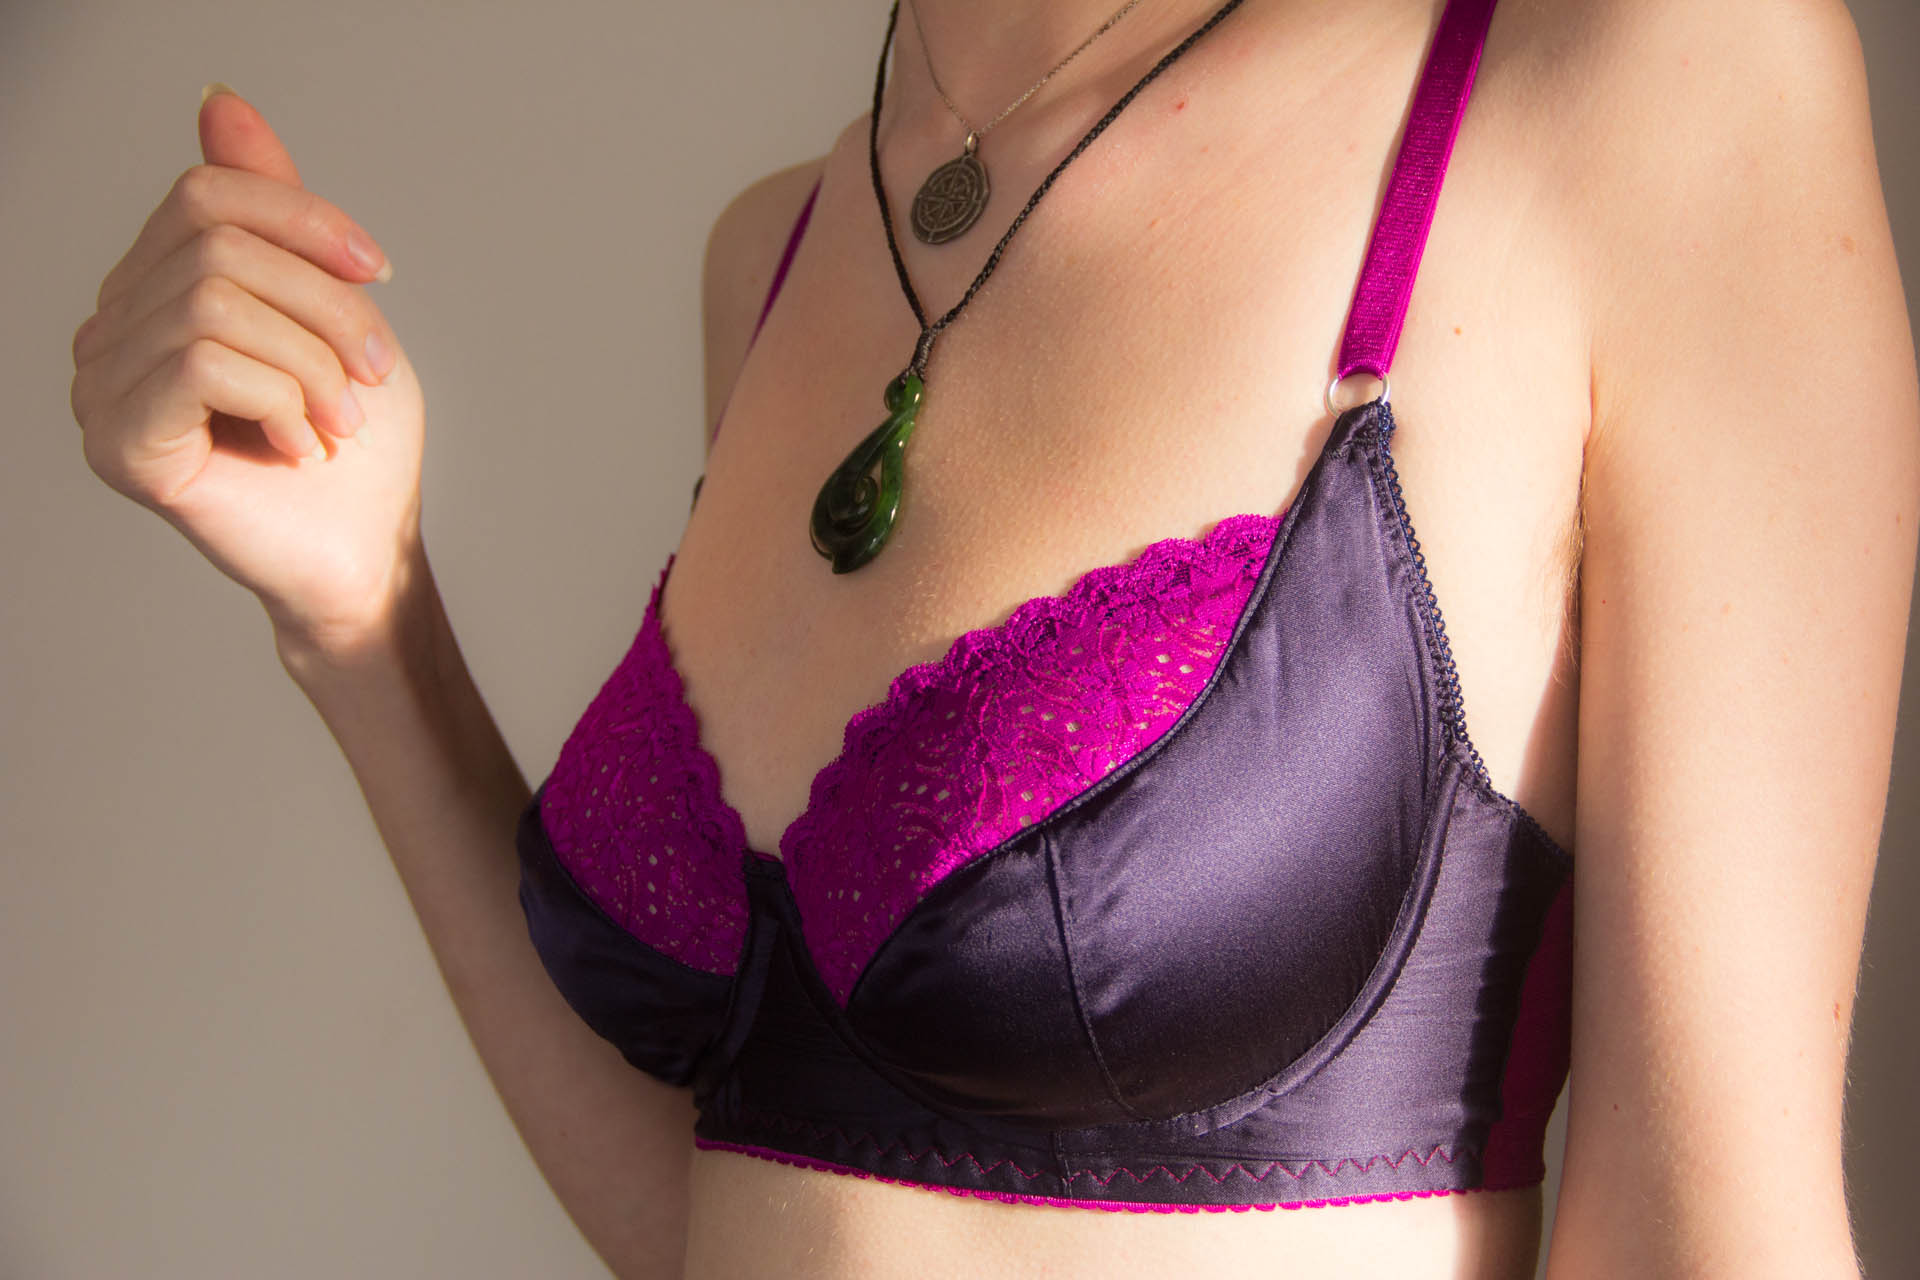
For those of you following along, I'll stick all the pertinent info in one place: Cloth Habit Harriet, 28E in View C (fully lined) except the 'self' pieces are woven silk, with lined stretch lace upper cups. The upper cup lace is from Elle Joan's, purchased to match the silk, which is swag from a $10 silk scrap bag I scored from The Fabric Store. The scrap was about 24" long and 8" wide and had a selvedge printed with something Japanese - it was enough for the bra with a small swatch leftover that I'm probably going to frame because I love it so much.
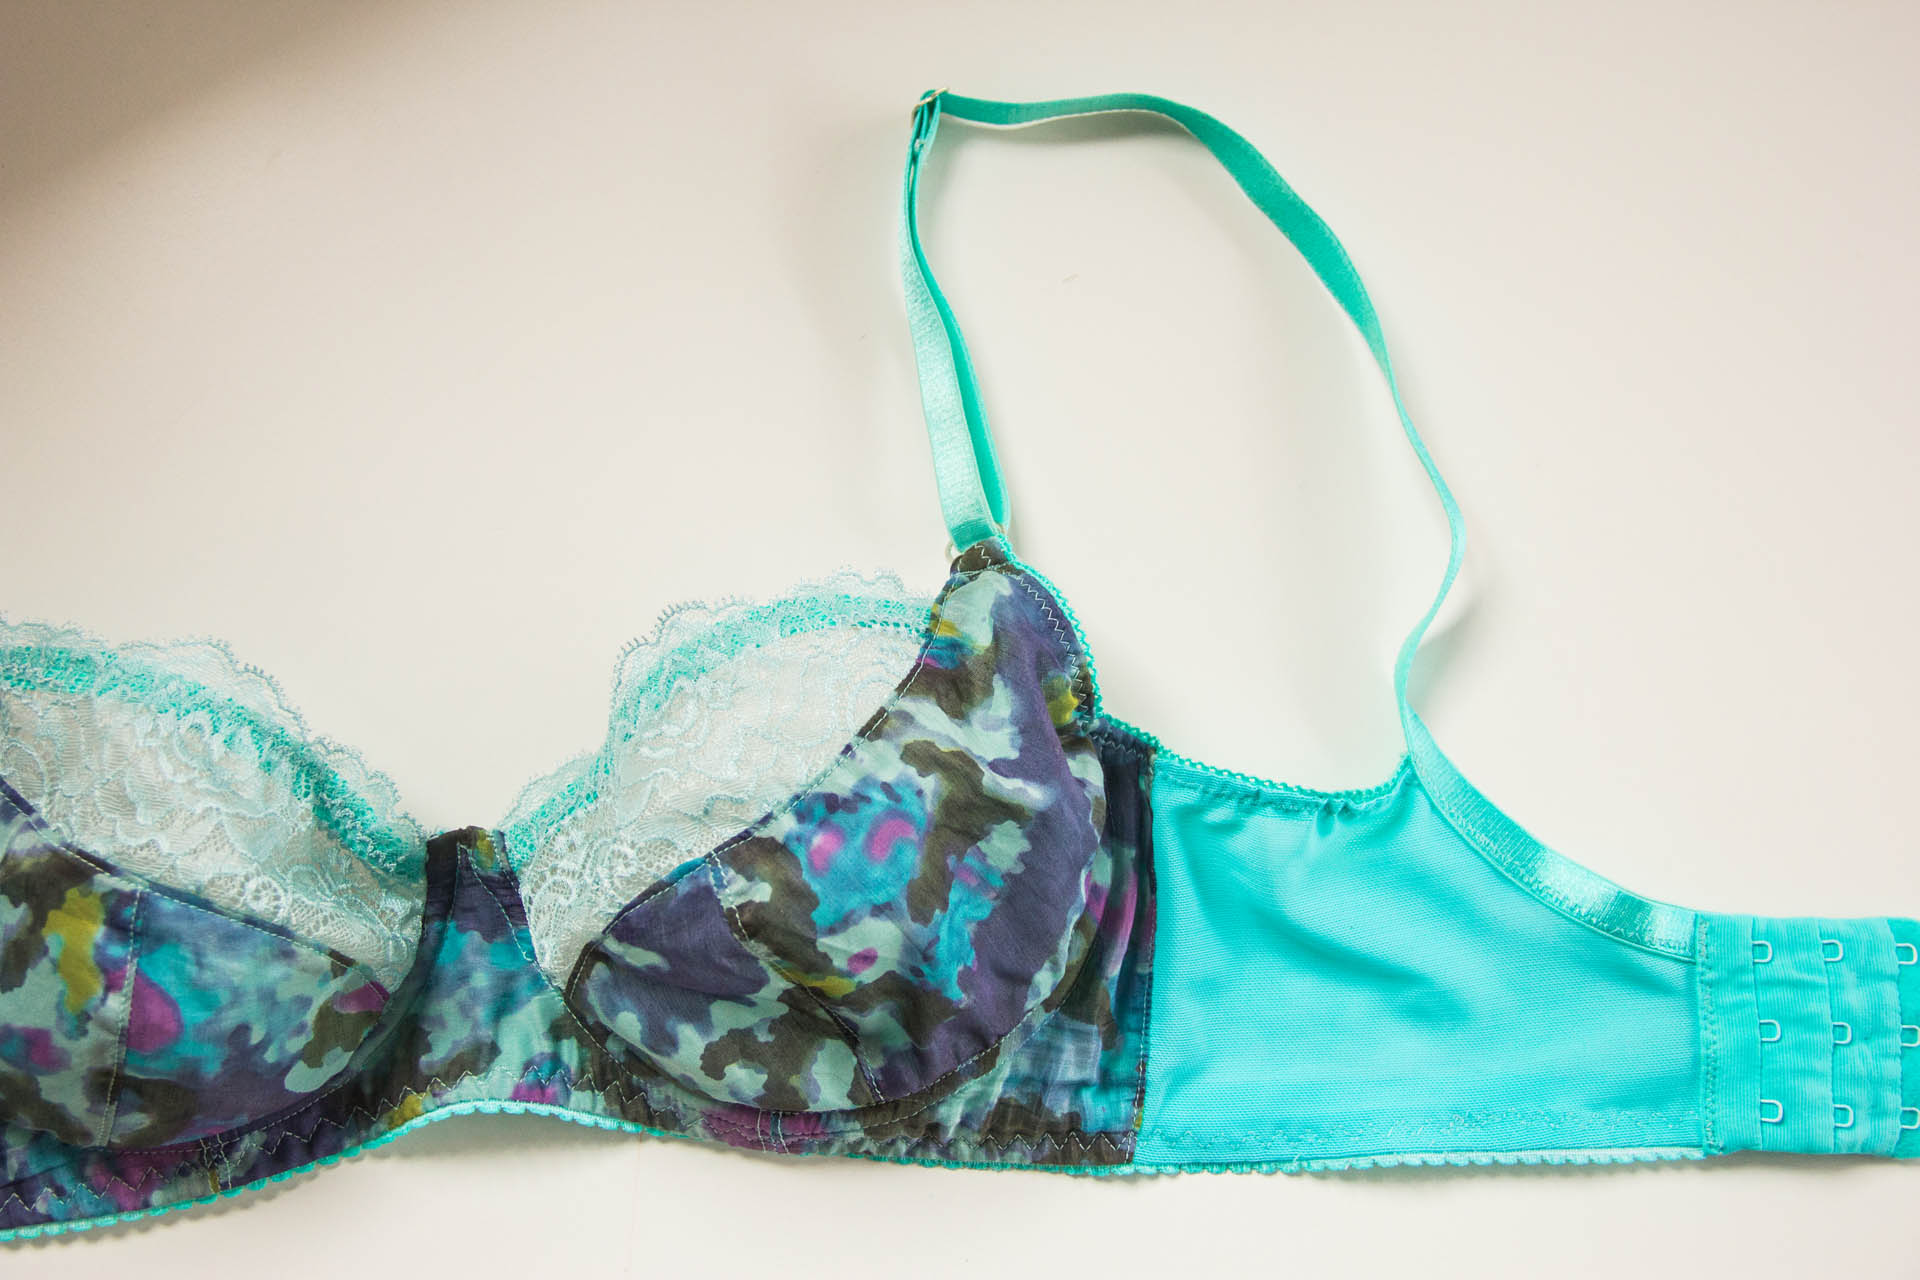
The underbust elastic (I chose to use a wider elastic than the pattern calls for) is also from Elle Joan's, as are the rings, hook/eye clasp, powernet, and sheer cup lining. The strap and picot elastics are from a manufacturer's surplus outlet/fabric store in South Auckland. All elastics, plus the powernet and sheer cup lining are dyed with Acid Dye from Dharma - mostly Bright Aqua with a tiny pinch of Brilliant Yellow. They're a bit brighter than the base color of the silk, but that color is the bomb diggity so I'm not sure I care that it doesn't match exactly.

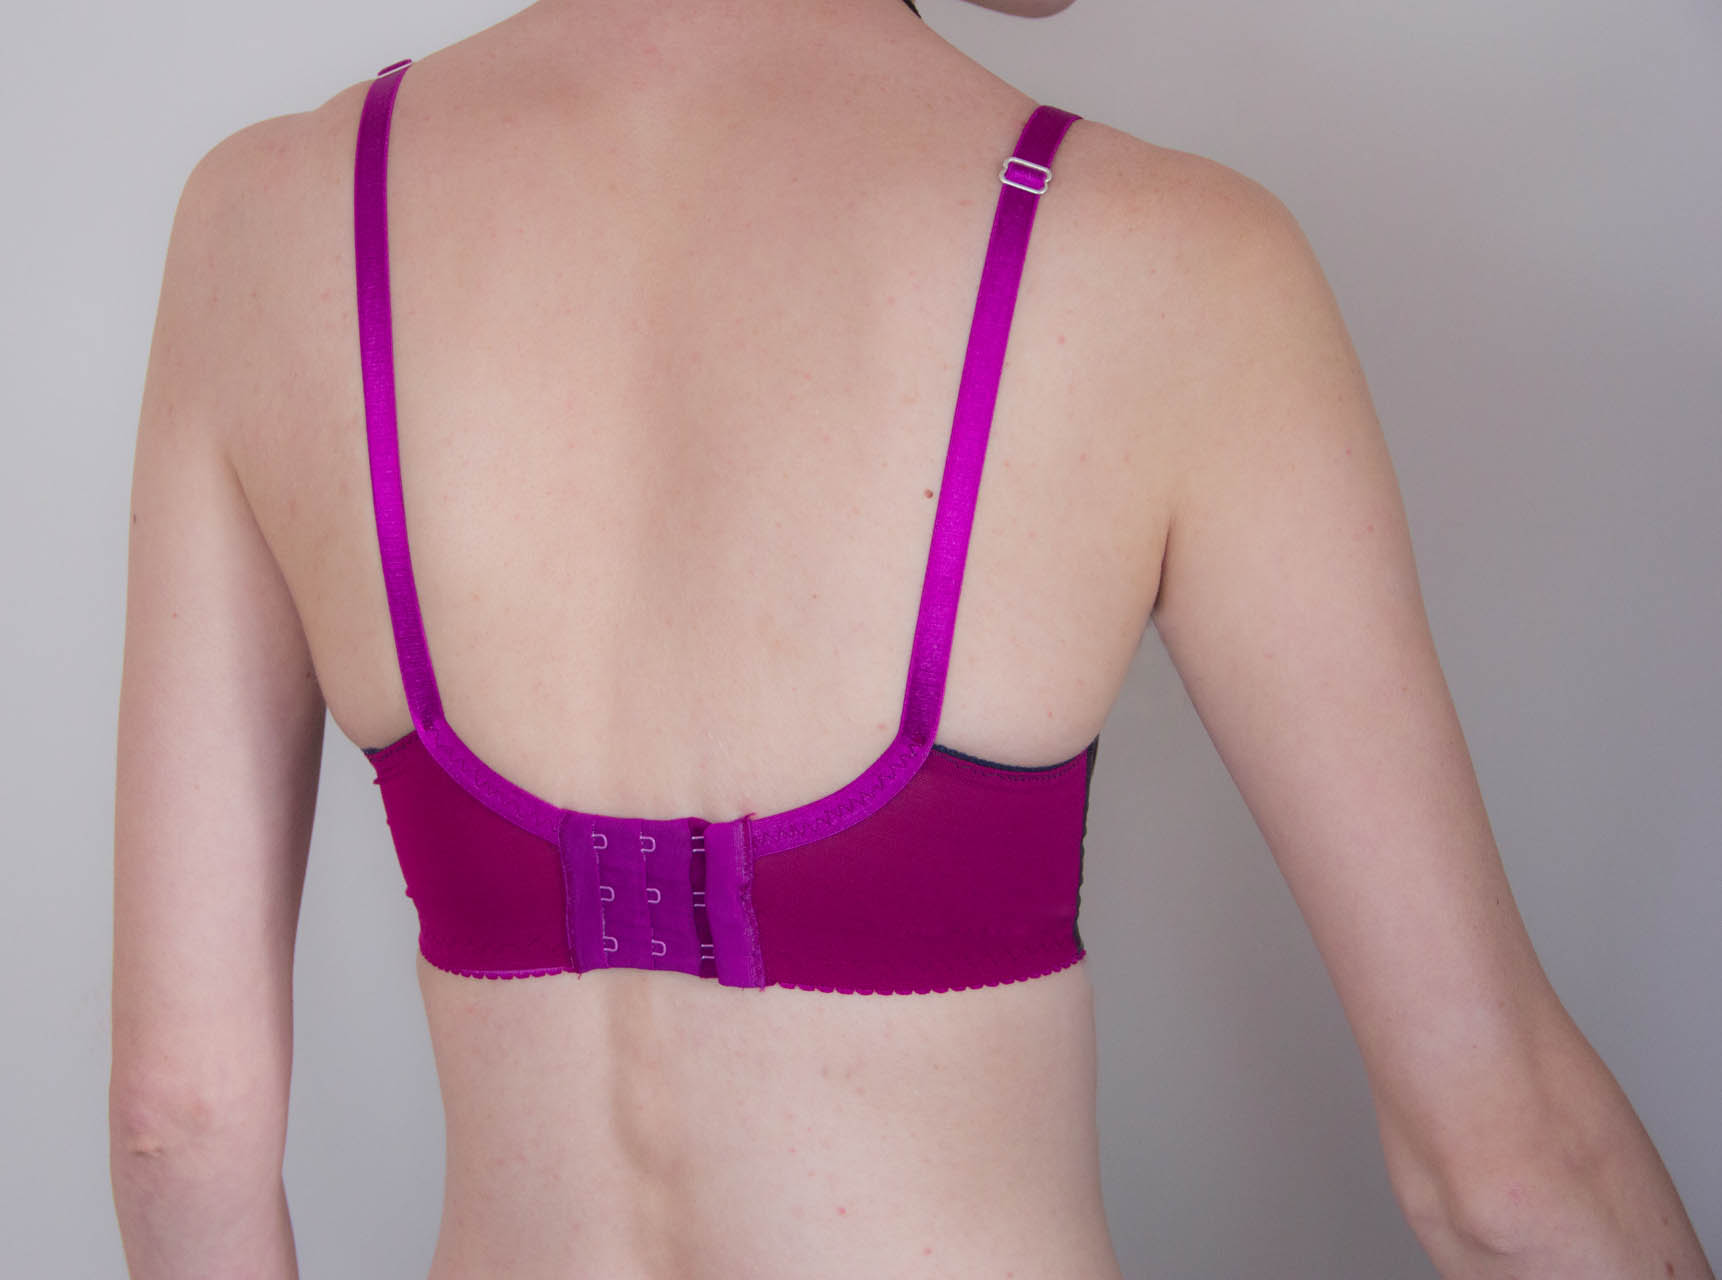
I'm very happy I made this pattern- in fact I've made another one already! The instructions were easy to follow, and I really enjoyed that the way the cups are constructed hides the main seam between layers of fabric. I also hadn't yet performed a back strap attachment in this way, so that was fun to try - and the channelling finish was a bit different than I normally would have done. That said, however much I love everything about it - it doesn't fit.

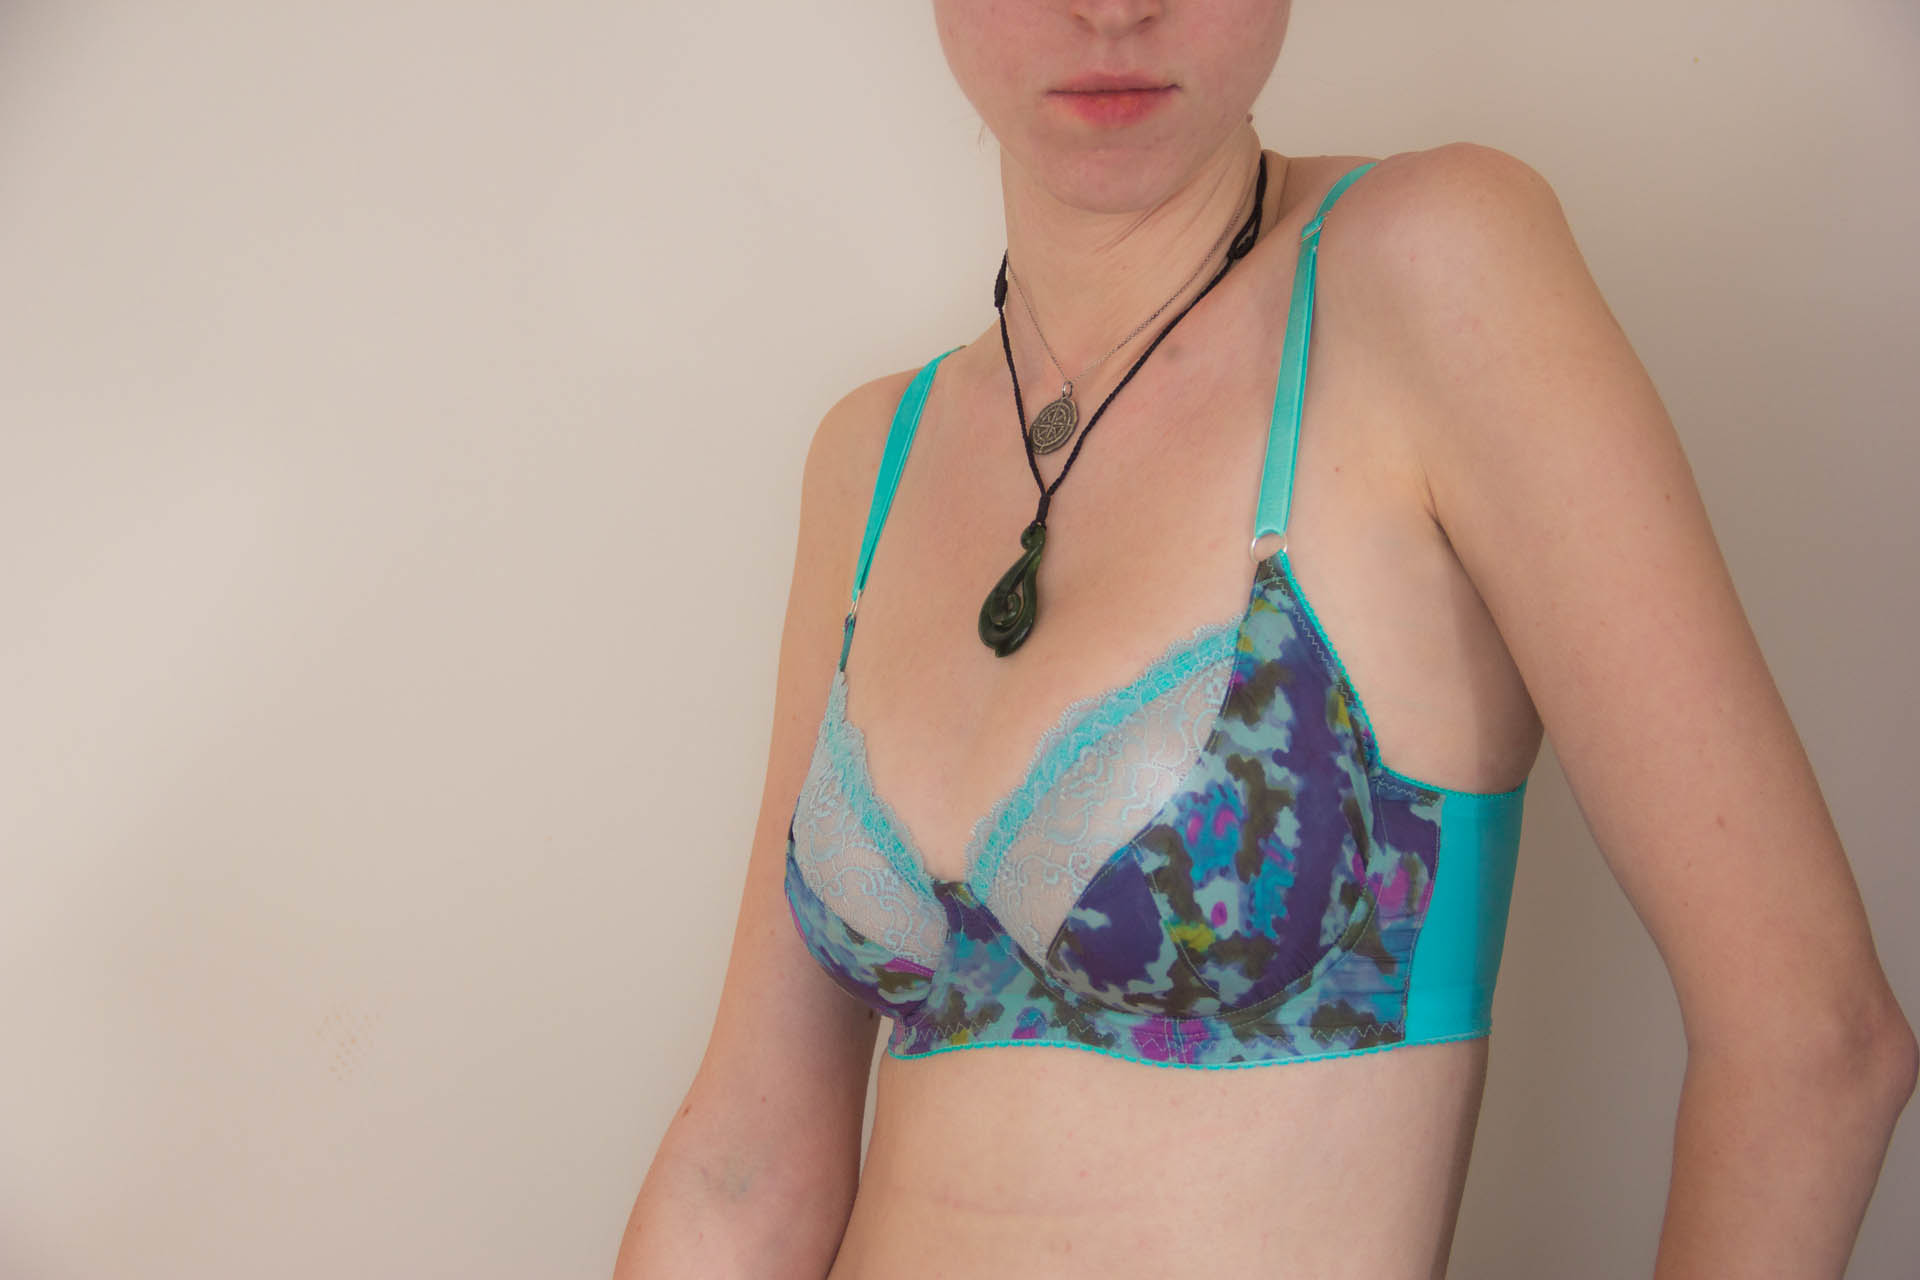
First note: If you've read my previous bra blog posts, you'll remember that I generally make plunge bras because I have a convex sternum which causes underwire issues (most people's sternums are flat). Wires generally poke me right in the middle of my chest if they come up too high, so I avoid those styles. Why even bother with this pattern then, you ask? Well, aforementioned reasons, but also I read recently that sometimes people with similar sternums bend them out slightly, so I had decided that worst case scenario I could take a pair of pliers to them and see what happened. After wearing the finished bra for a grand total of two minutes, I realized it was time for the pliers. I bent the top 3/4" of the wire away from my chest slightly, and the result is a much better fit in the center of my chest. Better, but not perfect.

I needed to size up for my next Harriet. I pinned a bra extender to the clasp to test out the band with an extra 1/2" of breathing room, which has brought this bra from the realm of 'death squeeze' to 'mostly okay' - unfortunately, there is some boob spillage going on. For the next Harriet, I decided to make a 30E: Up one cup size, and up one band size.

Meet 2.0! I sized up cup, band, and therefore wire - meaning now we're only one size smaller than my usual choice. Interestingly, this wire also seems to follow my breast root well. My suspicion is that the wire springs more in this pattern than it does in my draft? I'm not sure how to prove that theory. The lace and elastics are from my little warehouse outlet in South Auckland. I'm not sure about their quality but I was pretty sure this one was going to turn out to be a tester, so I wasn't fussed. I dyed them with Deep Magenta and a dash of Royal Purple Acid Dye from Dharma.

The navy fabric is stretch silk charmeuse from my silk scrap bag again. I didn't realize the fabric had quite that much stretch until I was already committed, and it made for quite a wiggly sewing experience. I stabilized it with sheer nylon so the fit is fine, but in retrospect I should have saved the silk for a pattern that could have taken advantage of the stretch.

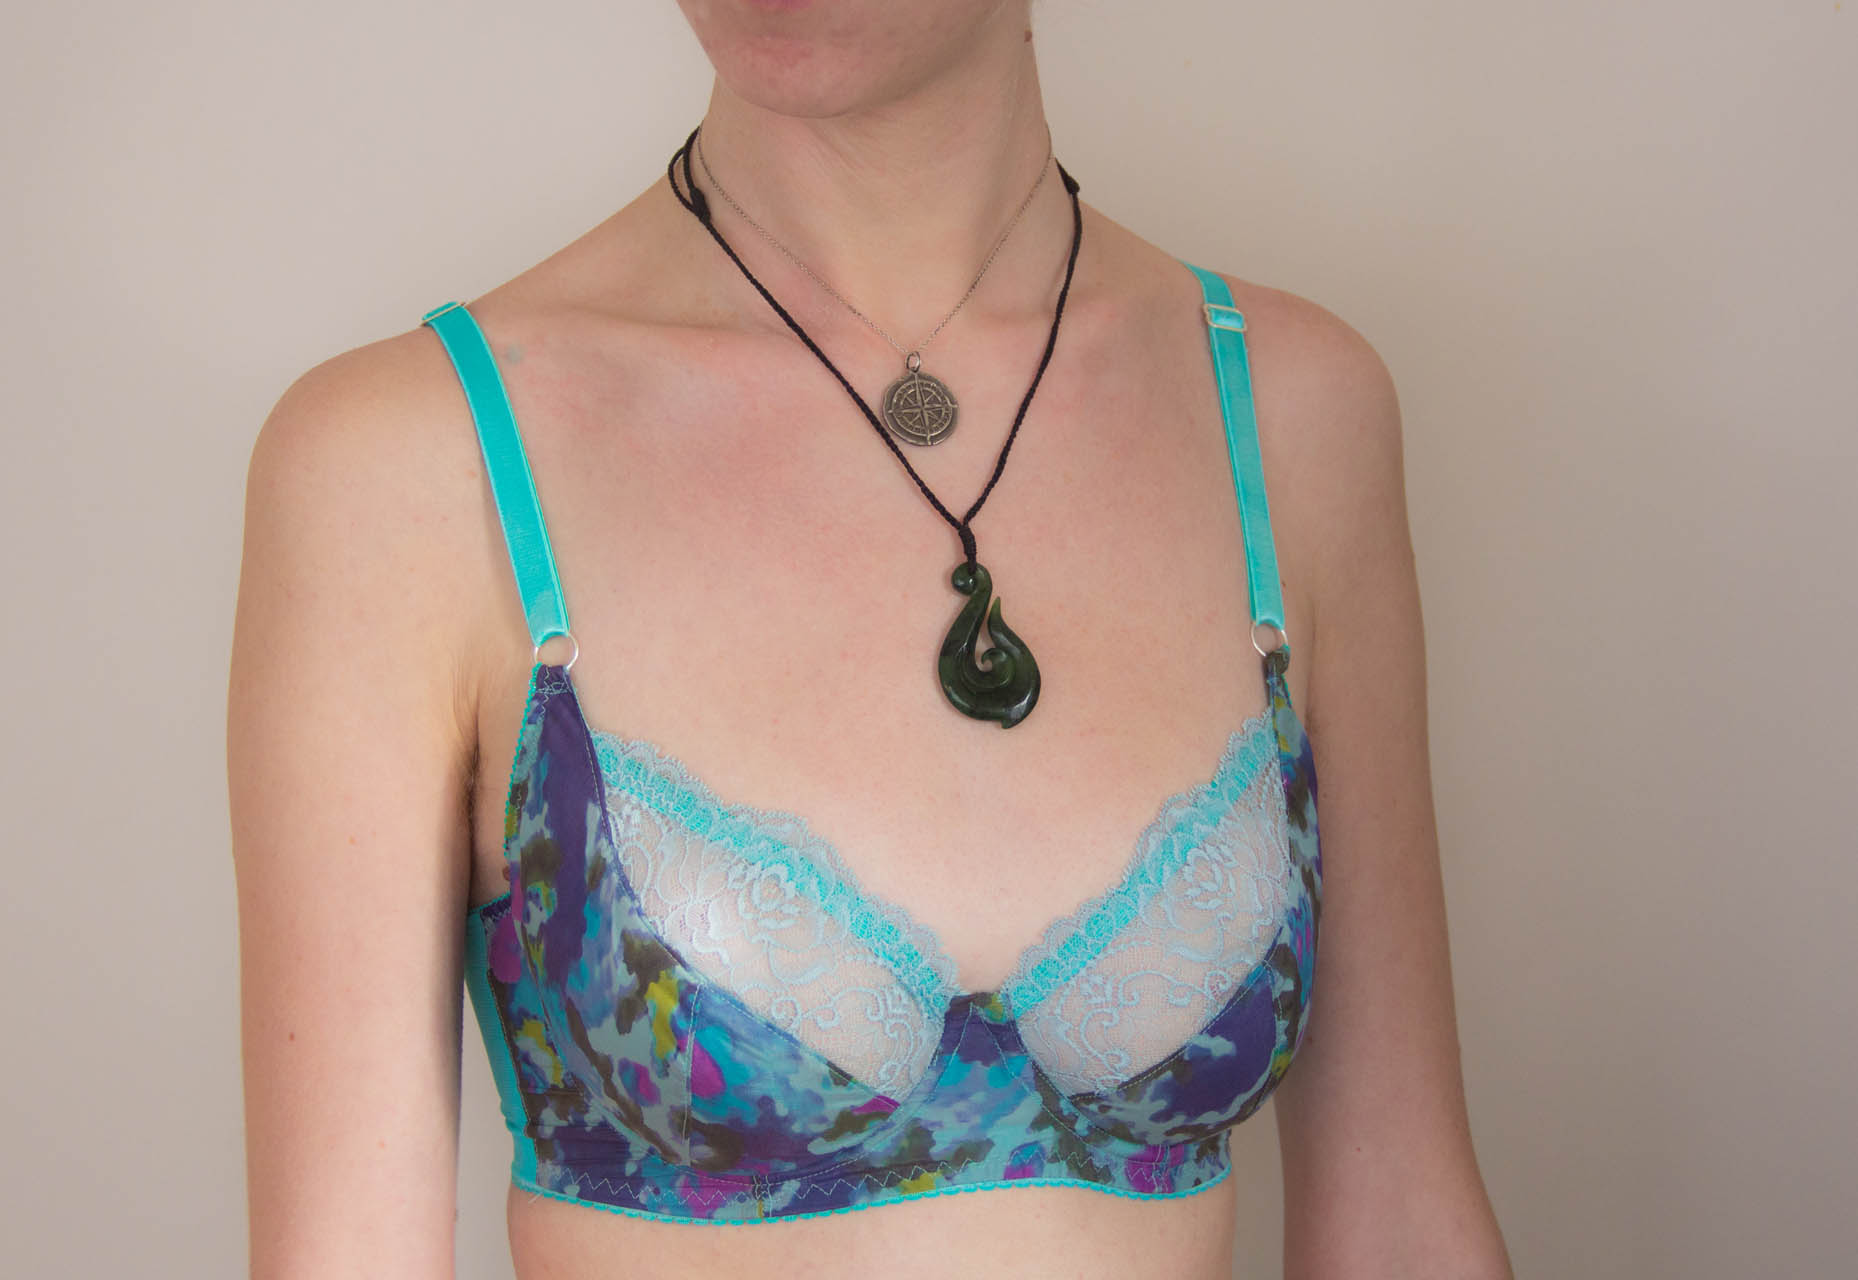
This is definitely the size that's supposed to fit me. The cup shape is spot on (hella smooth under a tight tee, which is awesome) and the band fits well too. Unfortunately, after wearing this bra out to dinner (Guys. Do not wear a bra in a place you can't take it off until you've worn it around the house for a few hours and you're sure it fits.) I believe I've established that the high center wires are not my jam.

Even though I bent them away from my chest considerably on this one as well, I still had an angry red pressure spot on my sternum after a few hours. It gave me flashbacks of the problems I used to have in fitting rooms back when buying bras was still a thing I did.

I started my bramaking journey with a lot of assumptions about styles, types, and construction methods that I could and could not wear (or would and would not try) and for the most part I've been thrilled at any chance to prove myself wrong. There still might be a way for me to get around my protruding breastbone and wear longer wires, but considering my wonky sternum is also the reason I can't lay down flat on my stomach without losing the ability to inhale....I'm not holding out too much hope.
Don't get me wrong - I loved working with the Harriet. I learned a lot about drafting, tried a new cup construction method, and really just enjoyed the process as a whole. I love drafting and sewing my own patterns, but sometimes it's nice to make something that someone else has already done all the thinking for. I do wish I had more of that pretty Japanese impressionistic silk left to make something that actually fit, but I'll survive.
These two are probably destined for life in a box until I can find someone who will fit them, or until I decide to scavenge them for parts. In the meantime, after two very pretty bras that don't fit, I'm fairly certain the universe is trying to tell me to take what I've learned and go back to my own self-drafted pattern. I haven't added anything to my lingerie box in a couple of months, and it's high time for some new faces. Watch this space, I've already got another two in the queue to share with you!
