Up until this point, the dress existed independently of the embroidery. I was even working on them on opposite sides of the city - the embroidery at my house, and the dress at Jon’s parents, where it could stay on the dress form. After completing the skirt, attaching the bodice, and installing the zipper, I had two things left to do: Attach the embroidery, and hem the dress. I’d finished the embroidery by this point, but I had not yet finished telling you about it, so I’ll catch you up and then we can talk about the Biggest Moment so far - attaching the embroidery to the dress!
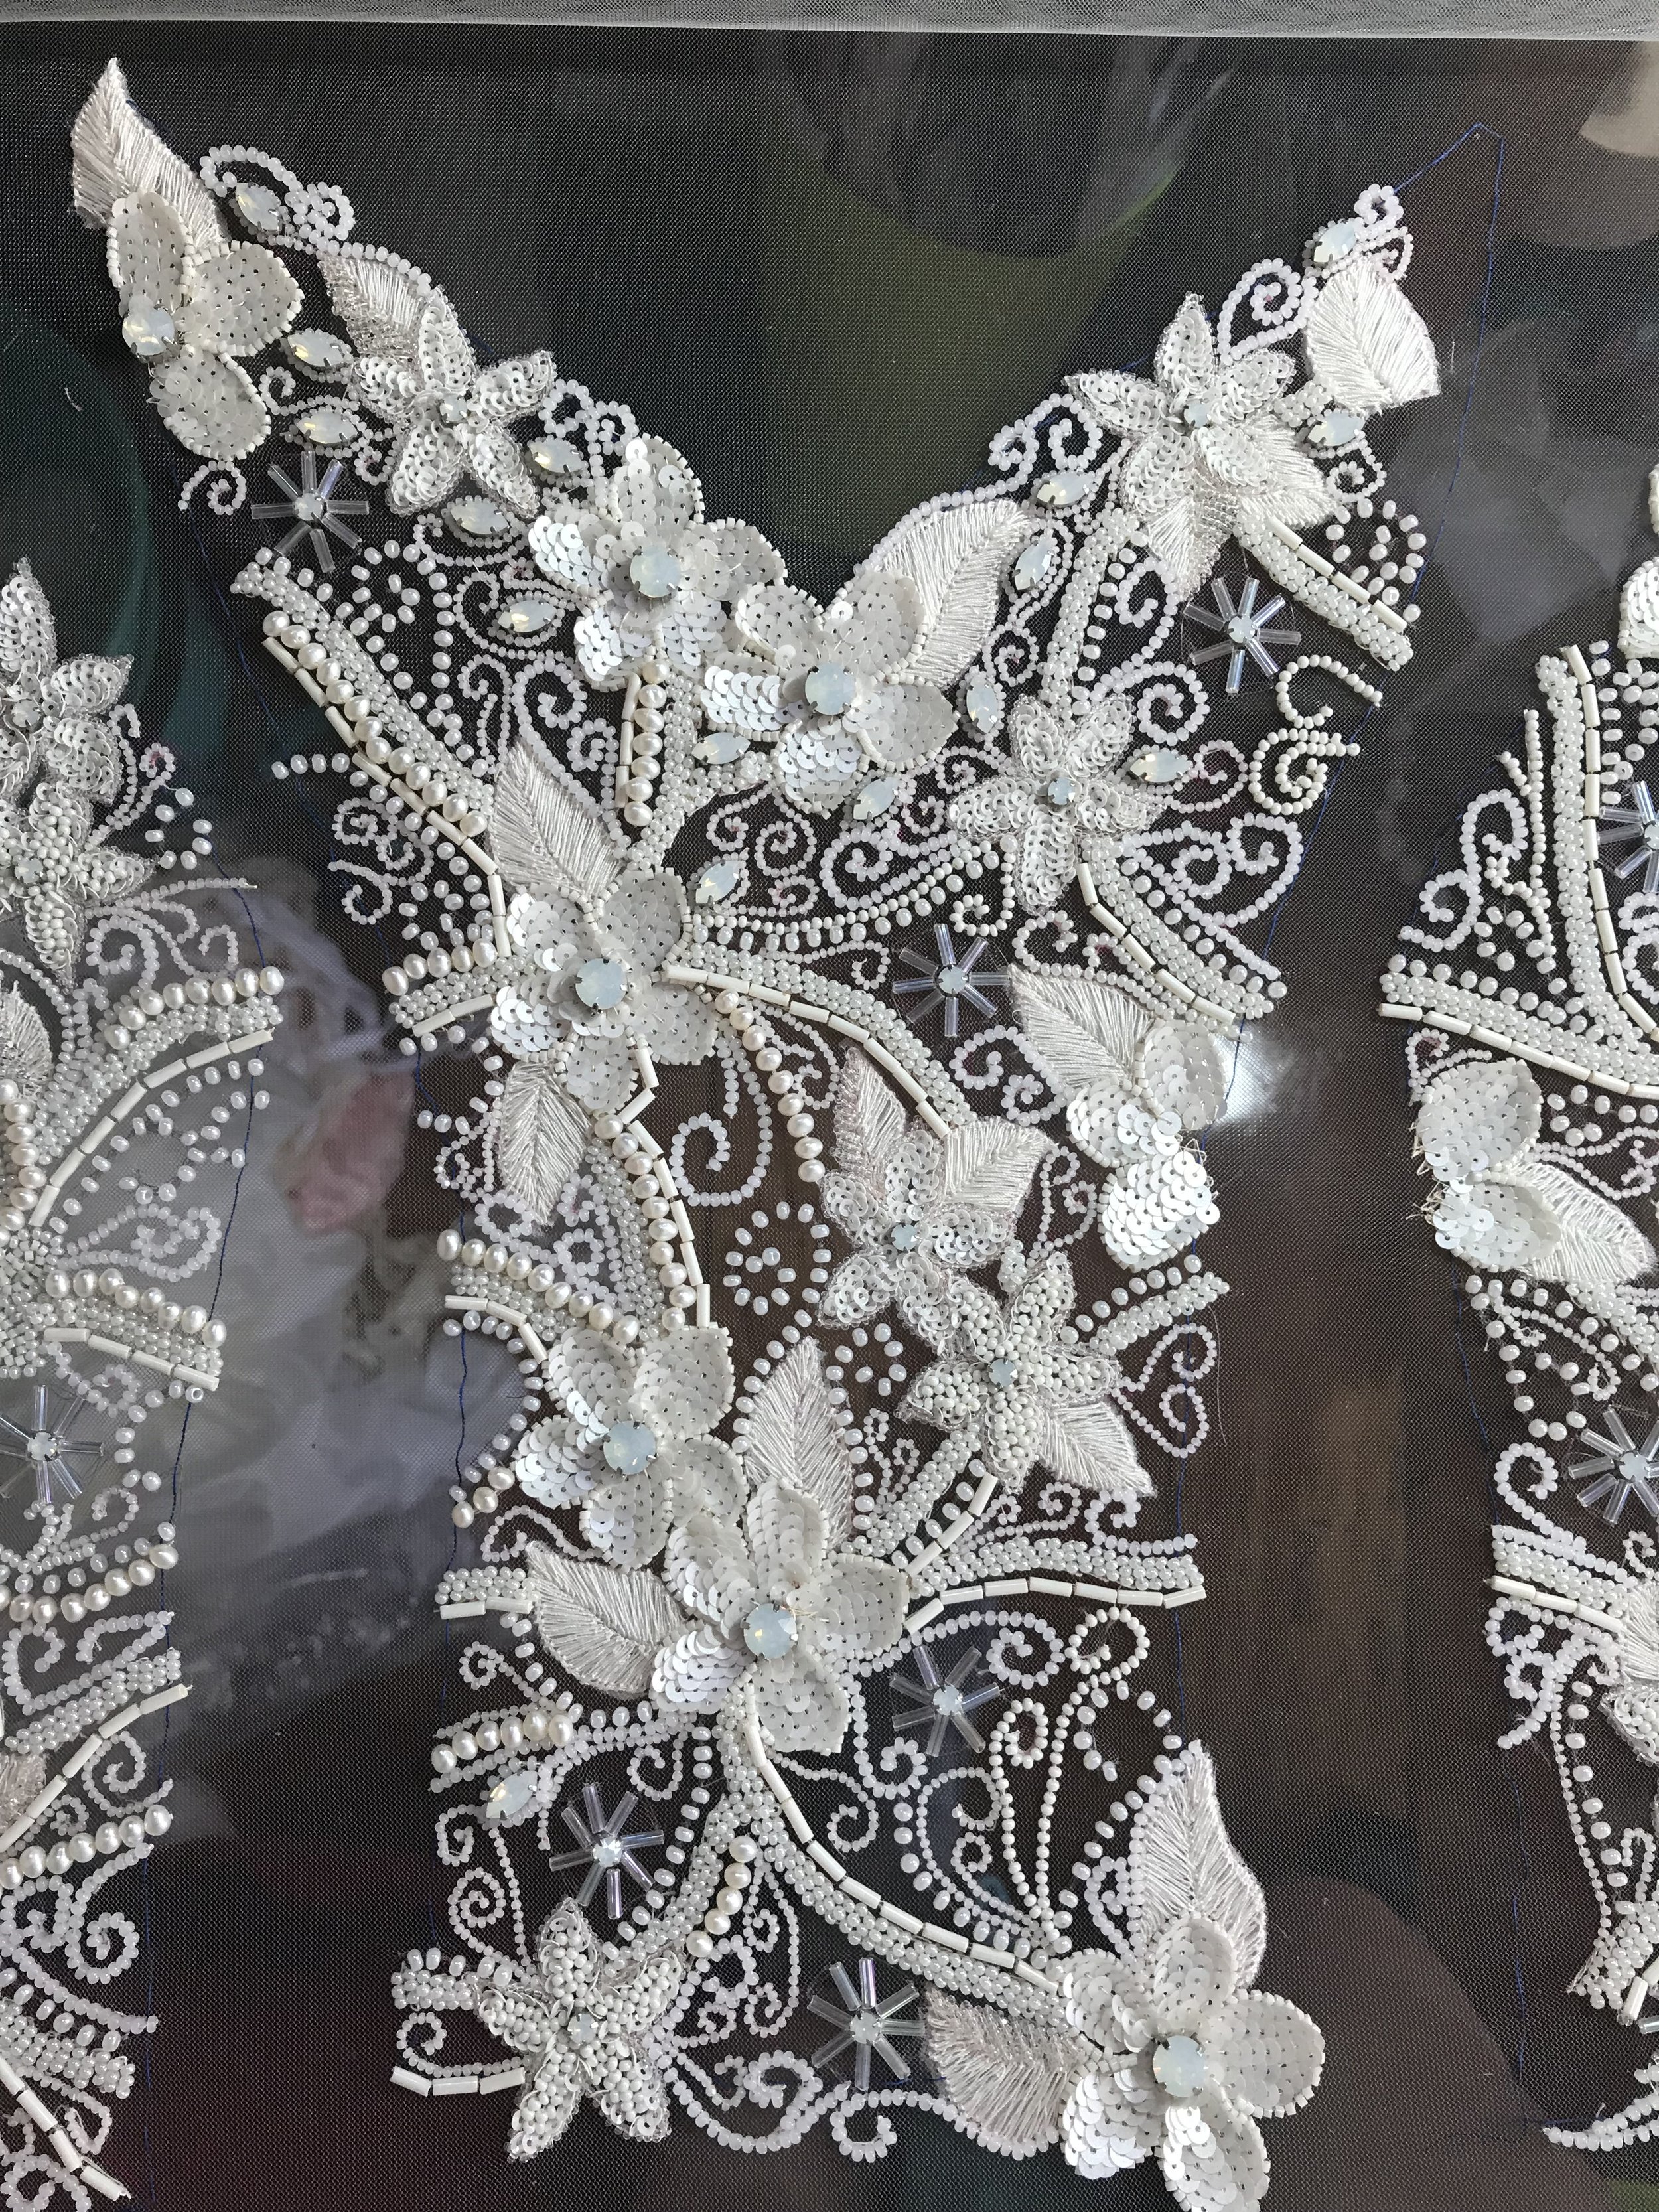
Fortunately, no major drama followed for the Tambour. I did have to order some more Swarovski crystals for the flower centers, but they came along without incident. As with any skill you decide to pick up, I worked on it every day and every day I got more efficient and more confident in my stitches. I don’t think the areas I worked on first look too different from the areas I finished up with, but I definitely got quicker as I went! The last pieces I filled in were the leaves, and let me tell you, weaving in the ends on that last leaf was a very strange experience. Here it is, just a few stitches before I finished it:
The dress only took a few weekends to sew, but the embroidery I’d been working on for the better part of a year! It was strange when it just finally…stopped. There was more of the dress left to work on, of course, but the thing I’d been coming home and working on every day after work - the thing I’d been spending every spare minute of free time working on - was suddenly just gone. I can’t say it was a 100% nice feeling, but then again, It’s certainly ignited a love for tambour embroidery - I’m in the planning stages of a new tambour project, so that’s a bonus!
As I embroidered, I was tying off and weaving in threads so that the back of the work was as neat as possible, but it turns out there was one last step before the embroidery could come off the frame. There are two schools of thought regarding finishing the back of a tambour beaded piece: whether or not to glue your knots. I couldn’t find definitive information online that swayed me in a particular direction - every new resource I found said something the opposite of the last. I had decided not to glue because I couldn’t find any information about what type of glue to use if I did, and as I intend for the dress to be around for quite a while (even if it was only worn once) - I didn’t want to risk the glue discoloring with age.
BUT. over the course of the embroidery, I’d made a new friend on Instagram - a wedding dressmaker who studied Tambour Embroidery at Lesage - and when I posted that I’d finished the embroidery, she sent me a message that said “Don’t forget to glue your knots!” - and I was SO confused. She also told me that before Lesage embroiderers glue their work, they steam it to set the threads in their new position (I imagine it’s a bit like blocking your knitting, or pressing a garment when it’s complete). To do this, I held my iron upside down and laid a damp tea towel over the plate. I held the tea towel wrapped iron about an inch under the embroidery (not touching!) so that the steam rose up to - and through - the fabric. It actually made a HUGE difference to the way my embroidery looked - everything relaxed just a bit, the beads laid flat, and the fabric wasn’t puckered at all. This had the added benefit of removing all traces of my heat-erasable pen.
I decided to glue, because if Lesage does it (and haute couture embroidered garments from Lesage are definitely museum pieces) then it must be correct. My friend told me to use a dilluted blend of Gum Arabic and water - I went with about 1:3 - and to gently rub just the threads and knots on the back of the embroidery with the mixture before removing it from the frame. After it was dry, I carefully unpinned the fabric and disassembled the frame, and felt its weight for the first time! I think the embroidery is about as heavy as the rest of the dress!
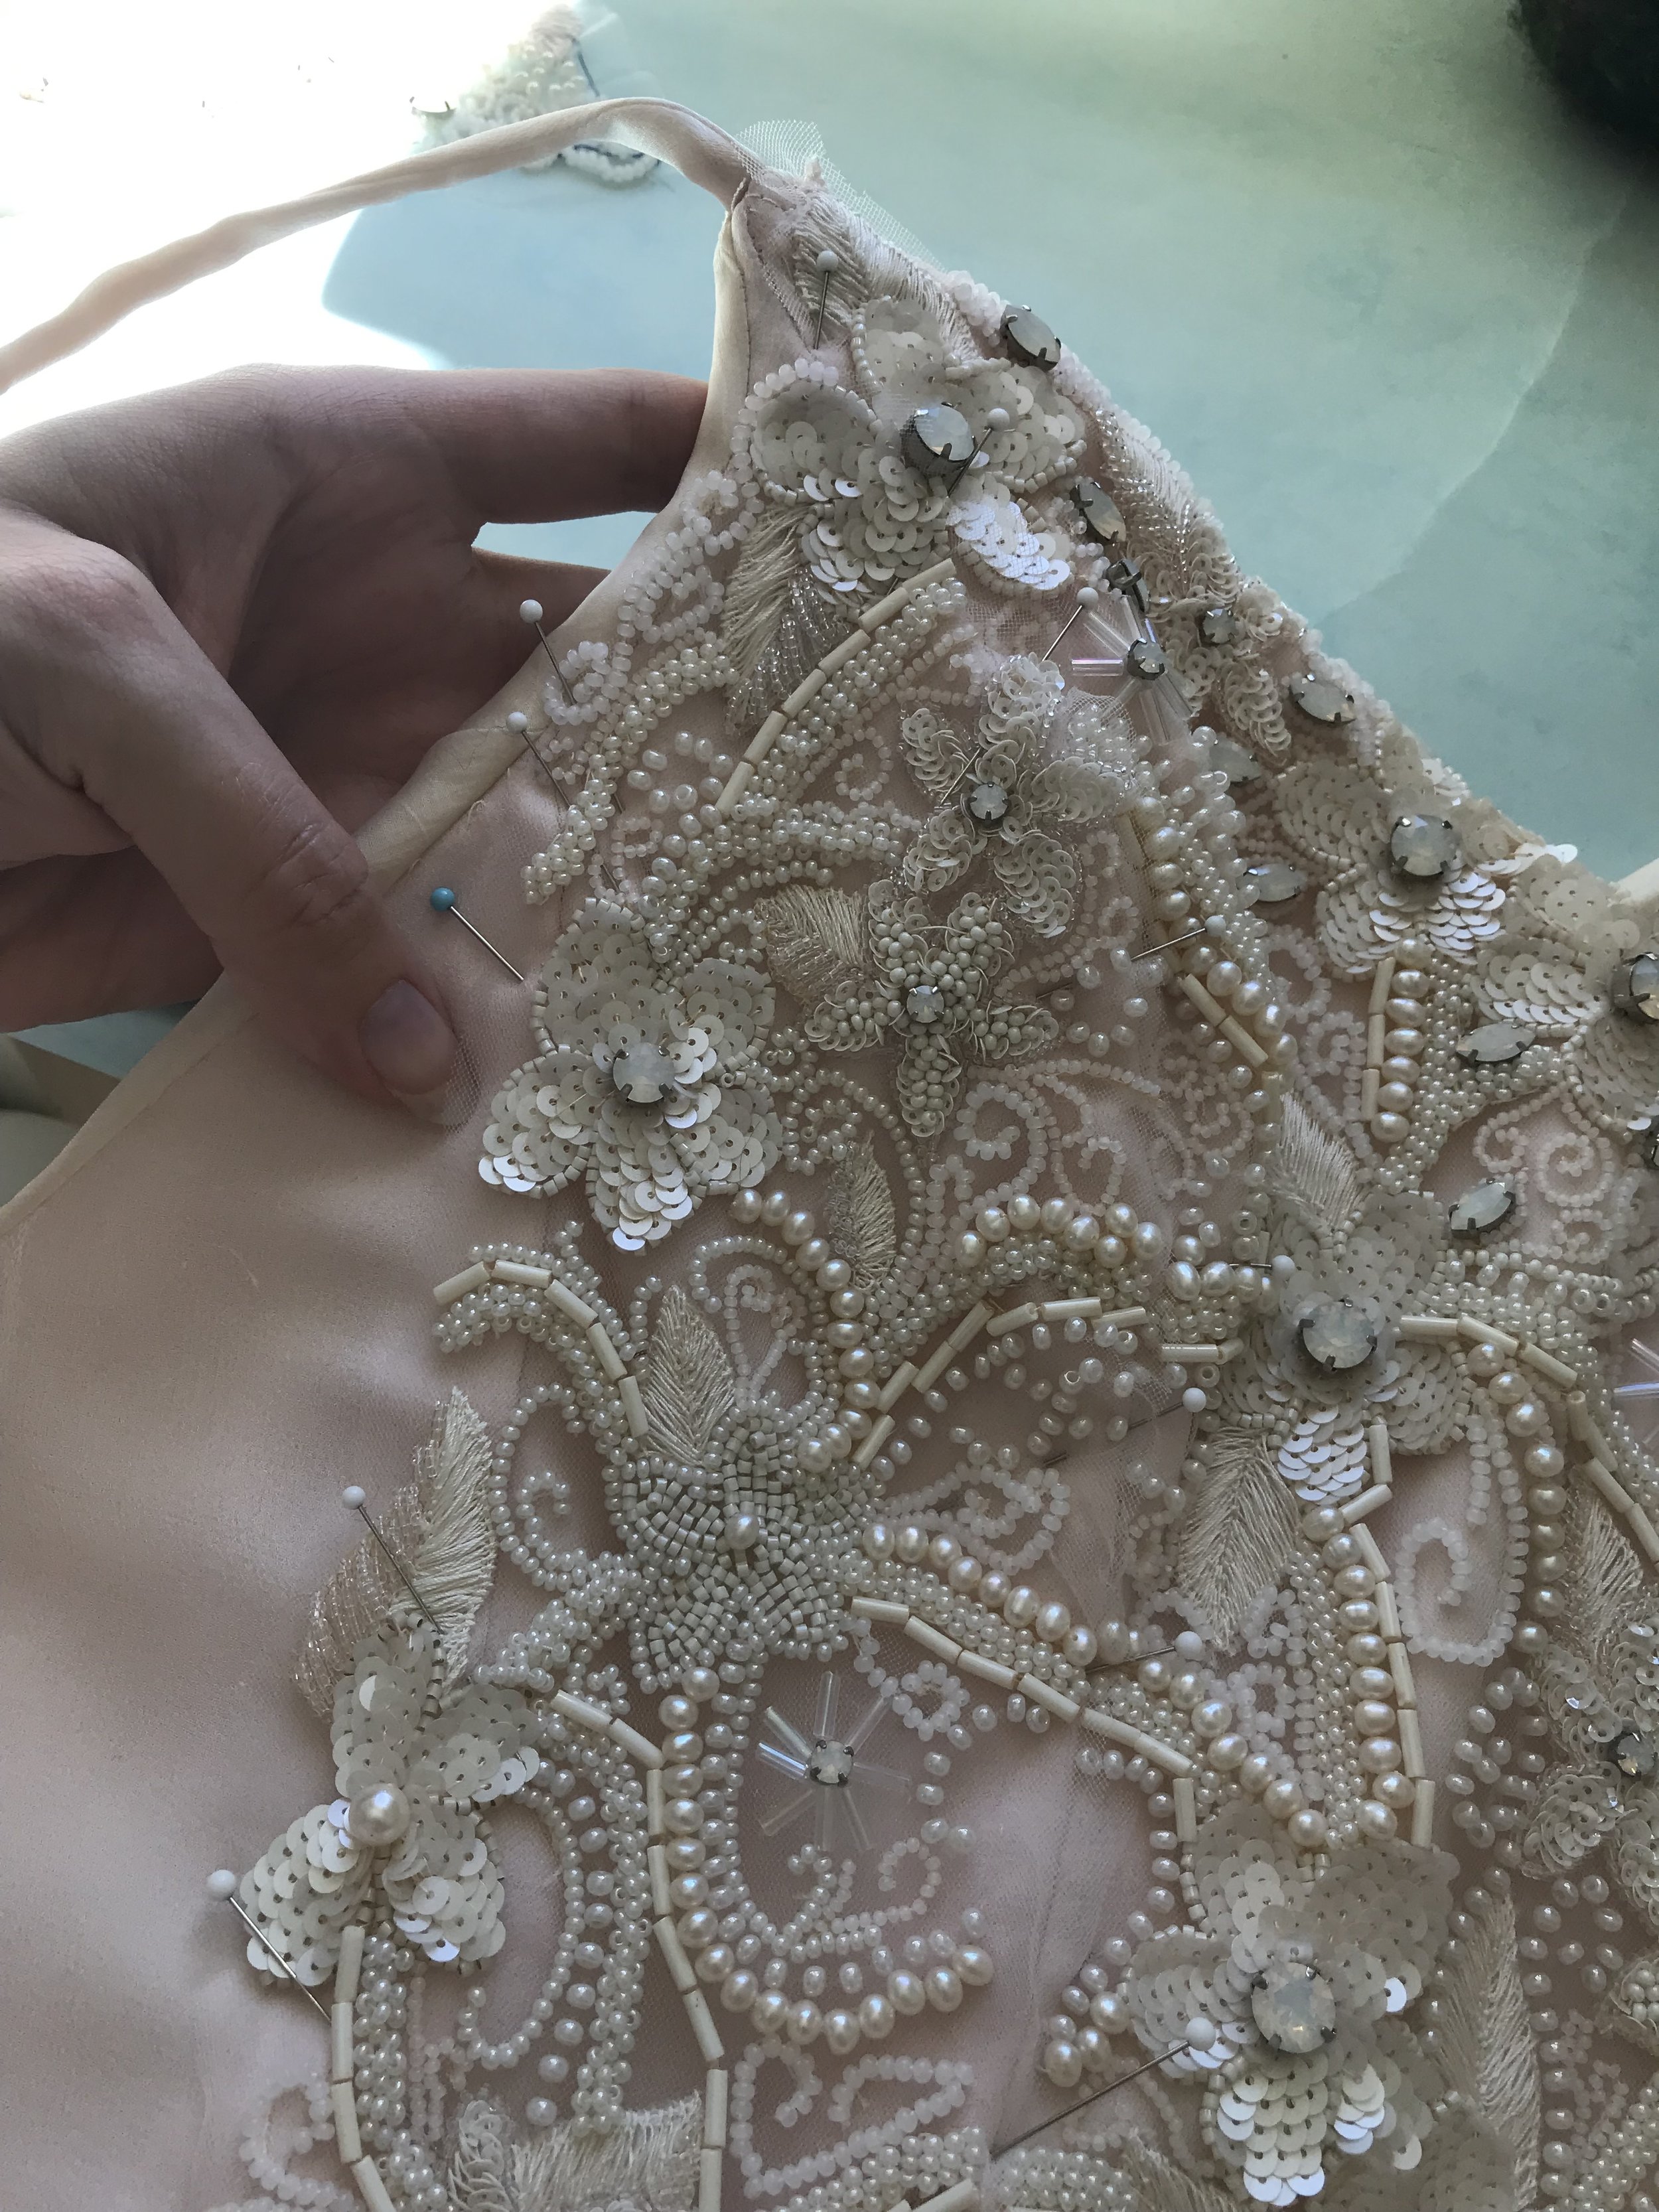
The process for attaching the embroidered pieces to the dress is most easily explained as an applique. I cut each bodice piece out of my tulle (tulle doesn’t unravel, so I could get very close to the edges of the embroidery) and then - starting with the center front - I stitched the embroidery down to the bodice of the dress, trying to catch the corselet layer through the silk as much as possible.
Each of the bodice pieces has a vine pattern which crosses from one panel to the next, so I used those to line up the pieces along the seams. Each piece was pinned in place as I stitched it, and one thing I will say is that the next time I do something like this, I will go out and buy glass headed pins that have extremely contrasting colored heads - my silk pins are white glass heads, and a white pin head is about the same size as a bead. I couldn’t see where the pins were and kept catching my hands on their business ends as a result. That was my ‘Don’t get blood on the project!’ moment.
It took about three hours to applique the beaded panels on to the dress. - I did end up with a few spots where my patterns didn’t quite line up, so I filled these in with a few spare beads sewn on to the dress with a needle, but overall it was a pretty reasonable process! It did come with a fair bit of stress - I’d planned everything as best I could but I suppose there was always a chance that the embroidery wouldn’t fit on the dress somehow. It was definitely a huge relief when the last piece was stitched on!
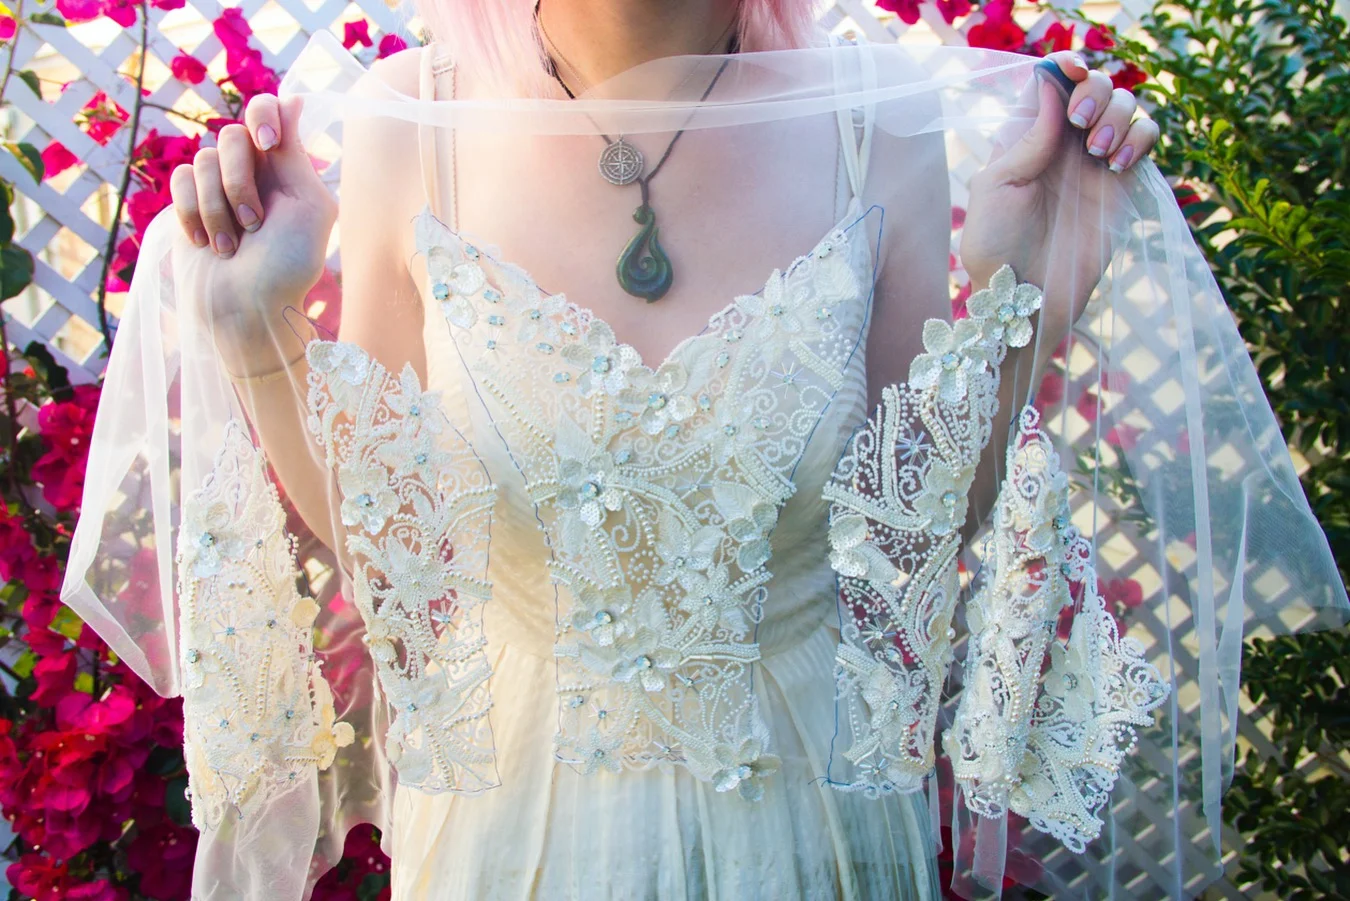
Below, the embroidery has all been sewn to the dress. You can see a few spots I had yet to fill in with extra beads, and on the right side, one flower center crystal that needs to be added - I didn’t add it before since it was right on top of a seam.
There was one issue - the back. The zipper ends at the top of the bodice, but the beading extends past this point by about 2.5” in a sheer overlay. My overlay needed (somehow - I hadn’t worked out the details at this point) to be attached so that it would stand up against my back, but the beading couldn’t be under the same tension that the bodice was under. As a result of the negative ease in the bodice, I’d ended up with a wedge-shaped gap above the zipper at the center back. I needed to fill it in with a small piece of beading, and decide how to attach it in the middle. That small task was actually the last thing I did (along with sewing in a wedding label) that marked the dress as completely finished, so I’m going to save it to tell you about until last. At this point, with the embroidery attached, the last two things are that bit on the back and the hem!


