
A few months ago, my (lovely, trusty) Bernina 334DS met a rather tragic end. Longtime lurkers may have seen her picture here and there - I got her on TradeMe from a woman was having to downsize as she moved in to a retirement home. Doris (the woman) had lived near the beach, and my repair man thought that the salty air might have contributed to Doris (the machine)’s rusty tension discs. The light never really worked reliably, and the machine always had a few…opinions… but she was a trooper and she lasted a long time.

The problem with having a machine die suddenly, though, is that it happens right when you’re in the middle of a project. There’s no warning. I knew she was on her way out, but I though we’d have at least another year together, and then I’d get a new overlocker for my new sewing room once we moved out of this tiny apartment. Things are never that simple though, are they!
So. Doris the machine bit it (rather spectacularly, I might add. Twisted metal and the most impressive grinding noise) right at the start of a T-shirt I was trying to make. My new problem was that all of my overlockers up to this point had been predetermined - mom’s machine that I learned on, then the first very cheap 1940s babylock that only had two stitches, and then the also-cheap Bernina. I was determined to make a good choice this time, so I launched into research, trying to figure out how best to solve the overlocker problem - I even asked everyone on Instagram what their favourite overlockers were, and what features they couldn’t live without!
It was a little bit of information-overload to be honest - so when Rebecca from Bernina contacted me and asked if I’d like to become a Bernina Ambassador with one of the overlockers from their range, I was completely thrilled! After (a lot) more research, I chose the b48 - an overlocker/coverstitch combo machine from their ‘Funlock’ range. To be completely honest, I was very skeptical of the concept of a combo machine. I remember when they first came out on to the domestic market, and there were SO many complaints about them - special tools needed to change them over, always getting jammed, and not performing either task as well as a dedicated machine. That was over 10 years ago now, and as it turns out, the technology has improved in the last decade.
My ‘plan’ (which started with waiting until I had a new house with a real sewing room to get a new overlocker) also involved eventually getting a coverstitch - but I think we’d safely call that a 5, if not 10 year plan. I only have space in my current corner for two machines, so a coverstitch was out of the question - or so I thought! The brilliance of the combo machine is that it doesn’t take up any extra space - it allows me to have the coverstitch function without an extra footprint, which I love!

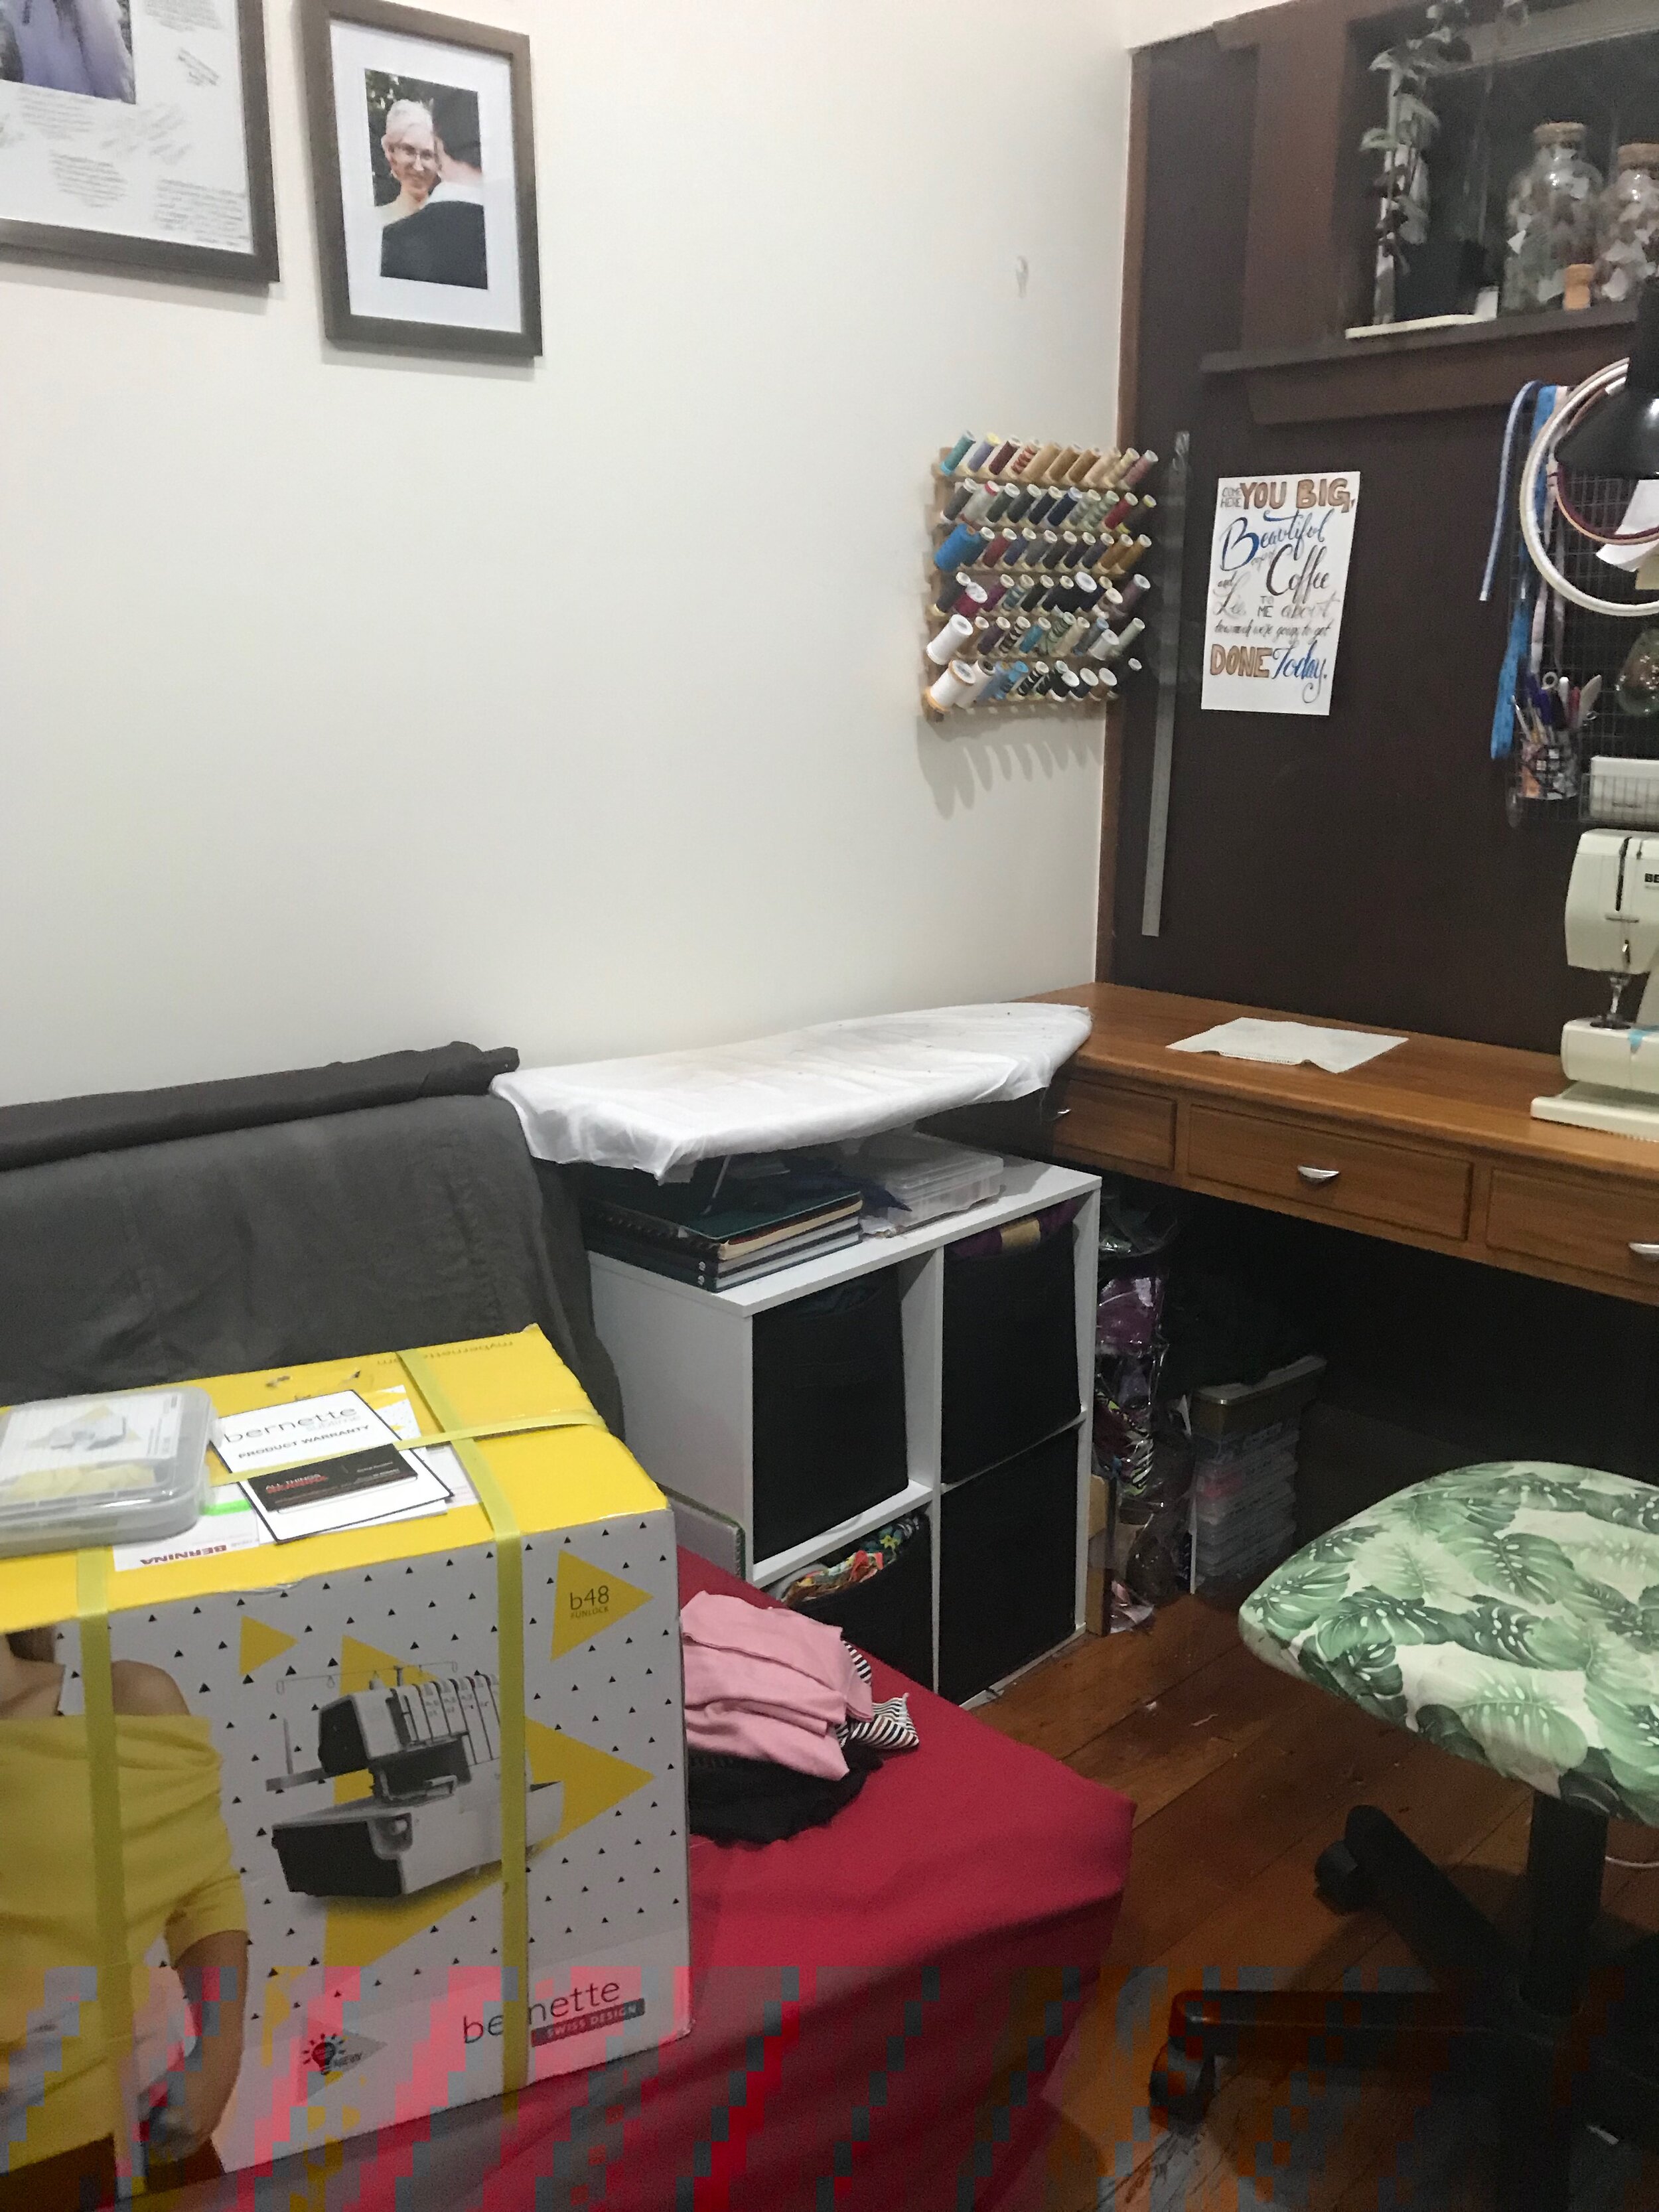
So. My machine arrived, I got to have a lesson on her from the wonderful ladies at All Things Bernina - a new-to-me shop that not only has Bernina machines, but also all the accessories and haberdashery a sewist could dream of - plus a fun selection of quilting cotton too! I took her home, took the opportunity to deep-clean the sewing space, and finally finally finished that t-shirt! My first coverstitch hem was certainly a bit wonky on the inside, but it turned out looking so professional, I ended up running around to a bunch of people at work the next day and showing off the hem! Here’s the shirt I finished the first morning:

That was a few months ago, now. I wanted to have a couple of projects under my belt with my new machine so I could give you a complete review. First, it was the T-shirt. I learned that the presser foot lever is on some kind of extra lever mechanism, so you lift up to put the foot down, and push down to lift the foot up. VERY confusing for the first few days, but I’m used to it now. I also learned that the tension dials are very responsive - they take small adjustments really well, so I always have perfect tension on my loopers. Also, the light is very bright and non-directional - it floods the whole work area evenly so I can clearly see what’s going on!

My second project was a t-shirt for Jon. After many weeks without an overlocker, I was living the knit life for sure! This fabric - an organic cotton from spotlight - was a much different handfeel to the merino I’d used for mine, so I was curious to see how that would go. It went swimmingly! With Jon’s t-shirts, I usually can’t topstitch the neckband because it ends up wavy, but the coverstitch allows for a beautiful, professional looking finish and doesn’t create bulk in the same way so the neckline isn’t wavy at all!

After that, I switched back to merino and batch-sewed three tees for myself - two short sleeve and one long sleeve - out of white merino and using wooly nylon thread. I wanted to use wooly nylon for all of the threads - loopers and needles - although that’s not traditional (and not advised, really, it’s very hard to thread the machine up) I wanted to do it this way because I wanted to dye the shirts after sewing, so polyester thread wasn’t an option. I don’t have finished pictures of these shirts because I’ve yet to figure out what colors I want to dye them! I’ll have a post coming up in a few weeks with lots of tips on using wooly nylon in your overlocker or coverstitch (or both!) so keep an eye out for that!
Next, an overlocker cover! I felt she couldn’t be part of the family without a little matching sweater. She did come with a plastic one, but in a space I walked past every day (many times a day) I wanted something a bit nicer looking. I used leftover canvas from my chair cover, plus some double-interfaced muslin. I added in a little pocket for her accessories as well! I finished the edges inside with the overlocker, mostly because I wanted to know how she’d handle a thicker type of fabric. I’m pleased with the result! I overlock the insides of my jeans, so being able to handle multiple layers of thick fabric is very important.

We’re still going! I went back to the wooly nylon, this time testing out a single needle overlock stitch, and also trying out binding for the first time with a baby onesie. You’ll notice we’ve got some colour repetition going on - the onesie is made out of the leftover fabric from that first t shirt! I learned here that seam binding is very tricky - I definitely need some more practice at that - but it results in a beautiful finish so I am very motivated to practice! I also love how small and neat the single-needle overlock is; it’s perfect for baby garments! The whole onesie is a secret for a friend still, but you can see the stitching in these two shots - the second one was me choosing which colour of KAM snap to use.


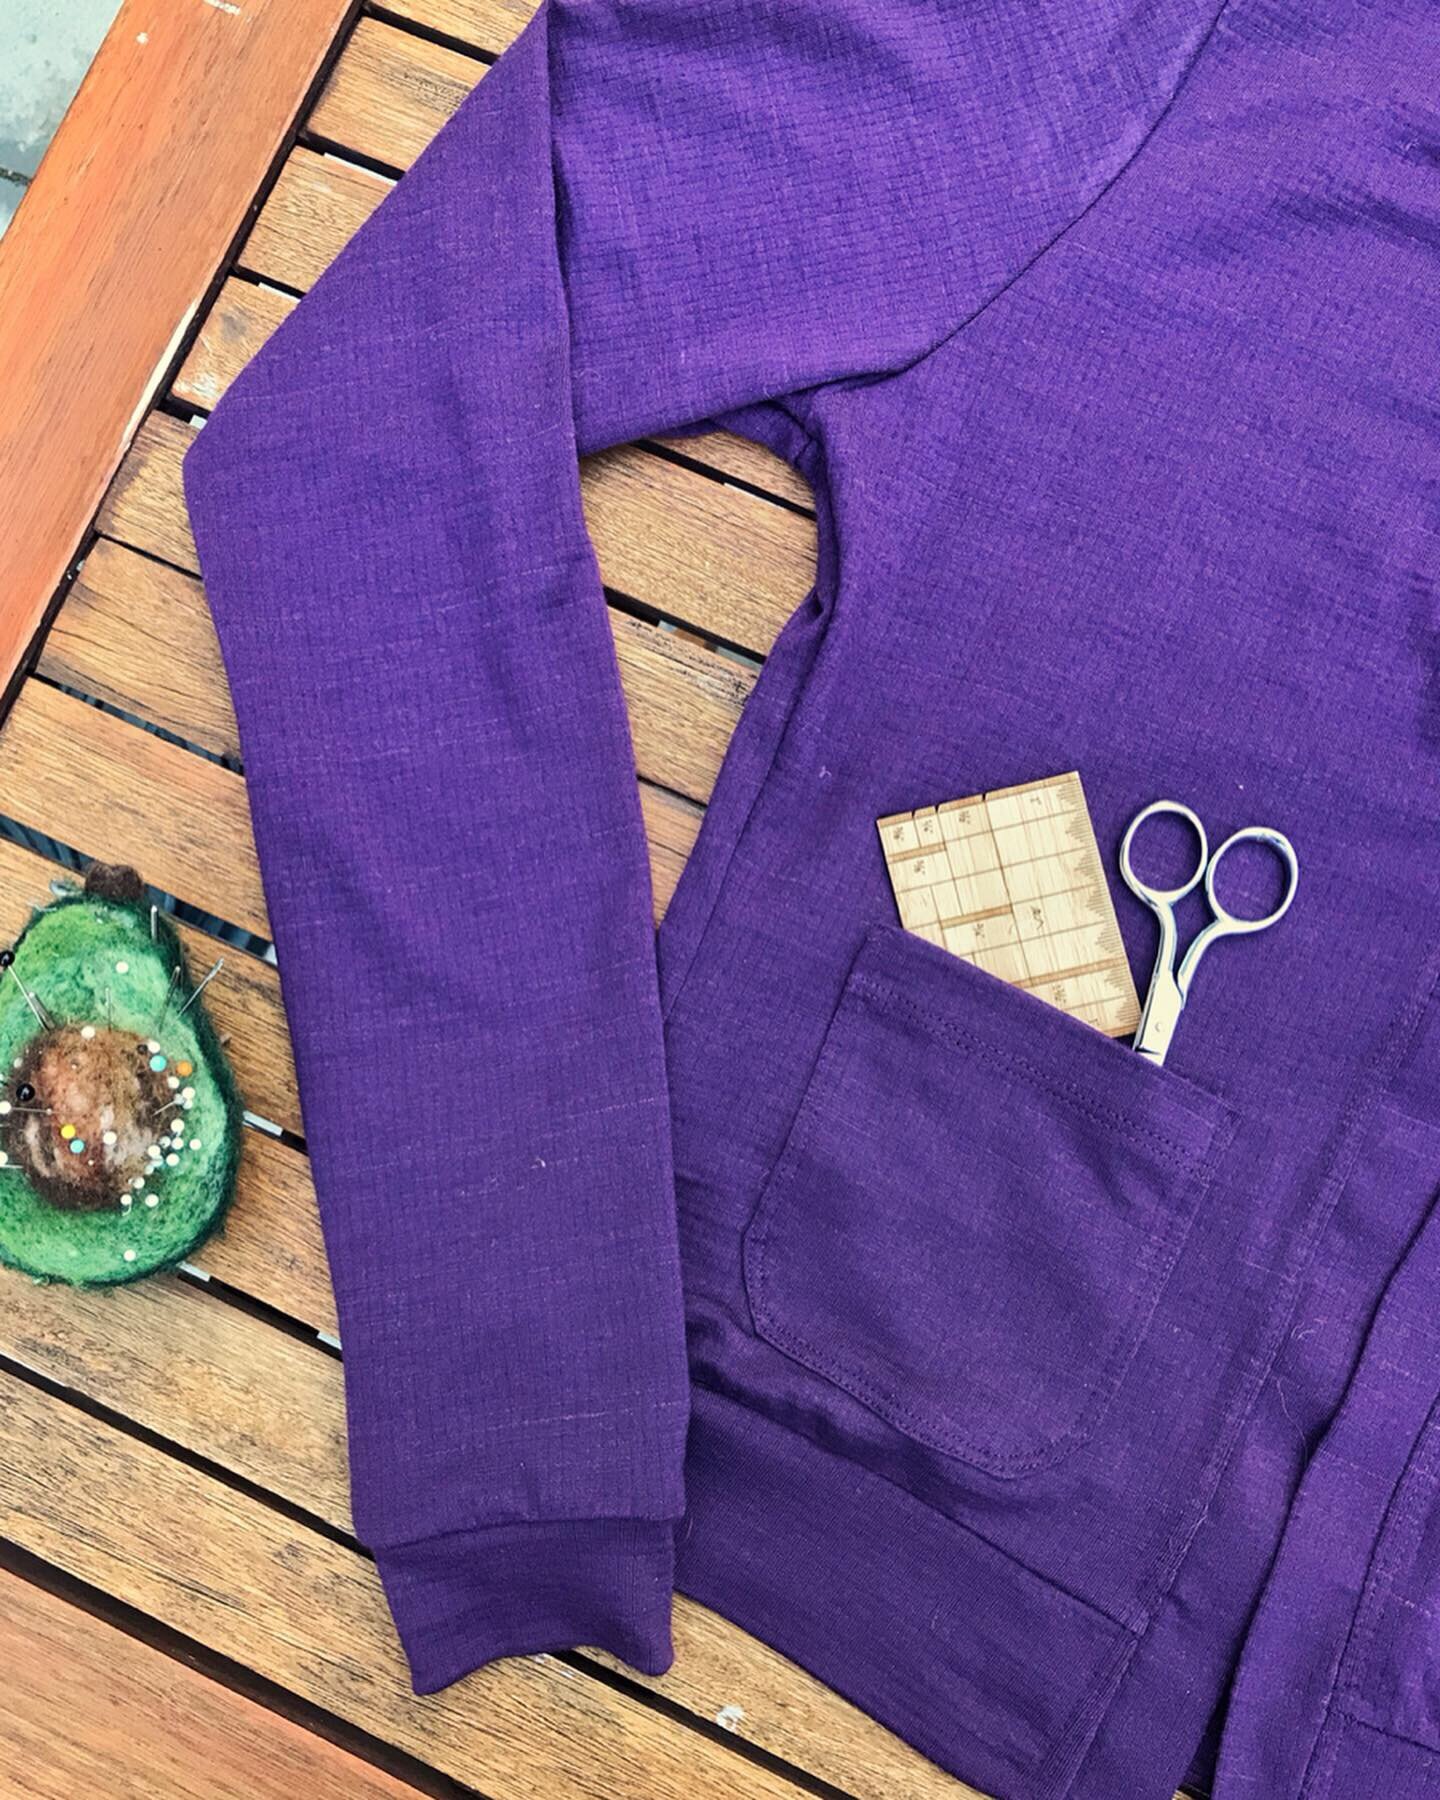
Next (almost there) - a merino cardigan. standard construction, nothing strange there, and by this time I was really starting to get a feel for the machine. I added patch pockets to the front, just for fun, and coverstitched them on to practice. This took several attempts to get right, and the clear coverstitch foot in my accessories box was absolutely critical to success - the big metal overlocking foot is fine for straight seams, but I needed a much higher level of accuracy for the curves of the pocket, and I couldn’t see what I was doing at all! Once I switched to that foot, though, things went beautifully!

Goodness! That’s quite a few projects when they’re all written out like that! At this point, I’m feeling very familiar with the machine, and I’m not having to stop and consult the manual as much as I did for the first few projects. It is a bit fussy to switch between overlocker mode and coverstitch mode - but honestly no more fussy than re-threading a regular overlocker. I can do it in about 5 minutes now (the first time I did it, I think it took 12, hah!) - I try to only do it once per project - overlock everything, then switch over to finishing and coverstitch - so it doesn’t disrupt the flow all that much. It would certainly take longer than five minutes for me to go get a separate coverstitch machine out from whatever cupboard I’d hidden it in, set it up, and thread it with matching colors - so really it’s a win-win! I filmed a little demo video as well, of the switch over, so you can see what the process is like - although Bernina has a much better one on their website if you’re actually wanting to see it up close!
Please let me know if you have any questions at all! Bernina has given me this machine on loan for a year, in exchange for its presence in a couple of projects throughout the year, so you’ll see her pop up here and there. I’m hoping you know by now that I wouldn’t blindly endorse anything I wasn’t 100% in love with (but also as a person who brought her Bernina 830 record across the world as carry-on luggage, my bias is very well documented already!) I fully intend to give you the whole story - the good and the bad - as I continue to get to know my new machine.