
Back to the dirty details! This post is coming at you on a two-posts-per-week schedule because we have a LOT to talk about, and I’ve already started to sew post-wedding projects again! If I don’t speed things up, we will literally be here until our first wedding anniversary talking about this dress.
At this point, I was still working away on the embroidery, but I also needed somewhere for the it to land when it was done, so I started working on the coutil understructure in tandem.
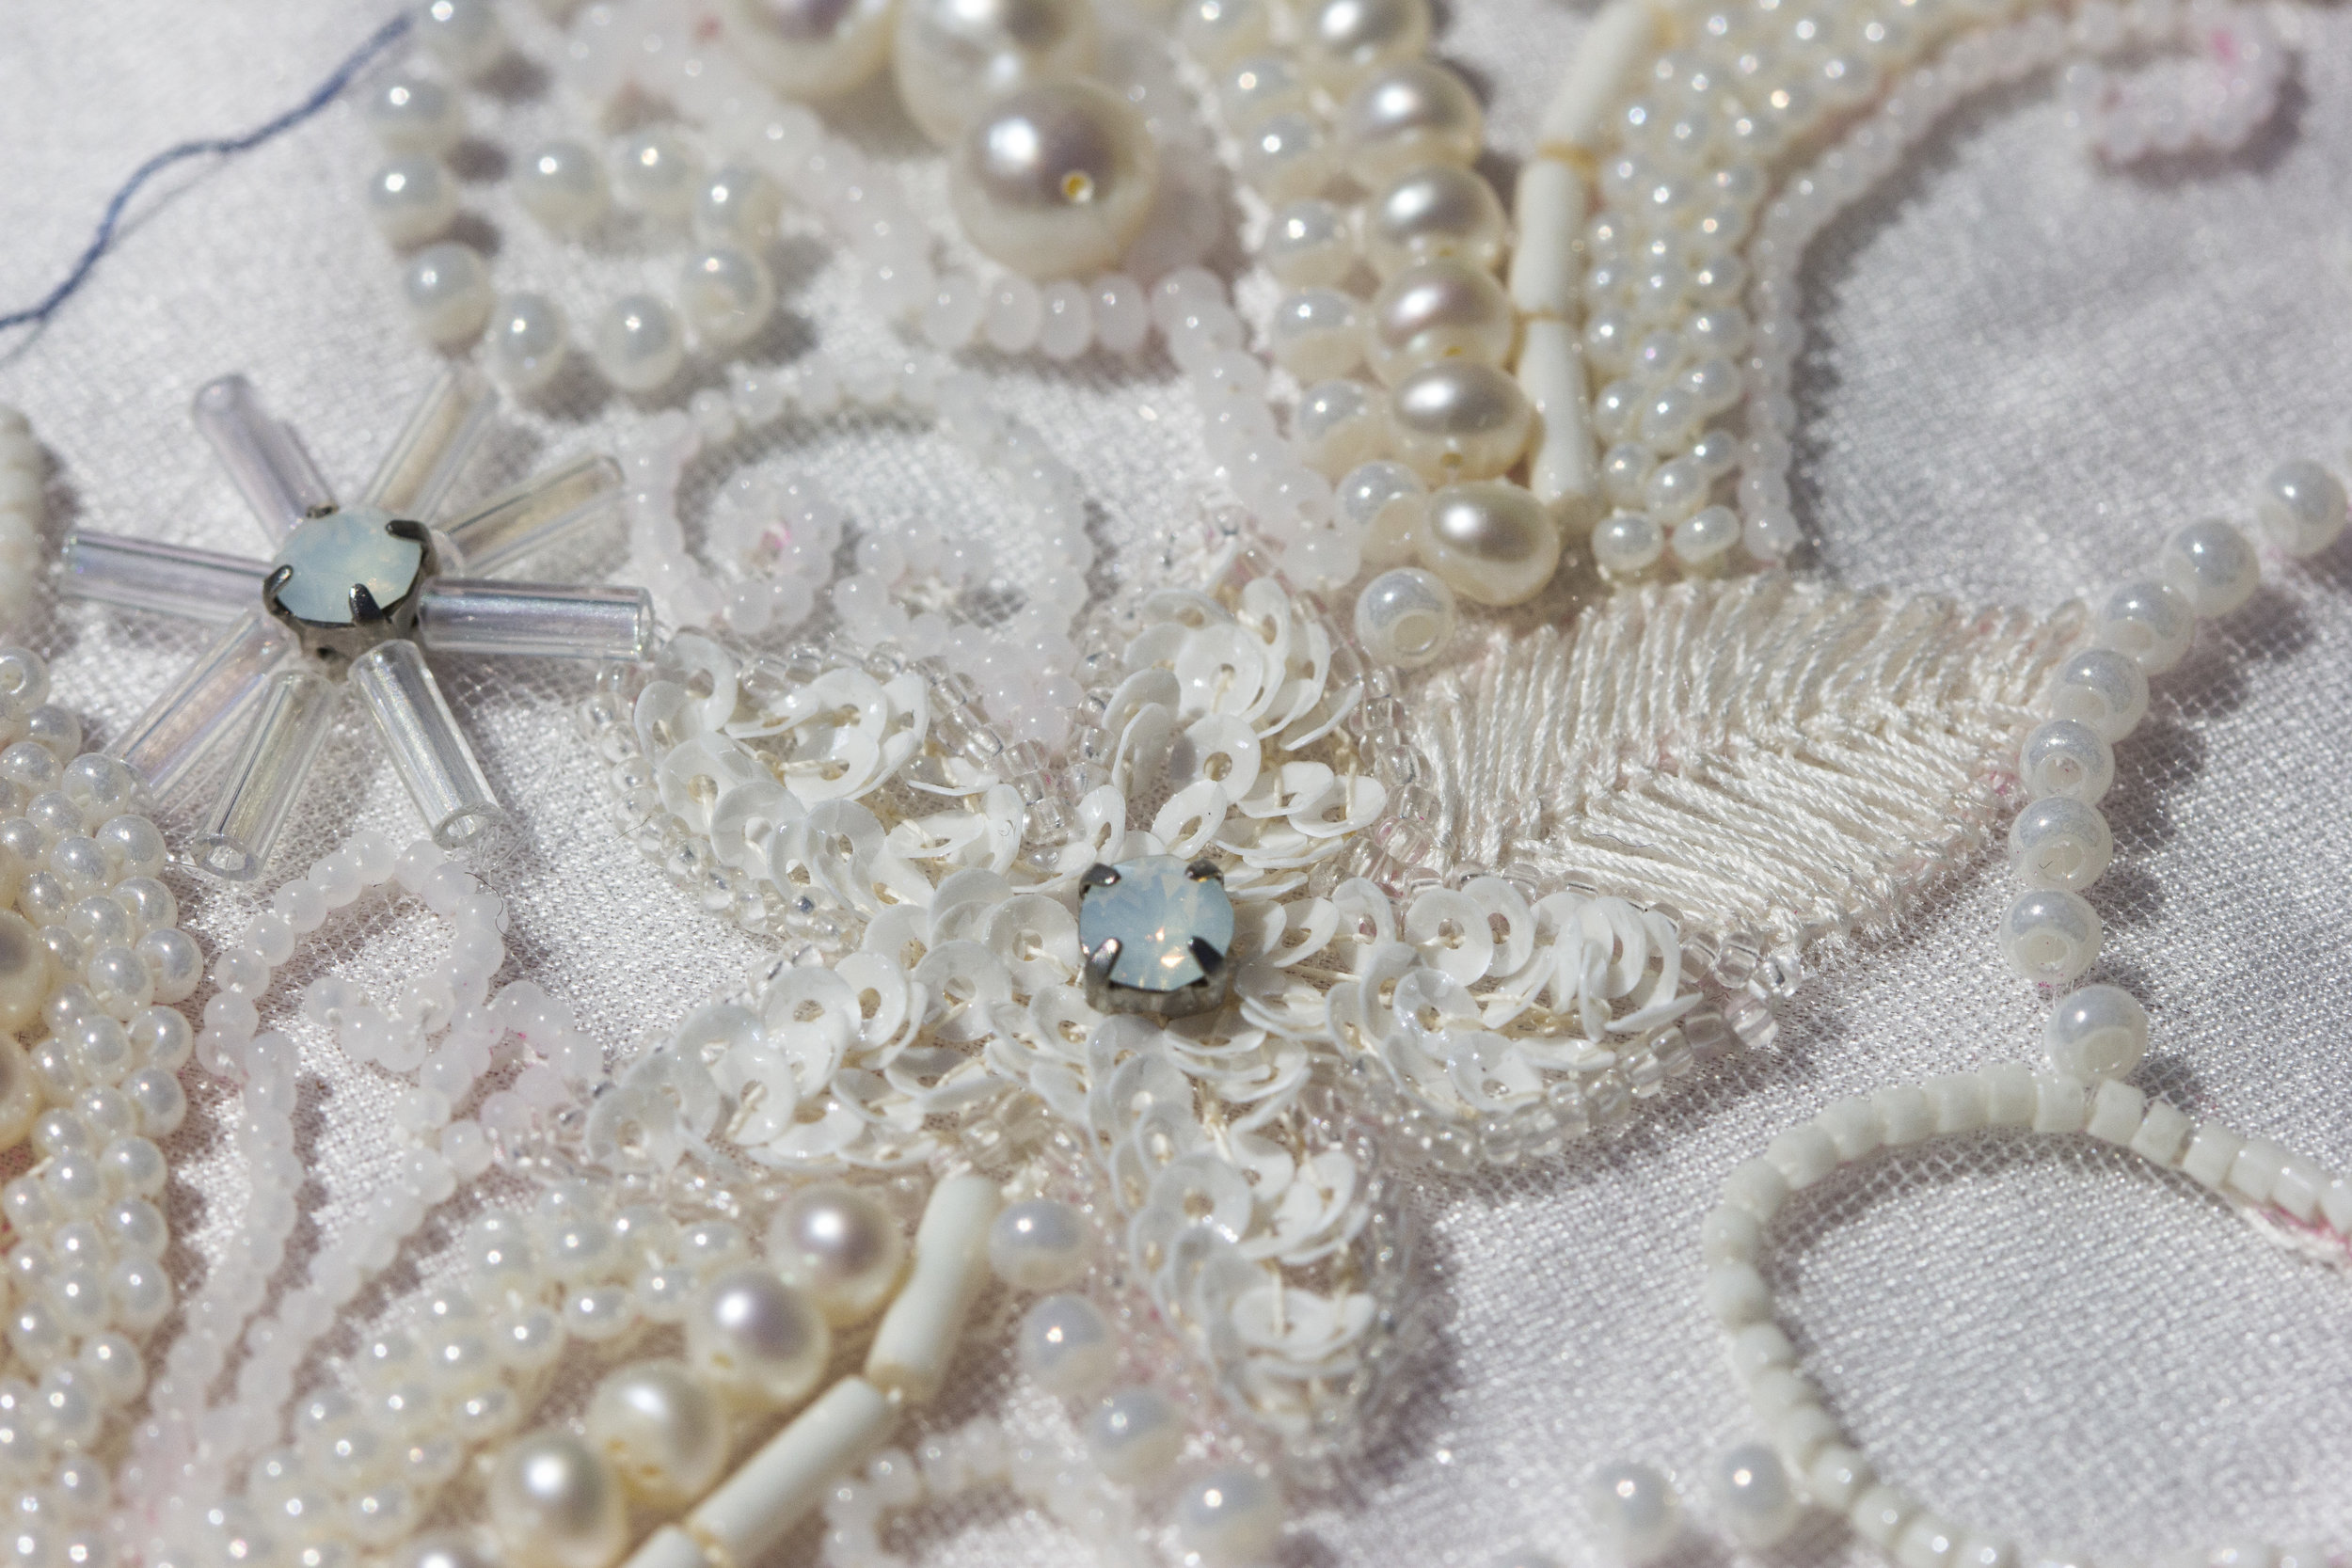
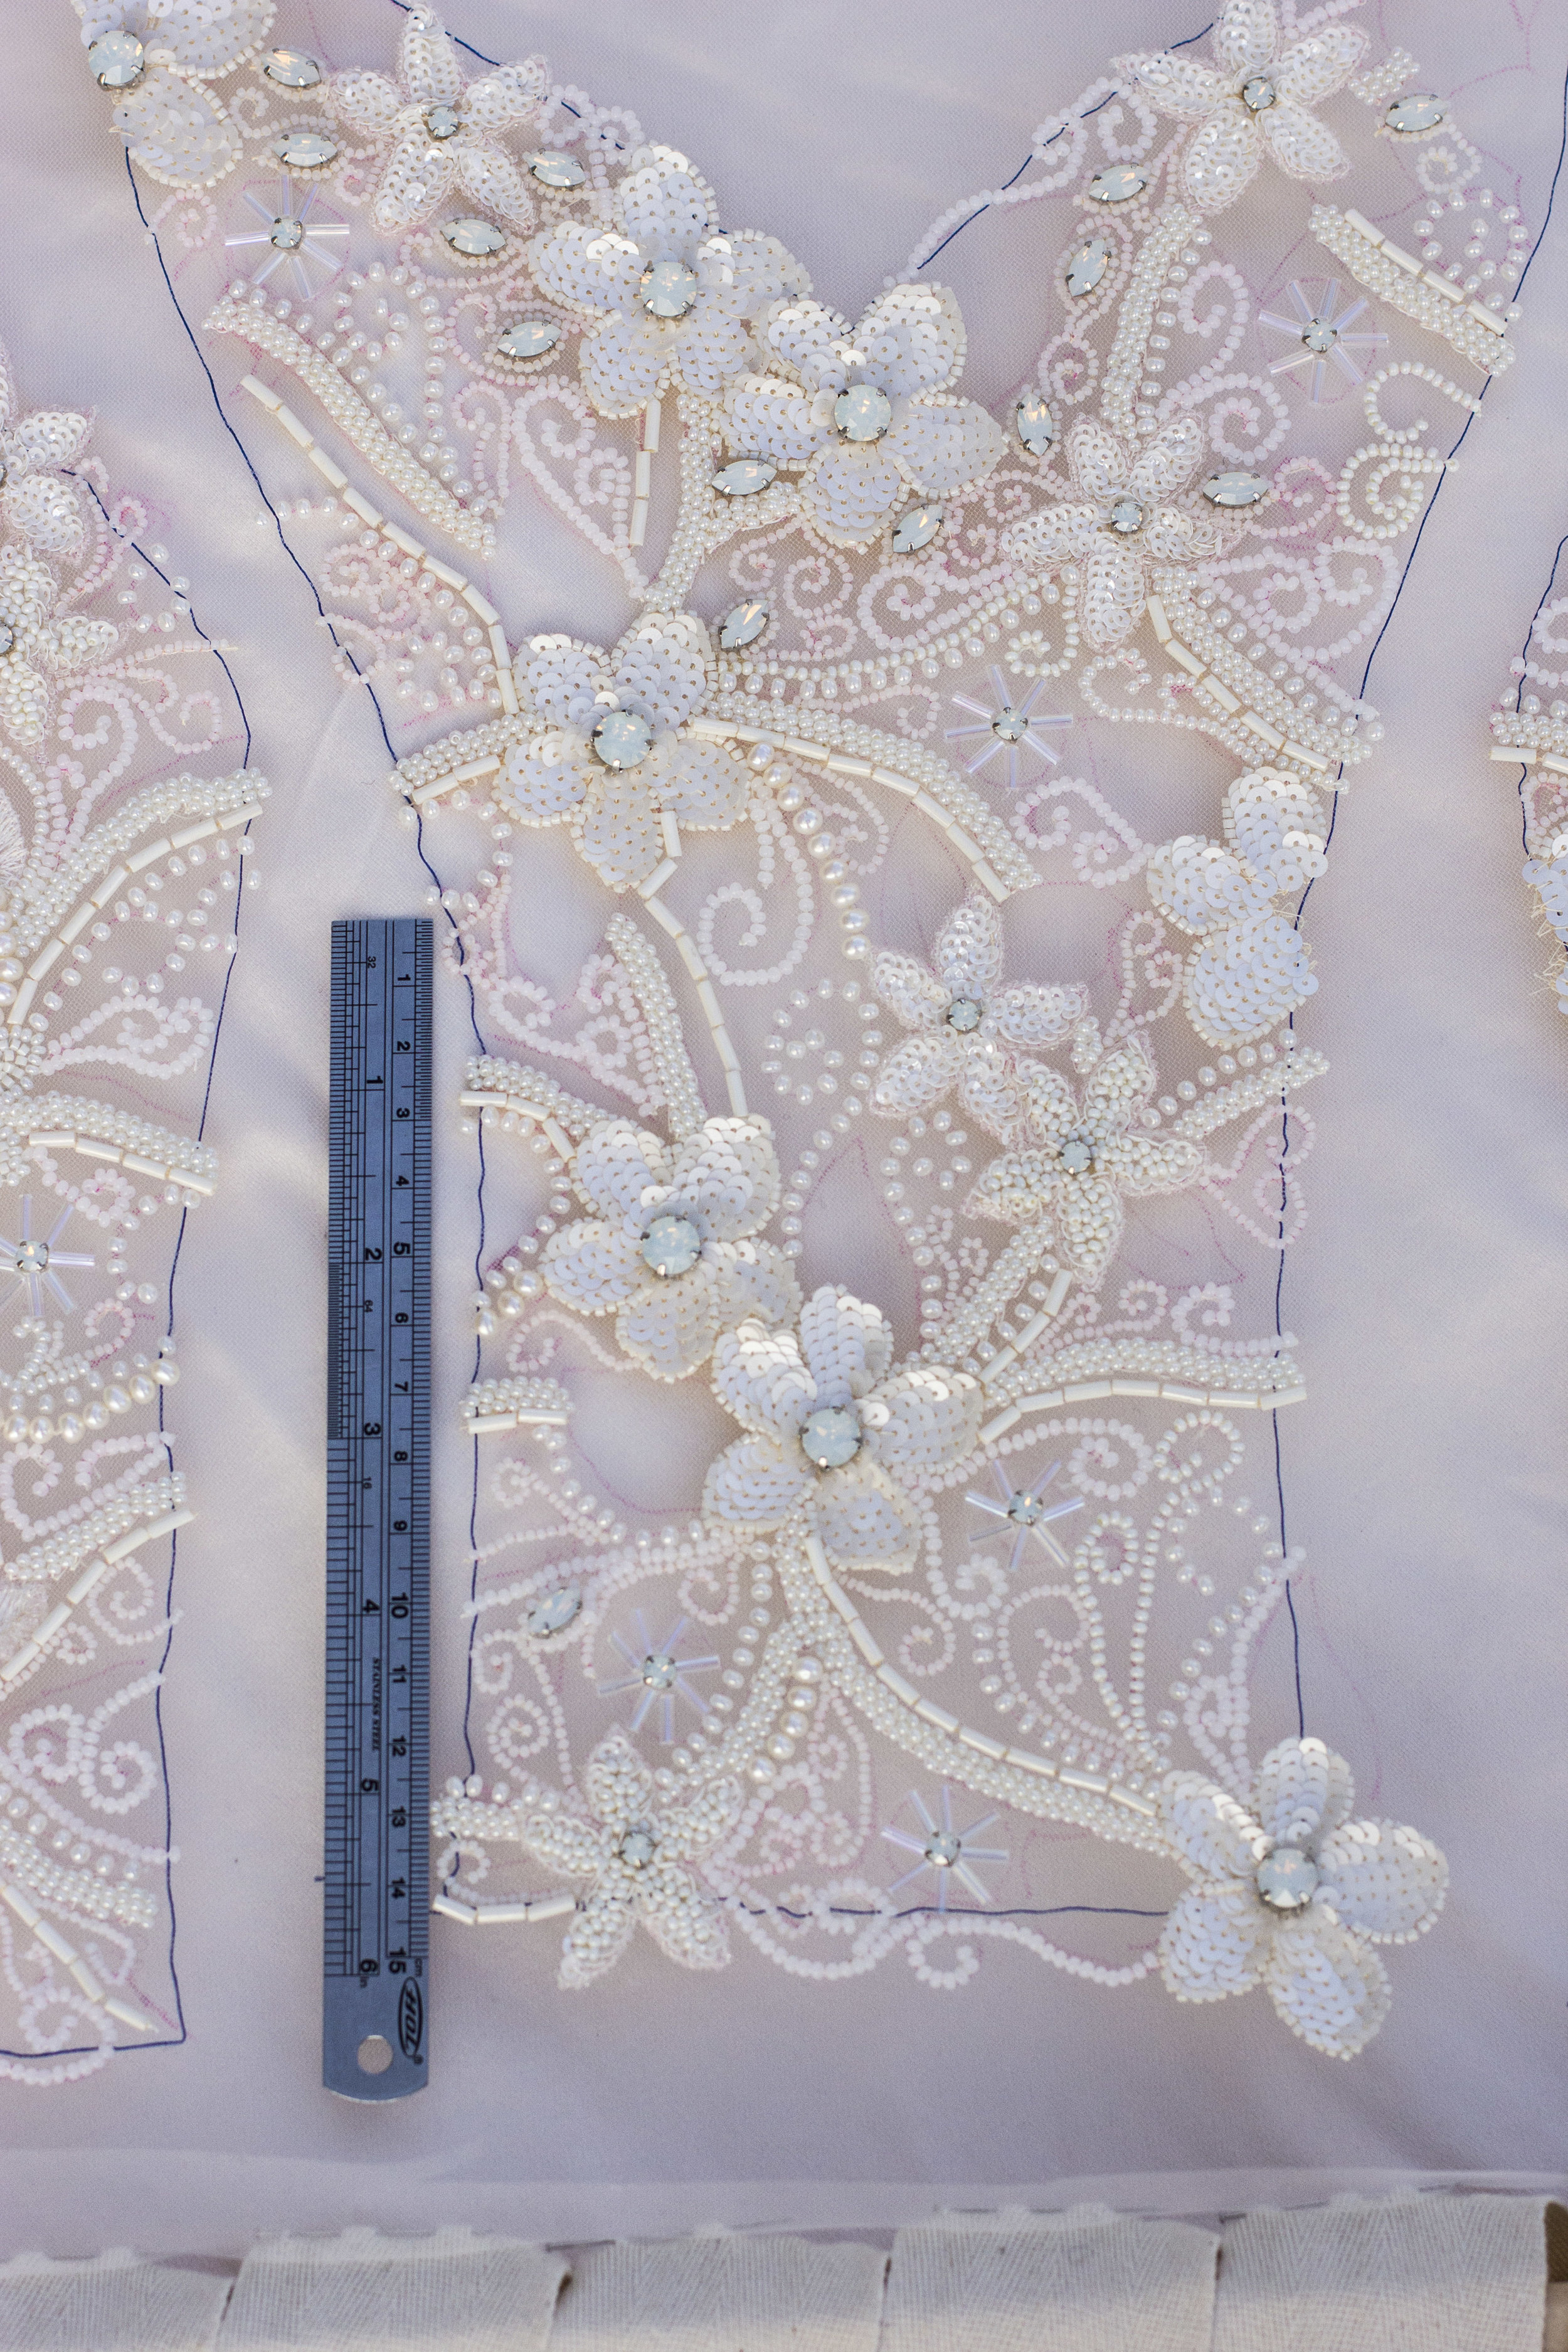
Before we start, as requested by Merry, here’s a photo of a section of the embroidery with a ruler for scale, so she (and you!) can get an idea of the size of the beads and of the design:
And now, on to the corselet! The inner bits of this dress were heavily inspired by photos I could find of vintage Dior couture gowns - the structure of these dresses is just as amazing as the dress is on the outside! You might remember that I mentioned in the pattern drafting post that I didn’t want to wear a bra - I’m holding the dress responsible for holding everything up, and that’s two-fold: The dress has to have enough internal structure to hold my boobs up even though it’s almost backless, and it also has to be strong enough to hold the skirts up, and the heavily embellished bodice. That’s quite a big ask for a couple of layers of fabric…
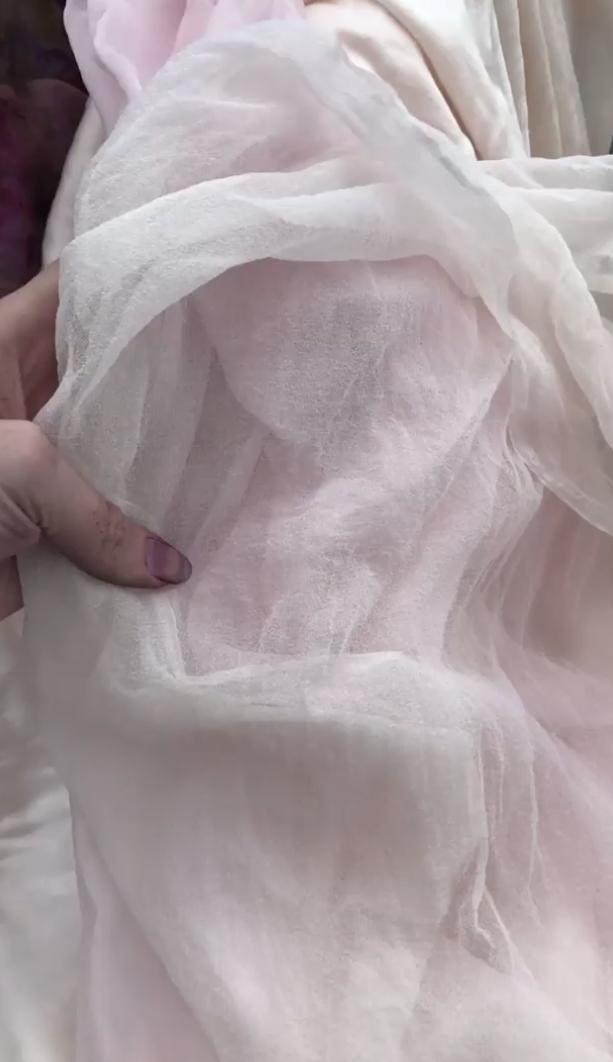
Here are the layers: The dress has a very lightweight silk lining - mostly just to have a layer of fabric to protect the corselet from skin oil and sweat. Next, the corselet: cotton coutil with spiral steel boning. This is the structural layer of the dress, and is what I’m constructing in this post. Next, a layer of silk satin - the first layer that will be visible from the outside. It’s an ever so slightly pinkish ivory color and I love the sheen of the fabric. Next, the top two layers of silk gauze - same as the skirt - followed by the beading, which is the last layer!
So. That’s the plan. I started by constructing the corselet so that everything else could be anchored around it. Cotton coutil, which is a favored fabric amongst corset makers, is ideal for our purposes because it is strong, densely woven yet fairly lightweight, and resistant to stretch in all directions. In some of the vintage Dior gowns I researched, bobbinette was used, but I was happier with the way the coutil looked and felt, so I went with that.

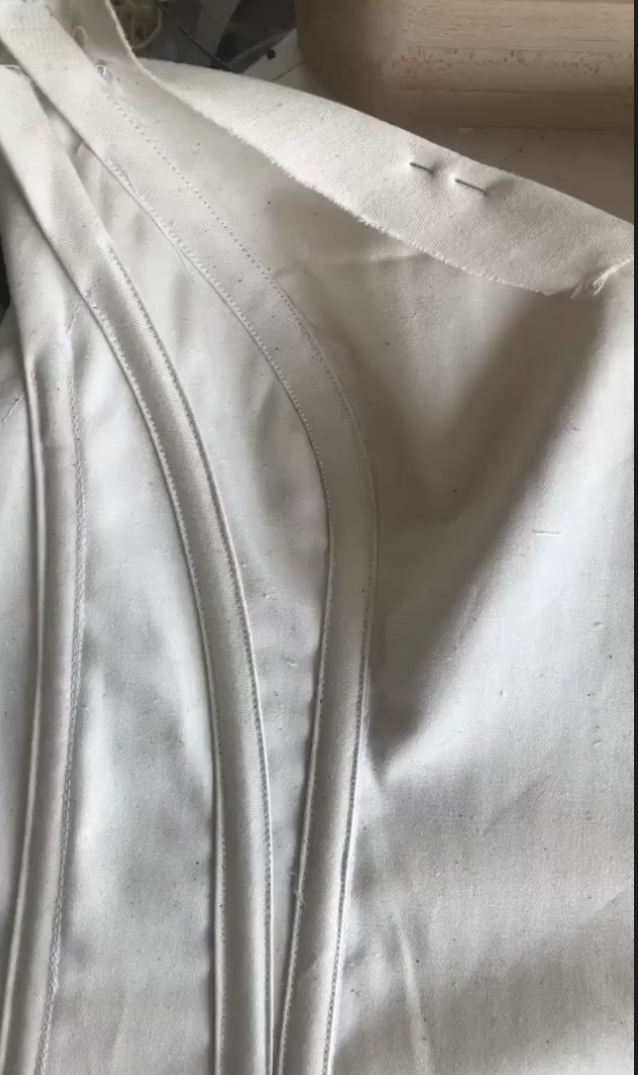
I cut my coutil pieces with a 1” seam allowance, constructed all seams, and then used the wide seam allowances to create lapped seams that doubled as boning channels. I ran into a small issue using this method on the curvy front seams - topstitching completely destroyed the line of the bodice and split my poor boobs into four! (The photo below definitely makes it look better than it was in real life) - That was mostly a hilarious problem, as it only took about three minutes to unpick the offending seam.
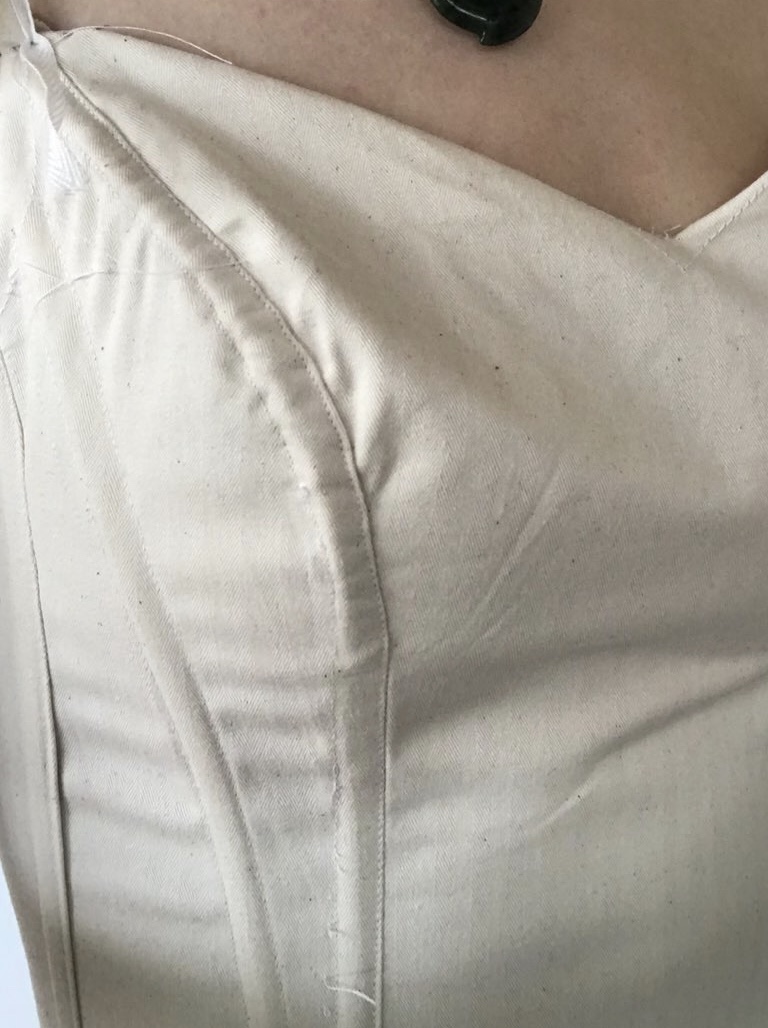
Instead of a lapped seam for the front, I switched to making bias tape out of coutil and stitching it down to the inside (covering the raw seam allowance) to make my bone channel. This was a much better approach for the curvy seam. It’s a bit bulkier (two extra layers of fabric) which is why I initially resisted, but I have to admit, it does look really nice. It’s also solved the quad-boob problem with a nice gentle curve over the bust.

Now. I have two things to say about this corselet - thoughts on a few questions people had when I posted photos of the corselet in my stories on Instagram when I was constructing it:
First. Boning over the bust. Do you have terrible prom dress shopping memories that include a strapless gown whose over-bust boning either decided your boobs lived in a place that just wasn’t right, or gave them a weird pointed profile that looked like a laser pistol was about to pop out of a secret compartment and start shooting up the dance floor? Or worse - was your boning set in such a way that it stood away from your body to the point that you could look right down the neckline of your dress?
One could conceivably argue that boning shouldn’t be placed over the bust because it pushes said bust out of shape. I myself had a scary quad-boob problem mere paragraphs ago: But friends! The boning is not the problem here! The boning is critical! It’s the fit of the bodice that causes misshapen boob problems in dresses. If the structural layer is firm, it will support the boning. If the bodice fits the wearer, there won’t be any unfortunate misshapen bustlines. It’s important to choose a firm but flexible boning in this instance (like the spiral steel I’m using - not a rigid steel! Plastic is also not so great as it has no lateral flex, and it’s what most of those prom dresses use) because that can contribute to the success or failure of a boned boob, but if you’ve got a dress that a chest is depending on for support, go hard my friend, and support it! Just be sure your pattern is well fitting and you’ll have no issues at all.

Second. If you look closely at the side front panel of my corselet, you’ll notice something. A boning channel where there isn’t a seam! How odd - but it’s all in the name of bust support. If you’re at all familiar with bramaking, this will make a bit of sense to you. The boning channel extends all the way down to the waist, which is where its support comes from, and goes diagonally forward up to meet the princess seam on each side. This effectively pushes my boobs out of armpit-land around to the front of my body. It’s performing exactly the same way a powerbar would in a bra.
Speaking of bras, here’s another bonus thought - thought number three, of two, which you might be wondering about. Had underwires crossed your mind? They crossed mine, in the beginning. I could have chosen to insert cups into my corselet, which would have given the bodice a completely separate profile. Think about it like this:
Boning and underwires both serve to support the bust, but they do so in different ways. While boning essentially provides structure around the bust (and adding or removing fabric and boning channels helps to manipulate where the boob sits), an underwire acts as a cantilever to lift the bust using a stable cup.

Choosing to use an underwire would have eliminated the necessity for a boned bust seam, but I chose to go without the boned bust because I felt the silhouette would work better for the style I had in mind. I can see choosing to use a wired corselet method if you have a particularly large bust (and one could make the same argument for choosing not to wire the bust for a dress with a very small bust) but I think except in more extreme cases, the decision is entirely a style preference. Both can be equally supportive!


The last step of the corselet was to cut my spiral steel boning, and cap it to protect the sharp ends from poking through the fabric. As with underwires, I cut each piece of boning about 1.5cm shorter than the finished length of the channel to allow for movement, and then capped off each channel with a line of stitching to keep the bones inside. To cut the bones, you don’t need to cut all the way through the spiral, just use the tip of your pliers to nip through the wires at each edge (see the first photo above) and the rest will come apart on its own.
After cutting to length, the caps are applied using two pairs of pliers which squeeze from the sides, and from the top and bottom, at the same time. Pro tip: It does not work to use only one pair of pliers for this step! You need one in each hand! I finished each tip off with clear nail polish after capping. - I’m not sure if this is a strictly necessary step, but I feel more comfortable knowing there’s another layer of protection between those steel bone tips and my white dress. Just like that, the corselet was done and ready for its waist stay and silk layers!

Well today’s post perhaps a little bit more boob-technical than you were expecting? What can I say, any excuse to work ‘cantilever’ into a blog post, I’m all over it. Cantilever and boobs.
Anyways. The next steps were to construct the lining and outer silk layers for the bodice, and get everything ready to take the beading- my next blog post is going to be all about getting the dyeing done so that I can construct those outer silk layers though! See you soon, and as always, let me know if you have questions, so that I can answer them in the next post. If you’re visiting this blog or post for the first time, you can check out my Wedding Dress Category Page for all of the posts so far in this process!