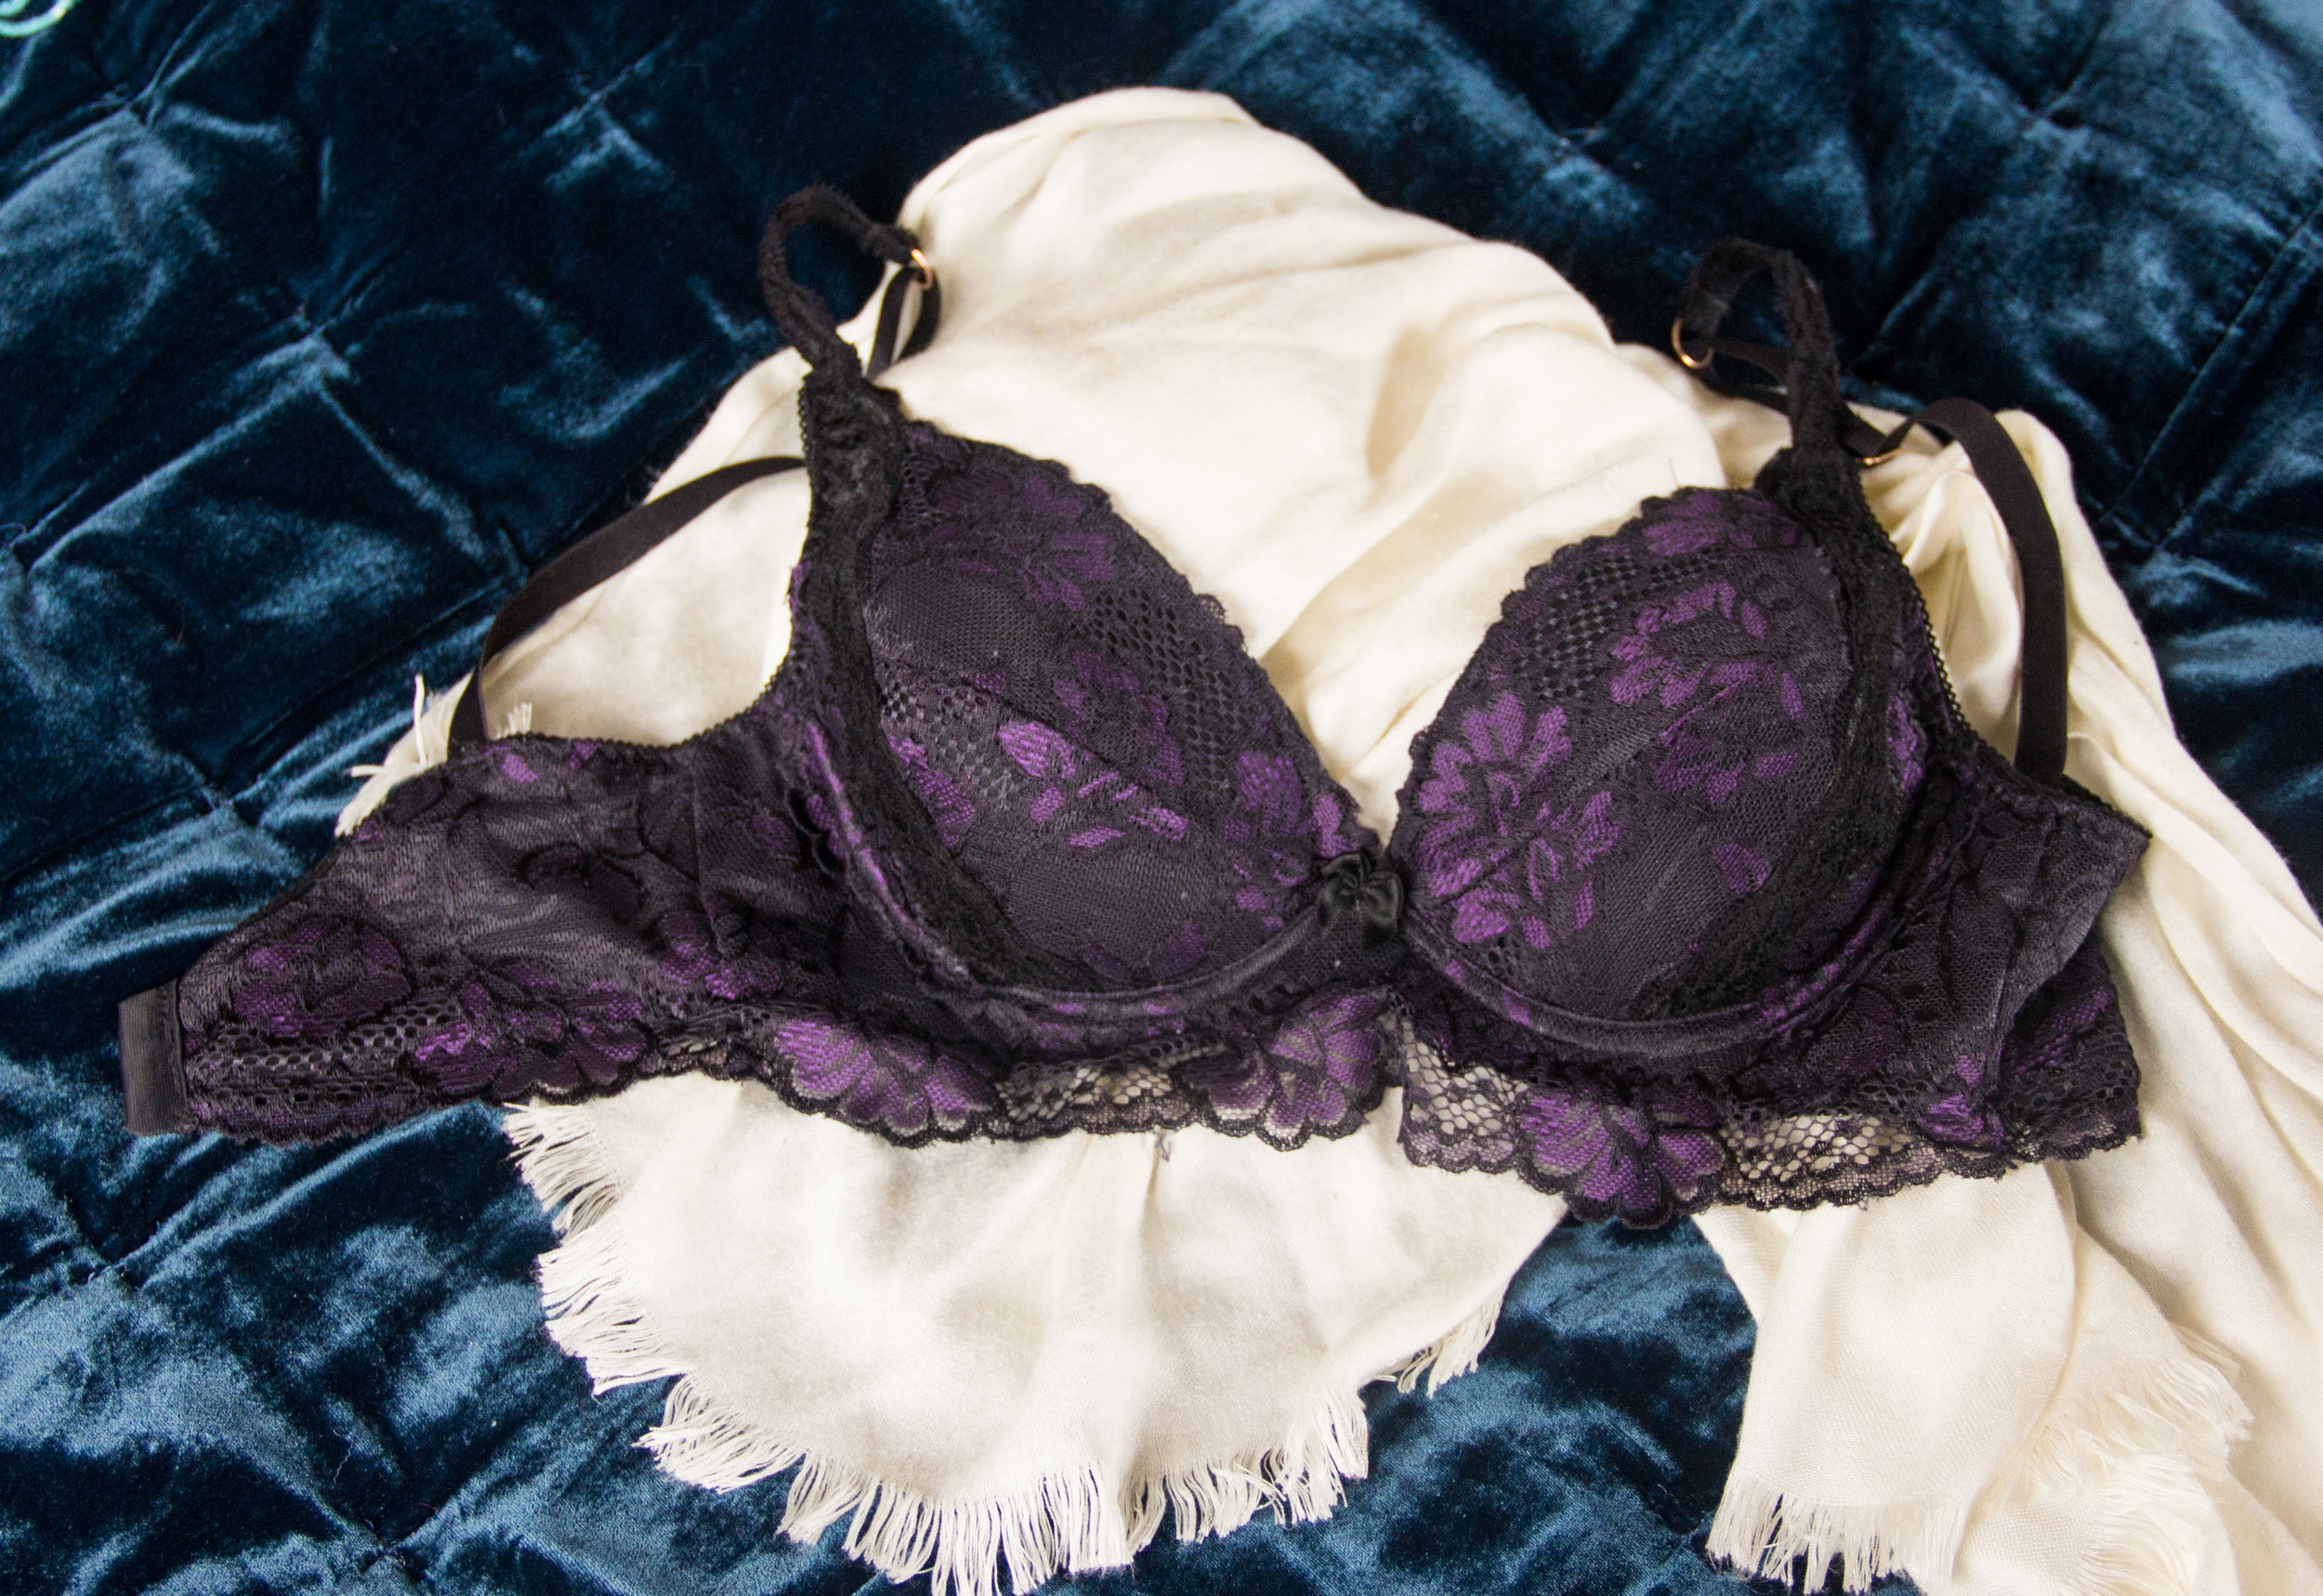
As it turns out, bramaking involves a bit more engineering than anticipated.
Read MoreReusable Grocery Bags: The Art of Design for $1 or less.
In which we sew shopping bags for less than $1, and contemplate their attractiveness.
Read MoreSewing Lingerie: We Have Liftoff
In which there are discussions of boobs, fit issues, and a fluke success on the first try.
Read MoreThe Traveller Dress
In which I take advantage of Kiwi resources (and sheep), make a dress, and go on an adventure.
Read MoreA Proposal - and a Rabid Goat.
In which our intrepid adventurers gets engaged, and has a unique encounter with the local wildlife.
Read MoreWith Pockets to Hold All My Secrets
Drafting and sewing a jumpsuit that hugs like a cloud, and with pockets to, well, you know.
Read MoreCommitted to the Madness (Hand Lettering Part 2)
Adventures in hand lettering with various techniques, brushes, and nibs.
Read MoreThis Way Lies Madness. A Beginner's guide to Hand Lettering (Part 1)
I have a problem, and I blame it all on Pinterest. If we're being honest here, this problem predates Pinterest by at least seven and a half years, but I can be melodramatic if I want. This problem has haunted me for eons; it clings to me like wet organza to a petticoat at a rained-out tea party, and completely defies correction.
What is this problem, you ask?
Hobbies. I collect them. I'm basically a crazy cat lady, and my feline friends' names are Knitting, Batiking, Stamp Carving, Screen Printing, Illustration, and Dressmaking. Once my brain meets a new one, it grabs hold and refuses to let go until I've mastered the subject, solved the problem, completed the project. Usually I go hard for between two and four weeks, and then things calm down. Sometimes the thing becomes a long-term obsession which I cling to for years, but for the most part I'll learn the thing to the best of my abilities only to eventually grow bored and pack the thing up until its eventual rediscovery a few years later when I run out of places to store things. (I'm dropping the cat lady metaphor now because while some of the cats are loved and cared for throughout their lives, others are stuffed into boxes and left to gather dust in haphazardly stacked shoeboxes, and that, my dear children, is animal hoarding and is in fact frowned upon in most societies.)
This is a problem mostly because I seem to be particularly attracted to expensive hobbies. The more expensive the supplies, the better! What's worse, the knowledge that I have this problem does absolutely nothing to prevent it from continuing to happen. It's a vicious cycle I tell you.
So what is it this time?
My current obsession is hand lettering. I do not pretend to be an expert, as this obsession only began about two months ago. It's too early to know what will happen with it, I don't know that we're quite out of the box-packing stage yet, but this one has certainly made it further than others.
It all started with Pinterest. (doesn't everything these days...)
I'd just arrived in New Zealand and was in the process of applying for work here. There are only so many versions of a cover letter any sane human can write in a day, though, so I was also spending a lot of time on The Internet.
One thing led to another and suddenly I've got a whole board of lettering inspiration and I'm googling art supply stores in Auckland so I can get my hands on some of these mythical 'brush pens'
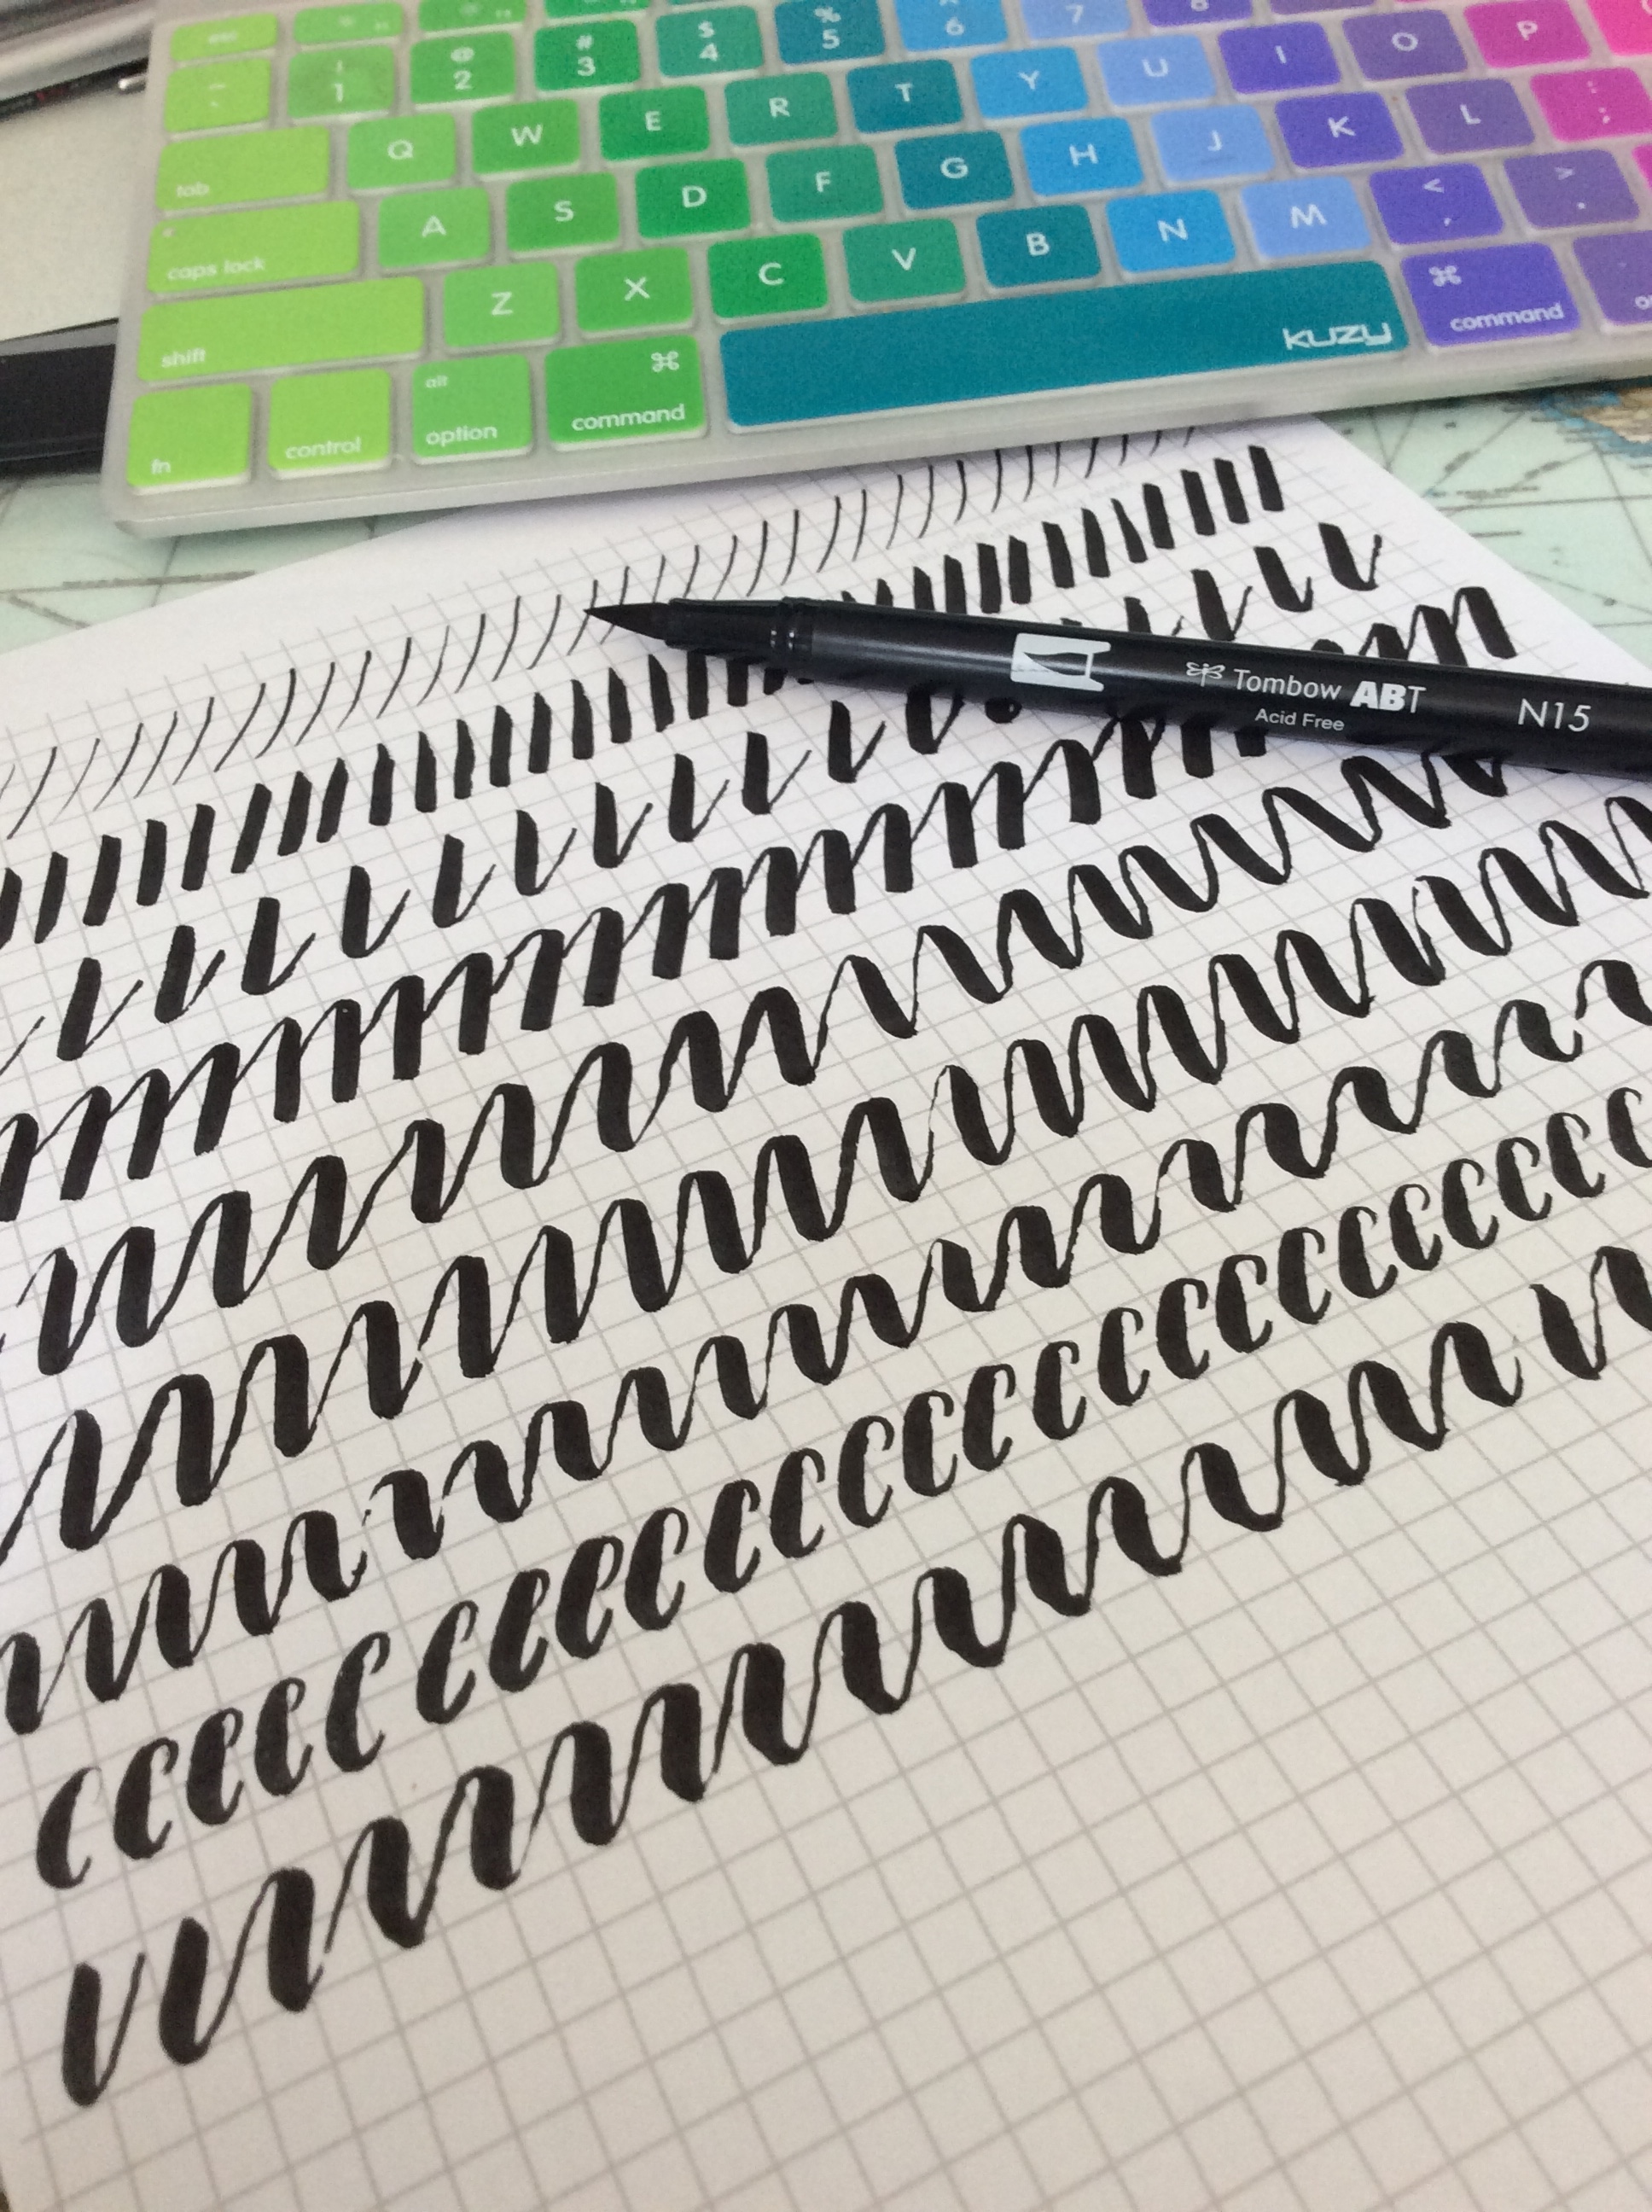
For those of you yet blissfully unaware, brush pens are nifty little creatures that have flexible felt or bristle nibs, which allow you to create thick and thin penstrokes by varying the pen pressure. My first, the Tombow Dual-Tip brush pen in practical black was an experience. I practiced constantly- on every little scrap of paper I could find. When I ran out of scrap paper, I bought a graph paper notebook from the back-to-school section of an office supply store for $3 and filled that with scribbles.
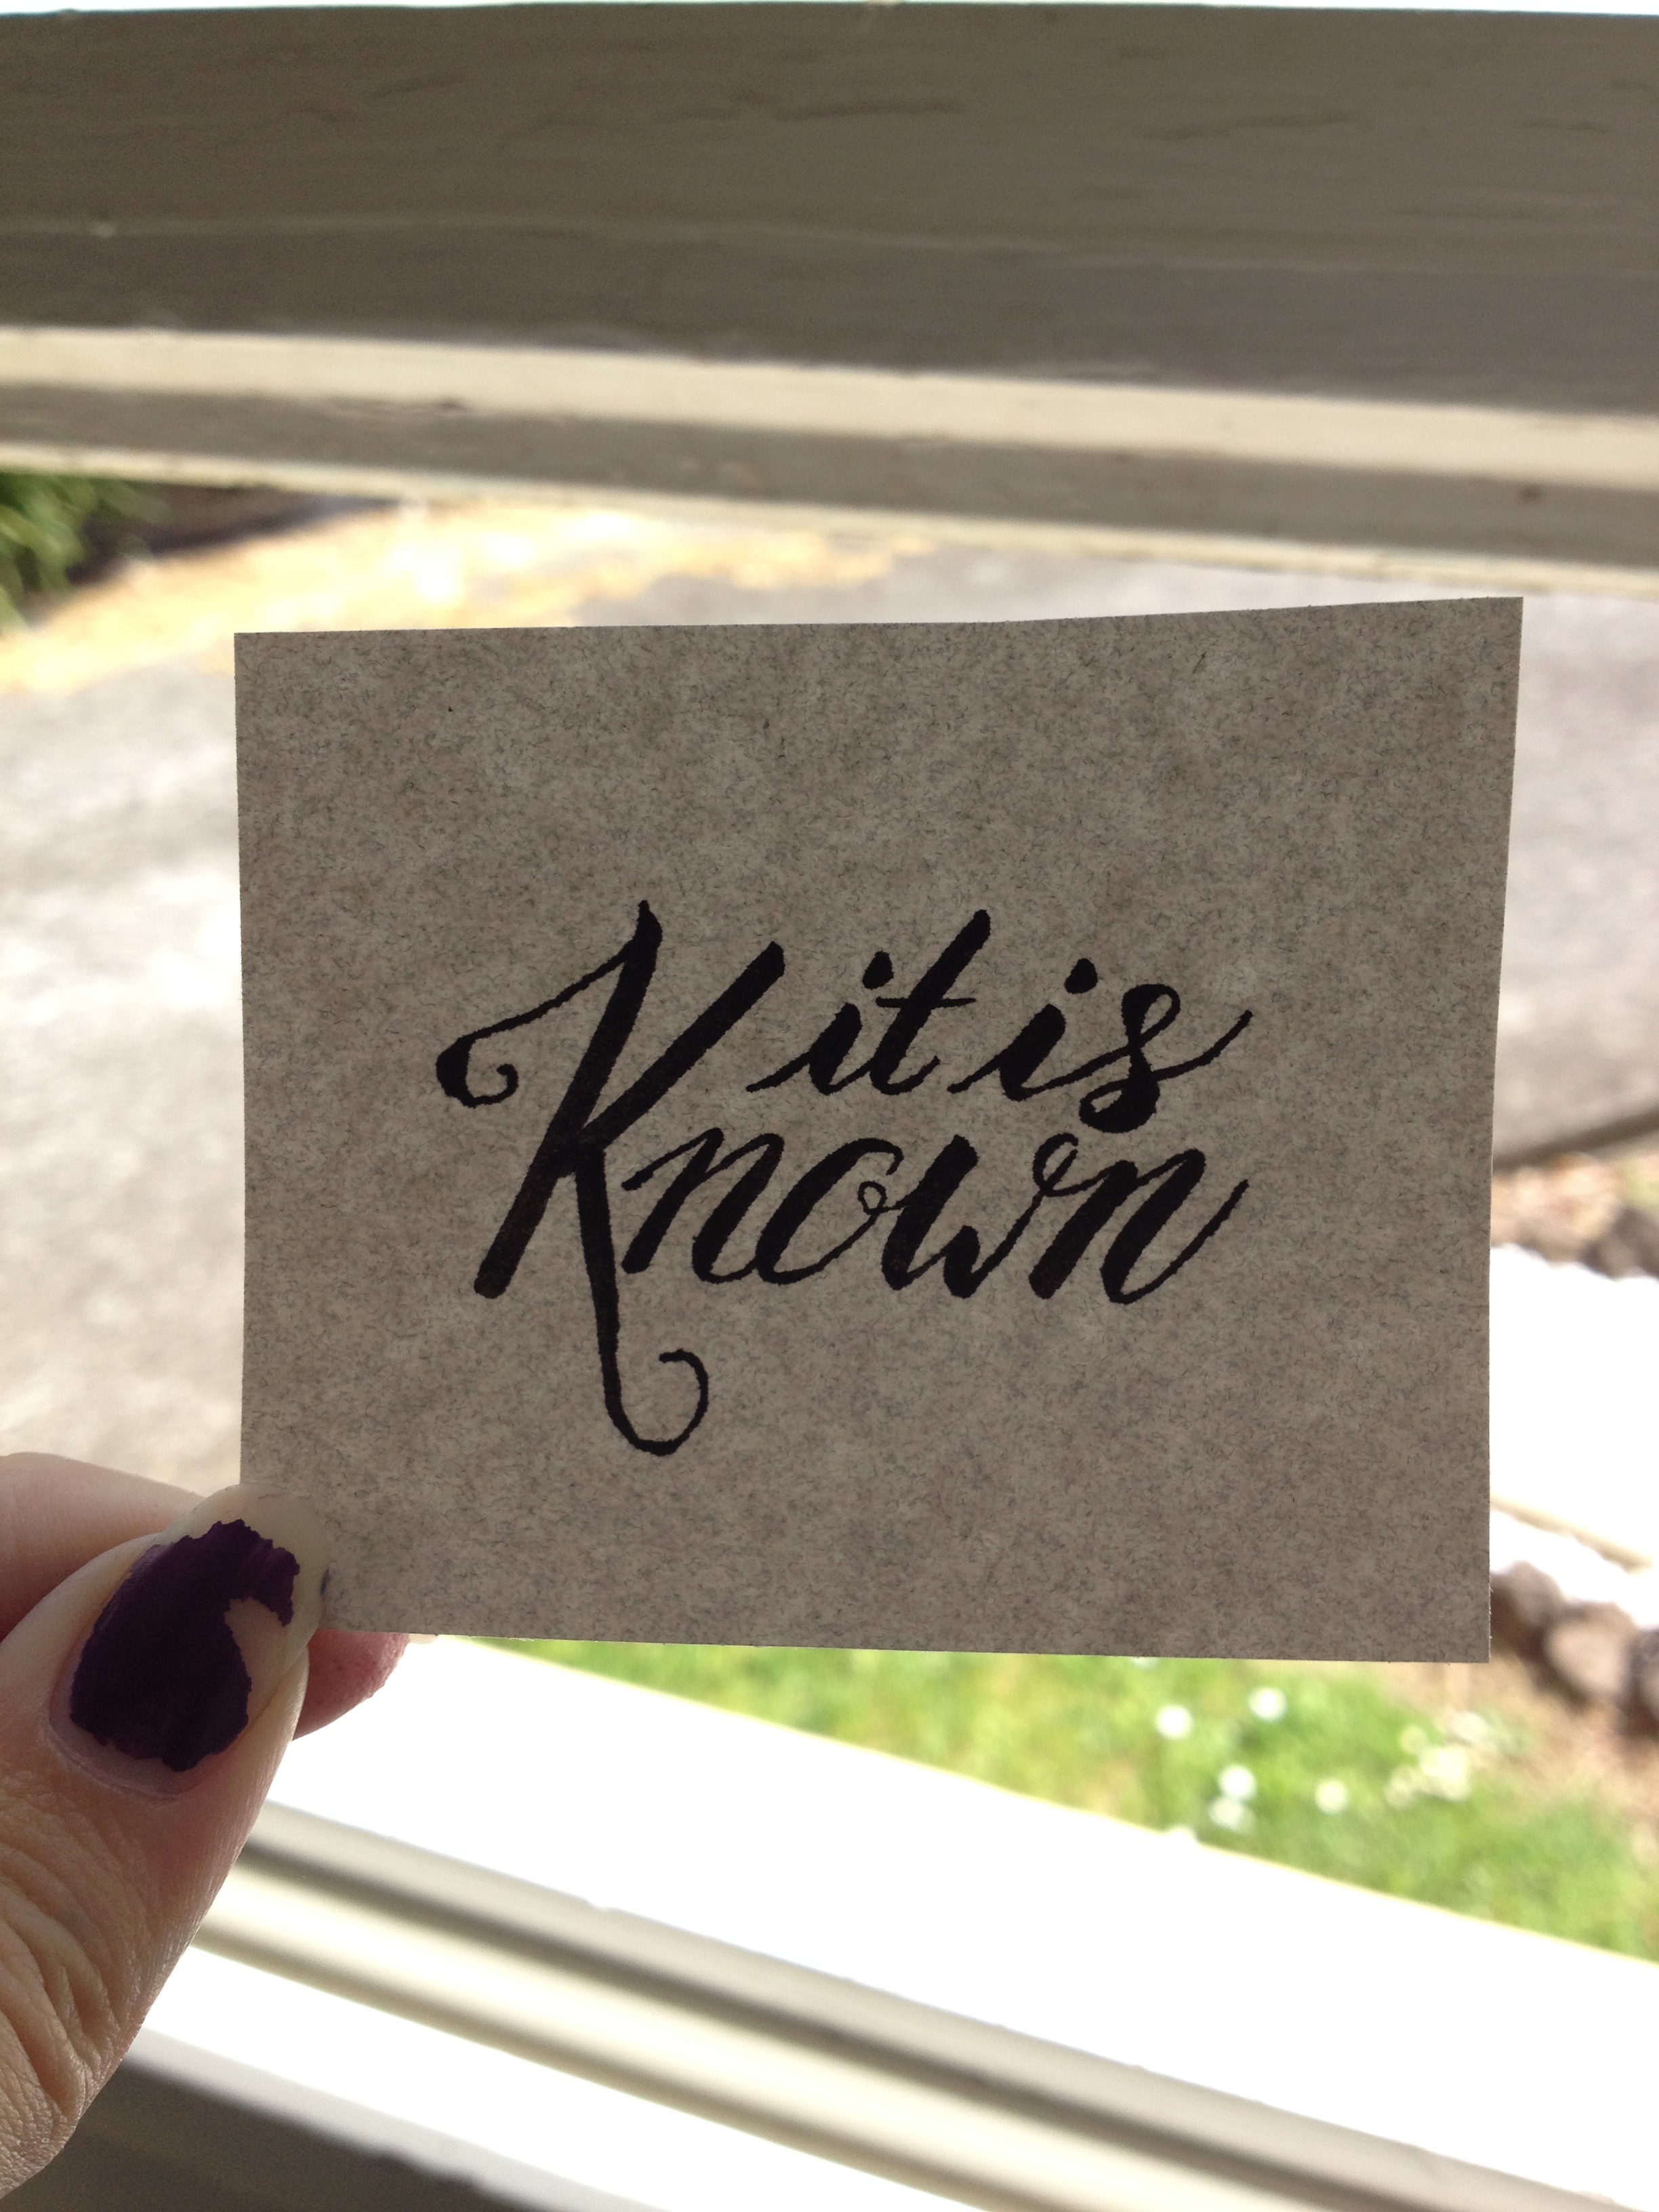
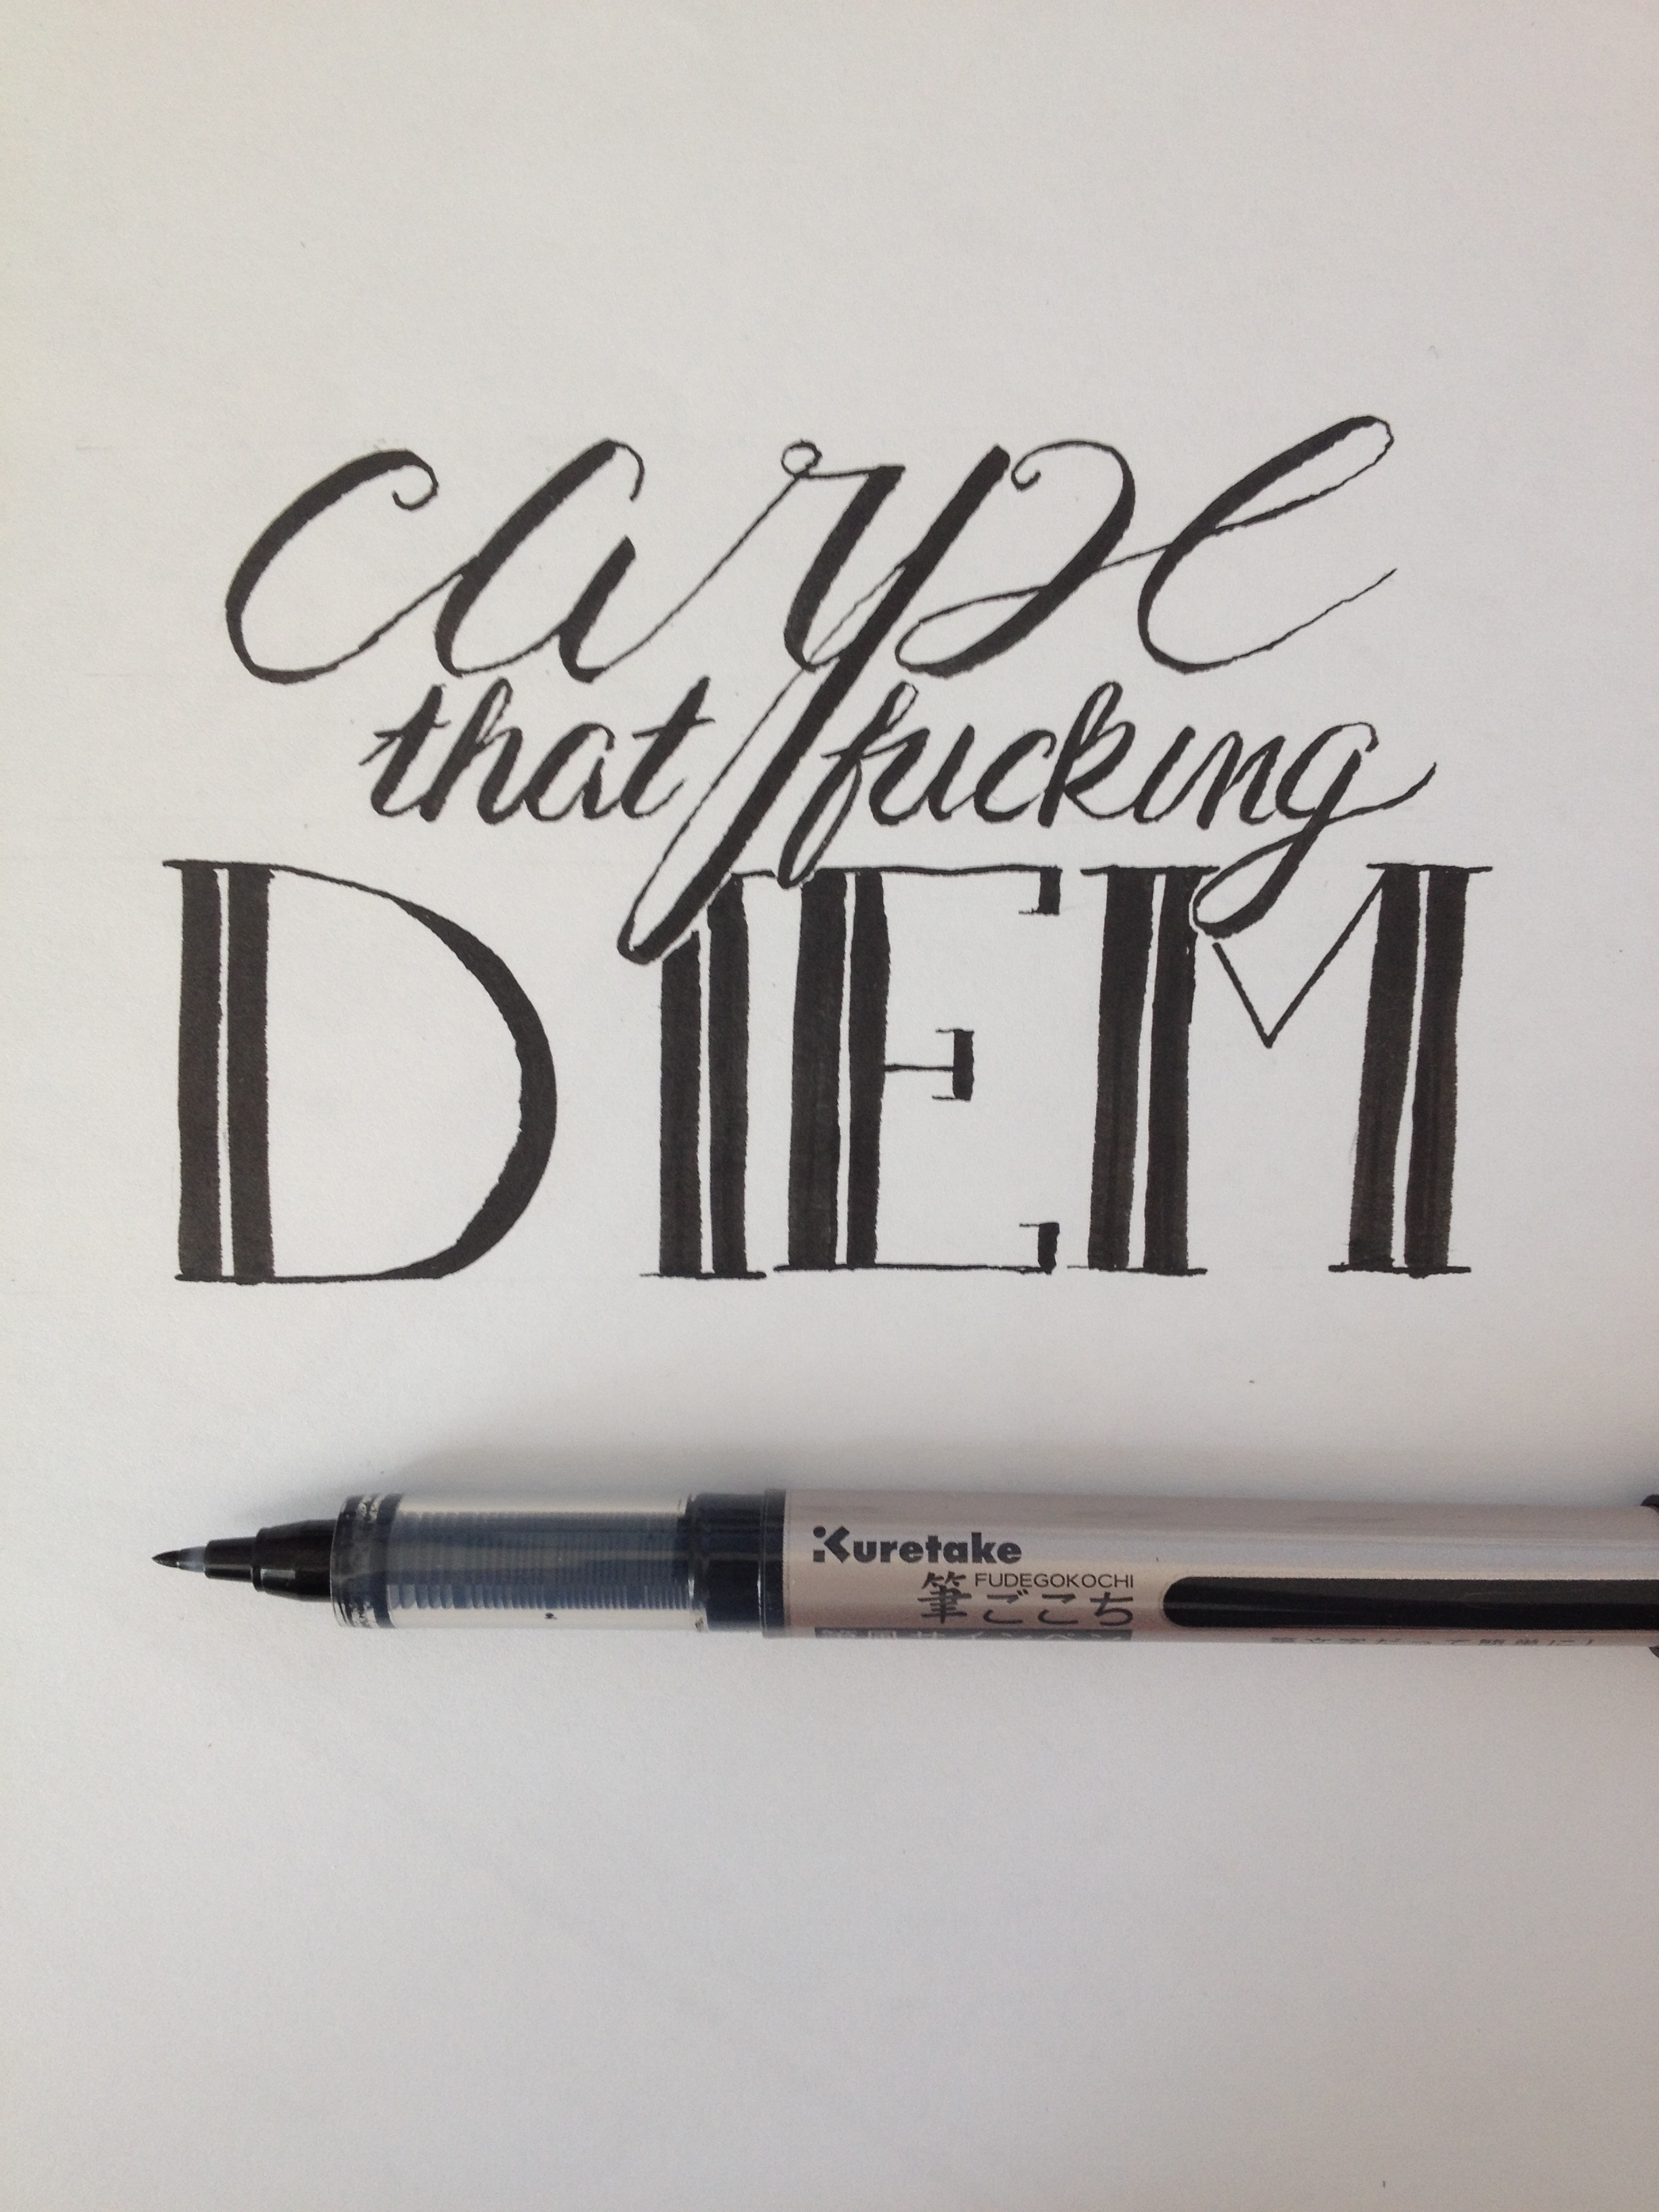
The problem with $3 notebooks though, is that the paper you get is worth about that much. The ink bled and my lines weren't crisp at all. Fine for practice, but my projects soon required some better quality paper. I moved on to a Fabriano sketchbook (which I love for pencil work) but even that was a bit toothy for my pens. I've got marker comp paper now, and I've also got my hands on a much better pen. It was the Kuretake Fudegokochi and it's still my favorite, even now that the collection has expanded a bit.
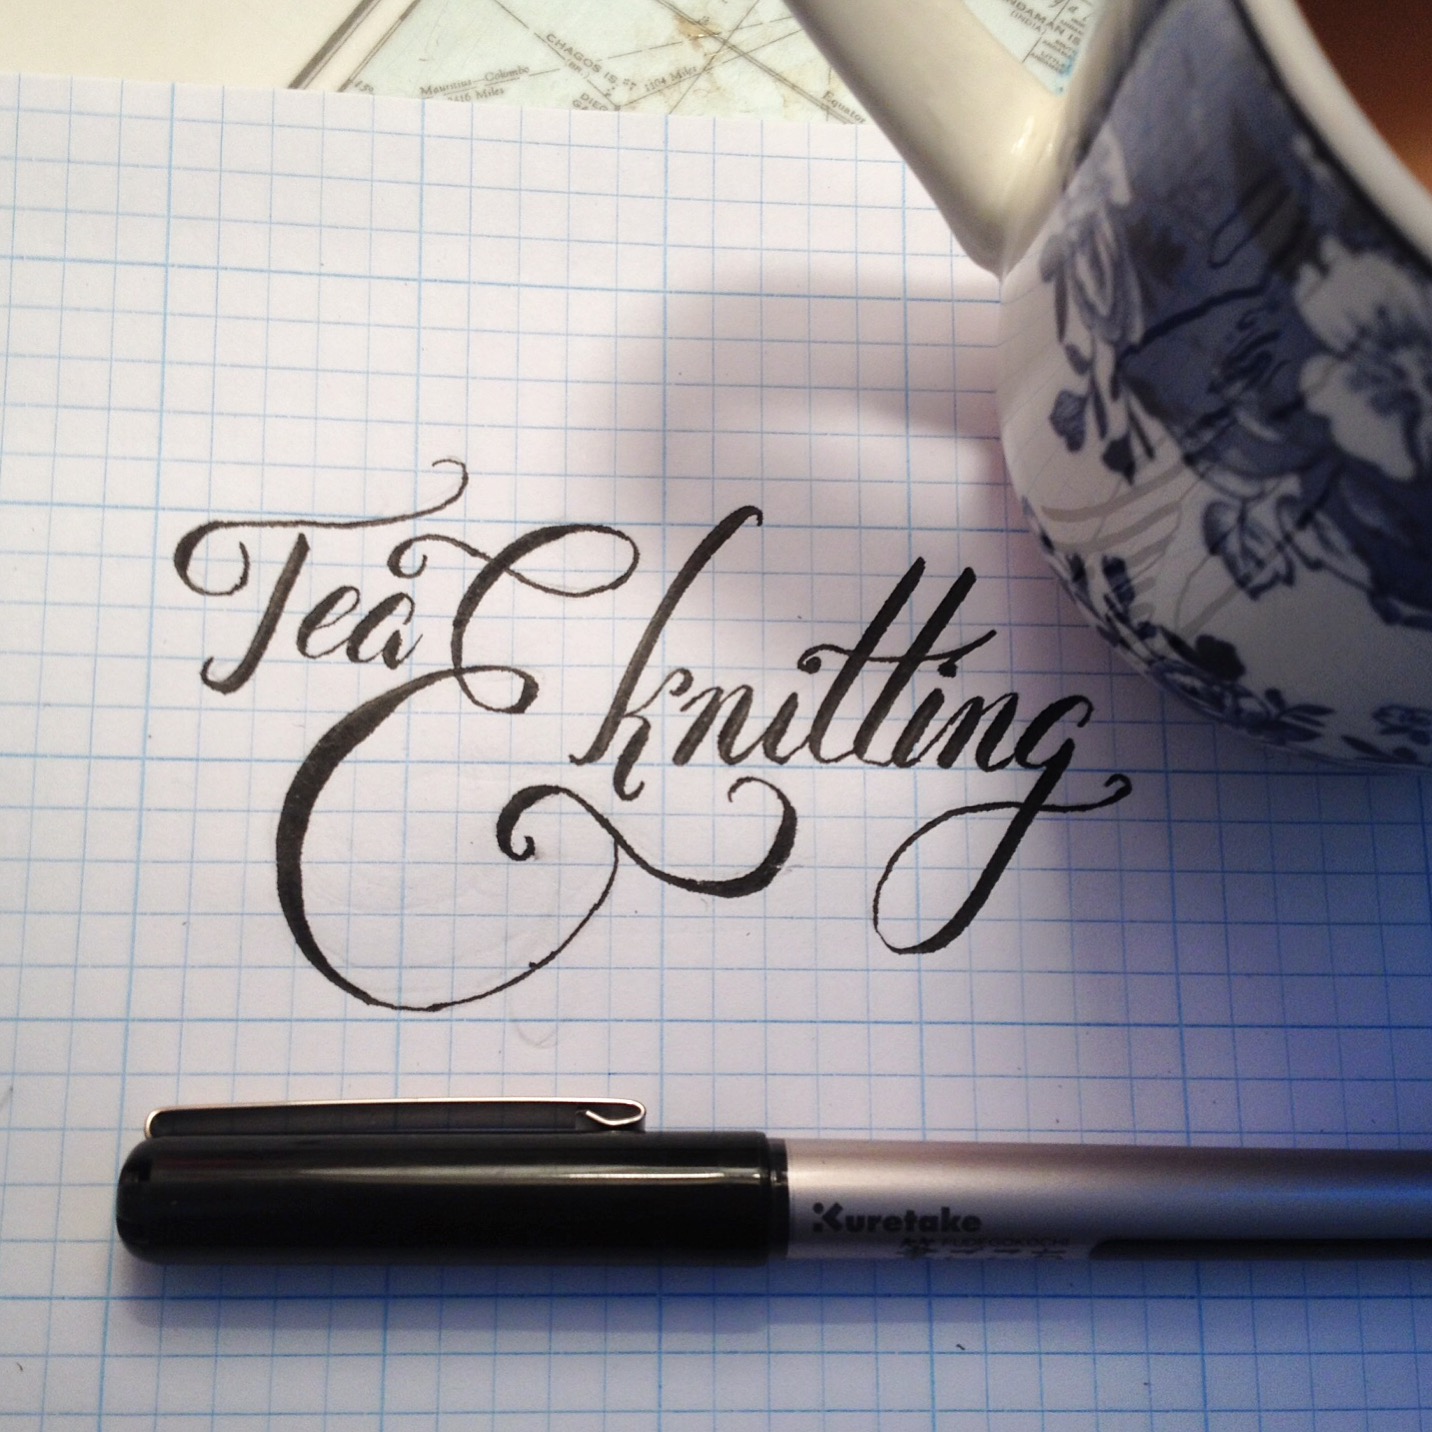
People swear by the Tombow Dual Brush pens, but they're not for me. They feel cumbersome and overlarge for the level of work I'm trying to accomplish, but I can see how they'd be perfect for some people. If you're looking for large, expressive, swooping lines and not too worried about pin-width thin areas, go Tombow. If you're all about the details or your writing is a bit on the small side like mine, you're not gonna like it.
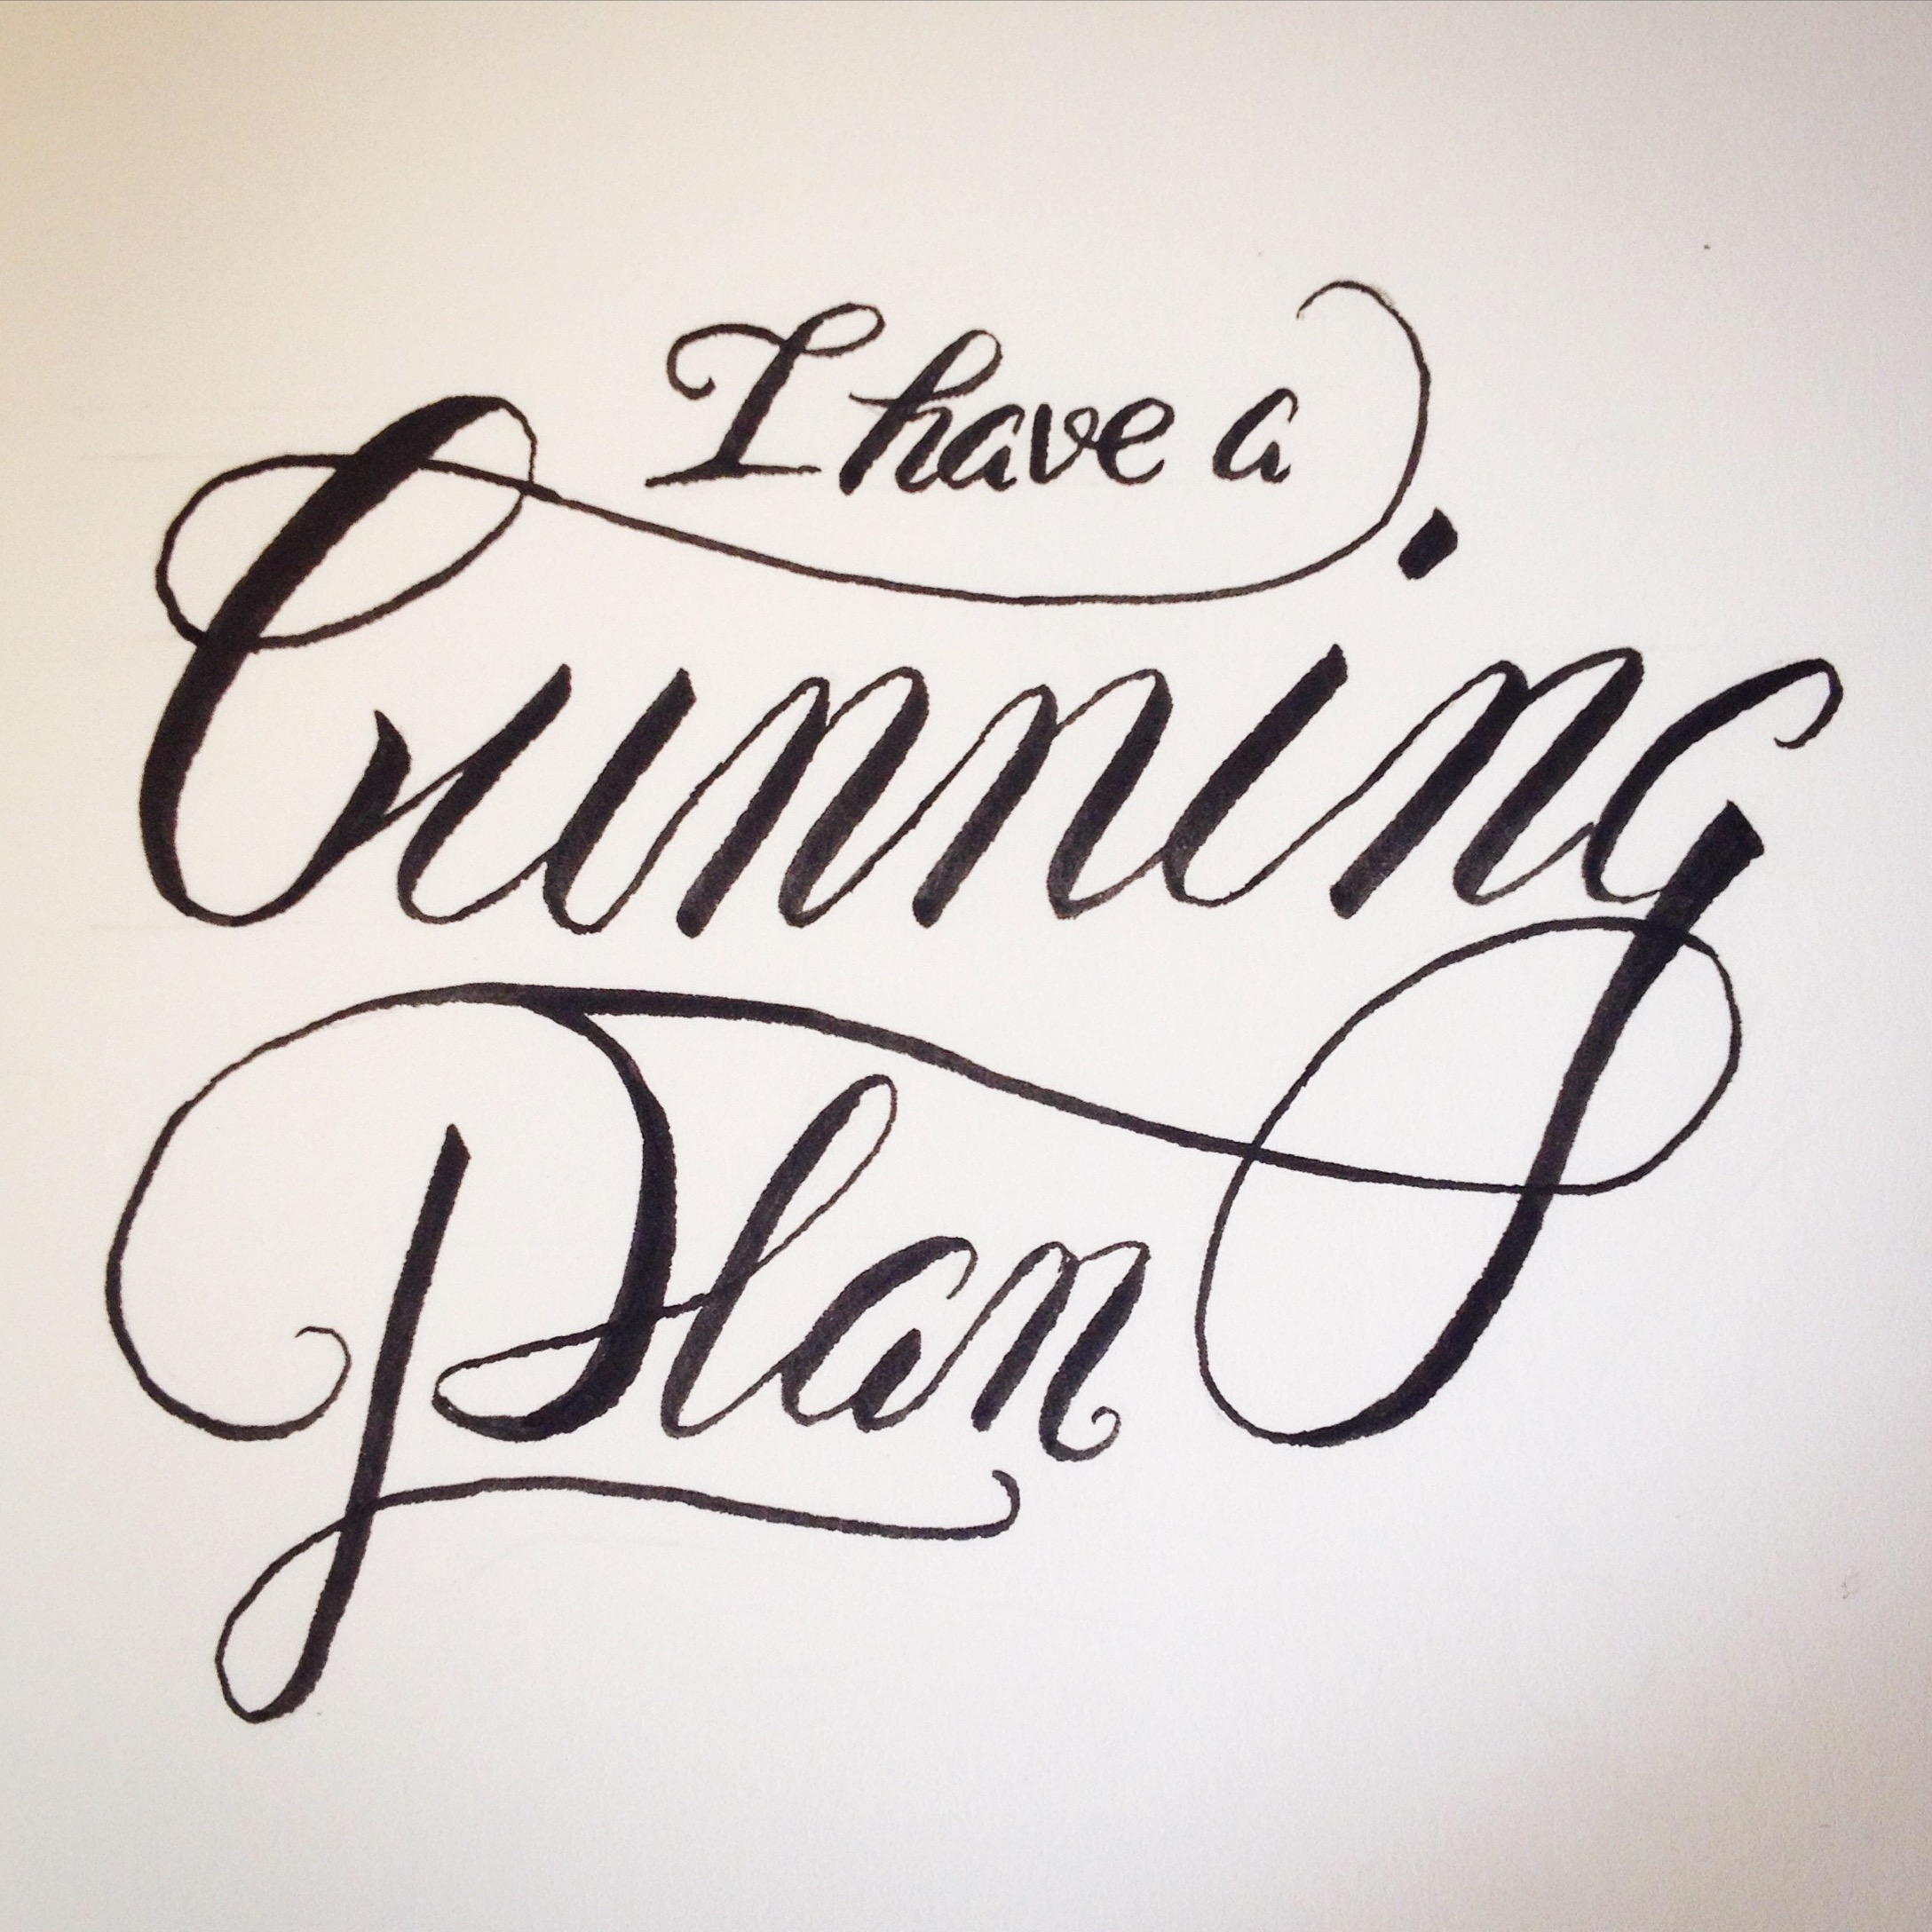
Amidst practice, I discovered that pens aren't the only thing you can draw lettering with. That was such an exciting adventure, however, that I'm saving it for part two of this post.
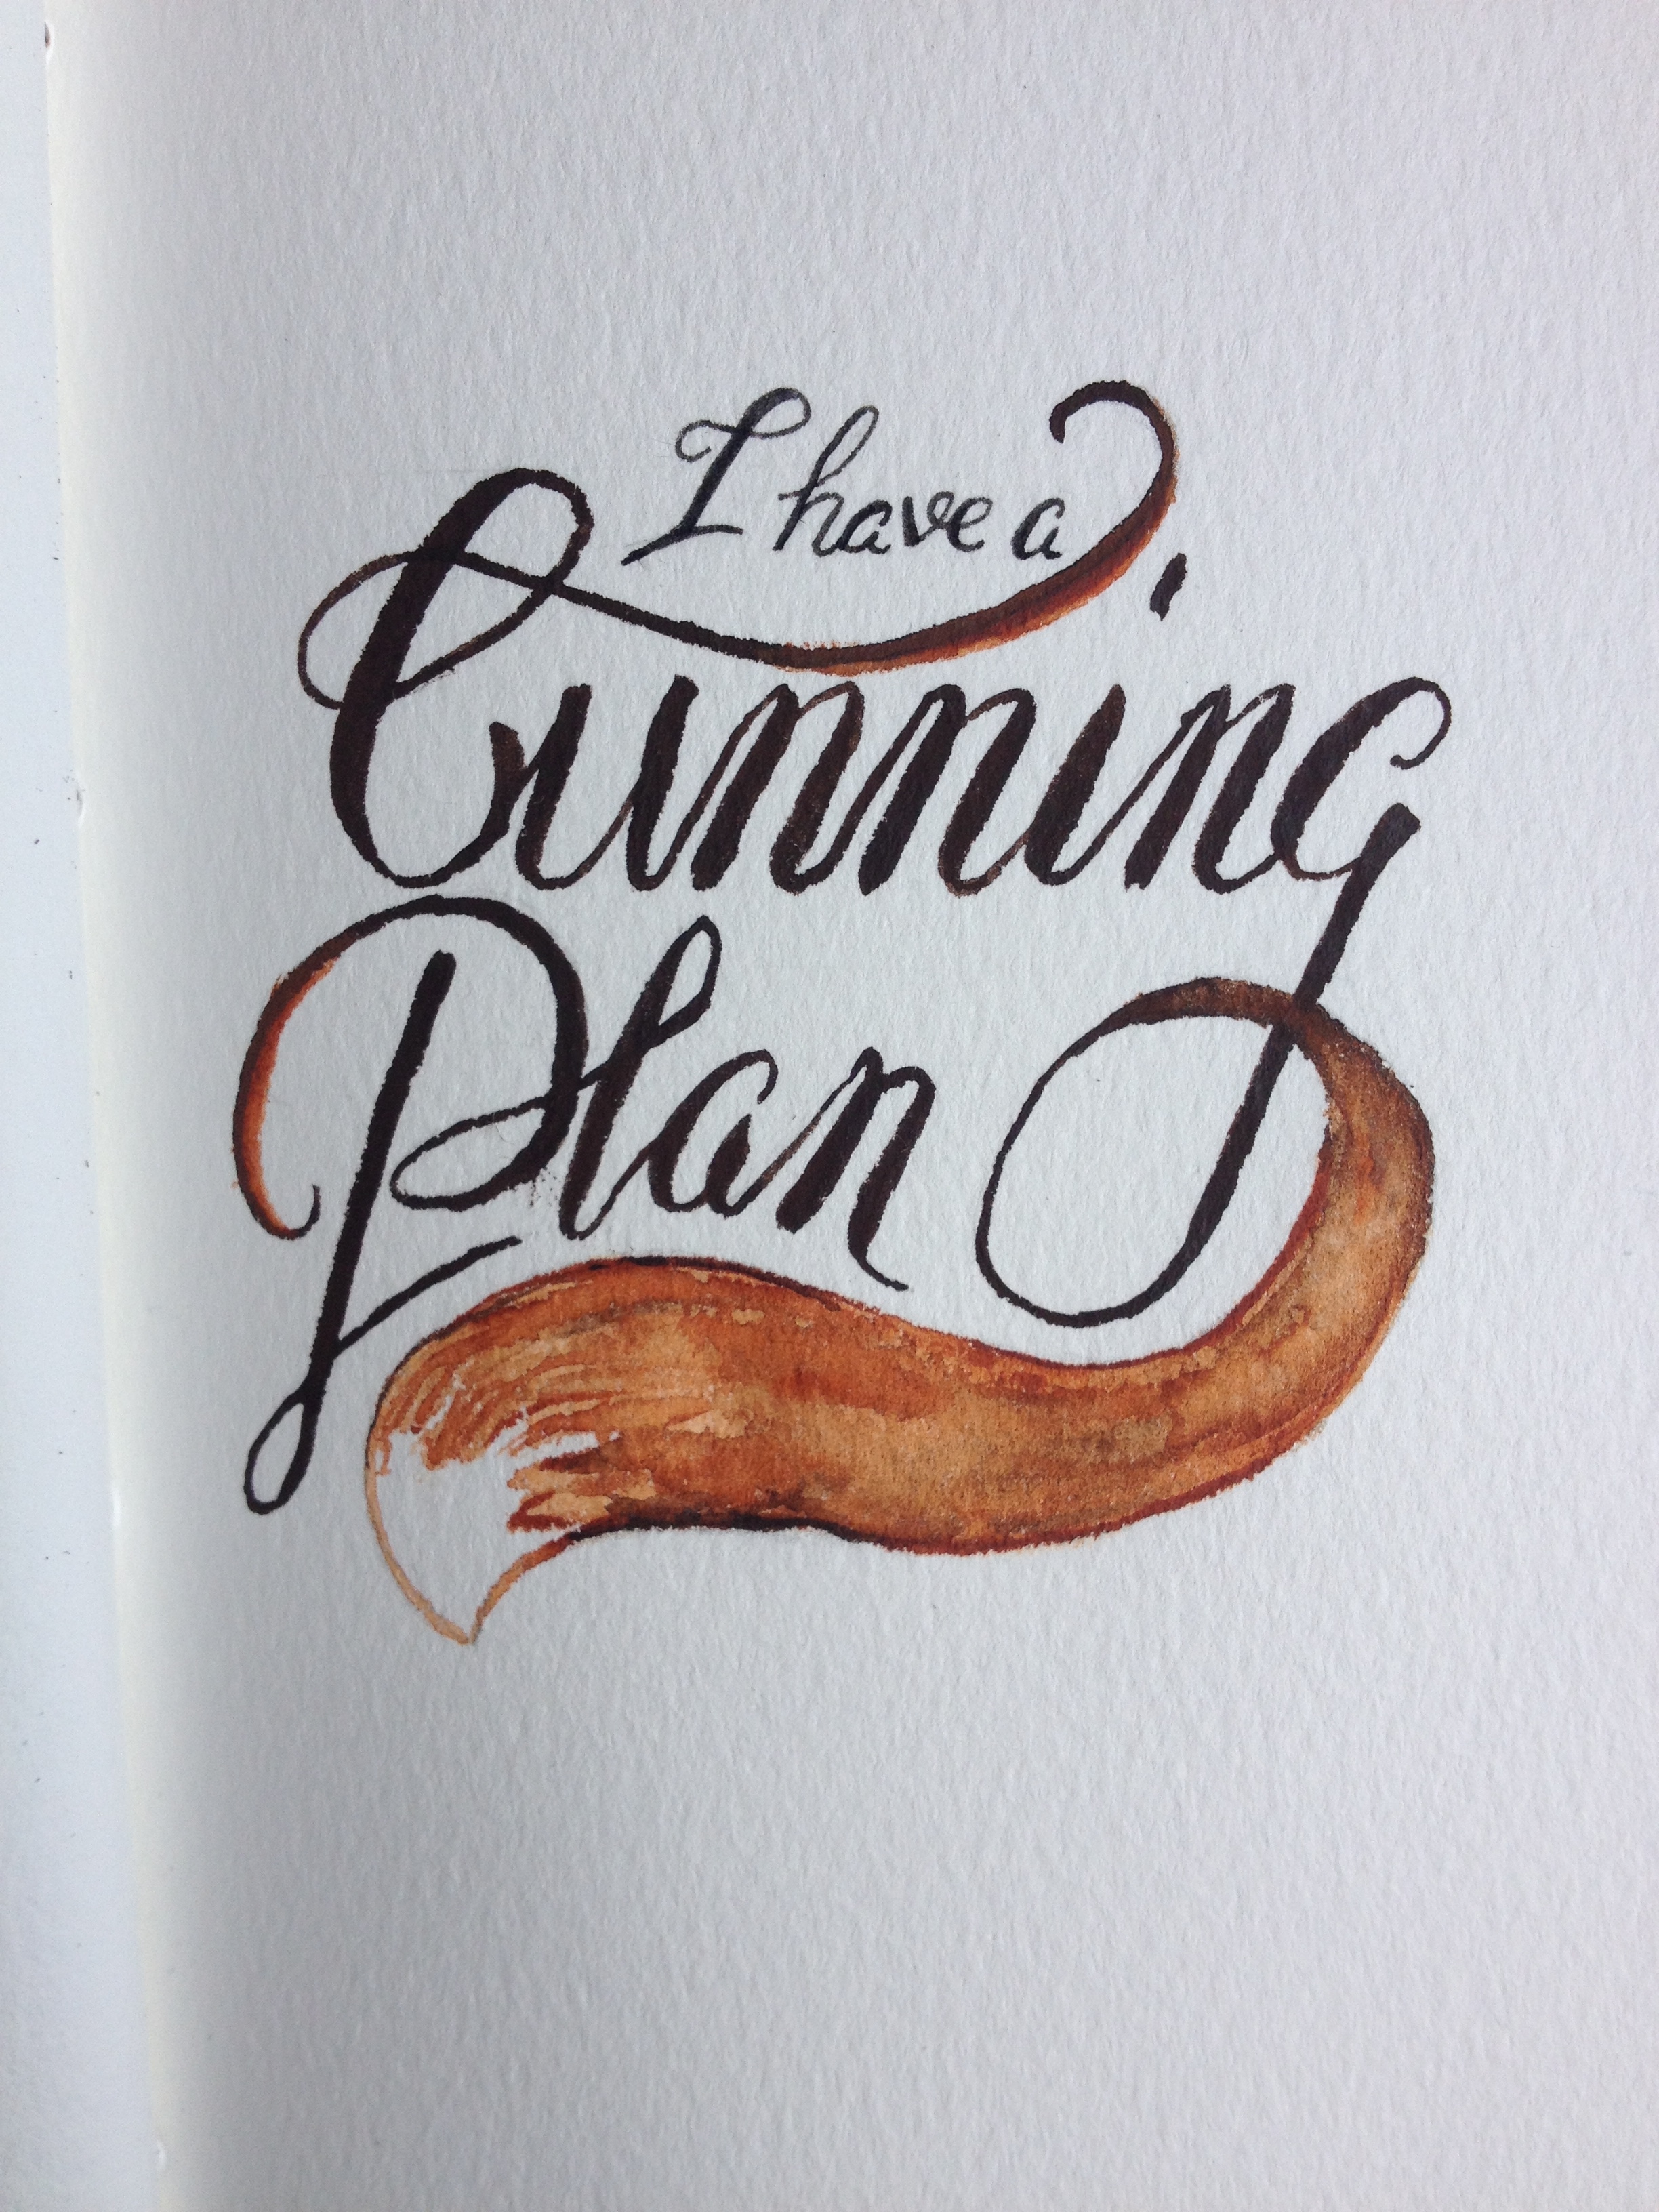
I will say that the discovery that I could use my watercolors for hand lettering was a particularly excellent discovery as it didn't require any additional money to be spent on materials. I already had all I needed!
But hey, what's a new hobby if I don't throw some money at it, right?
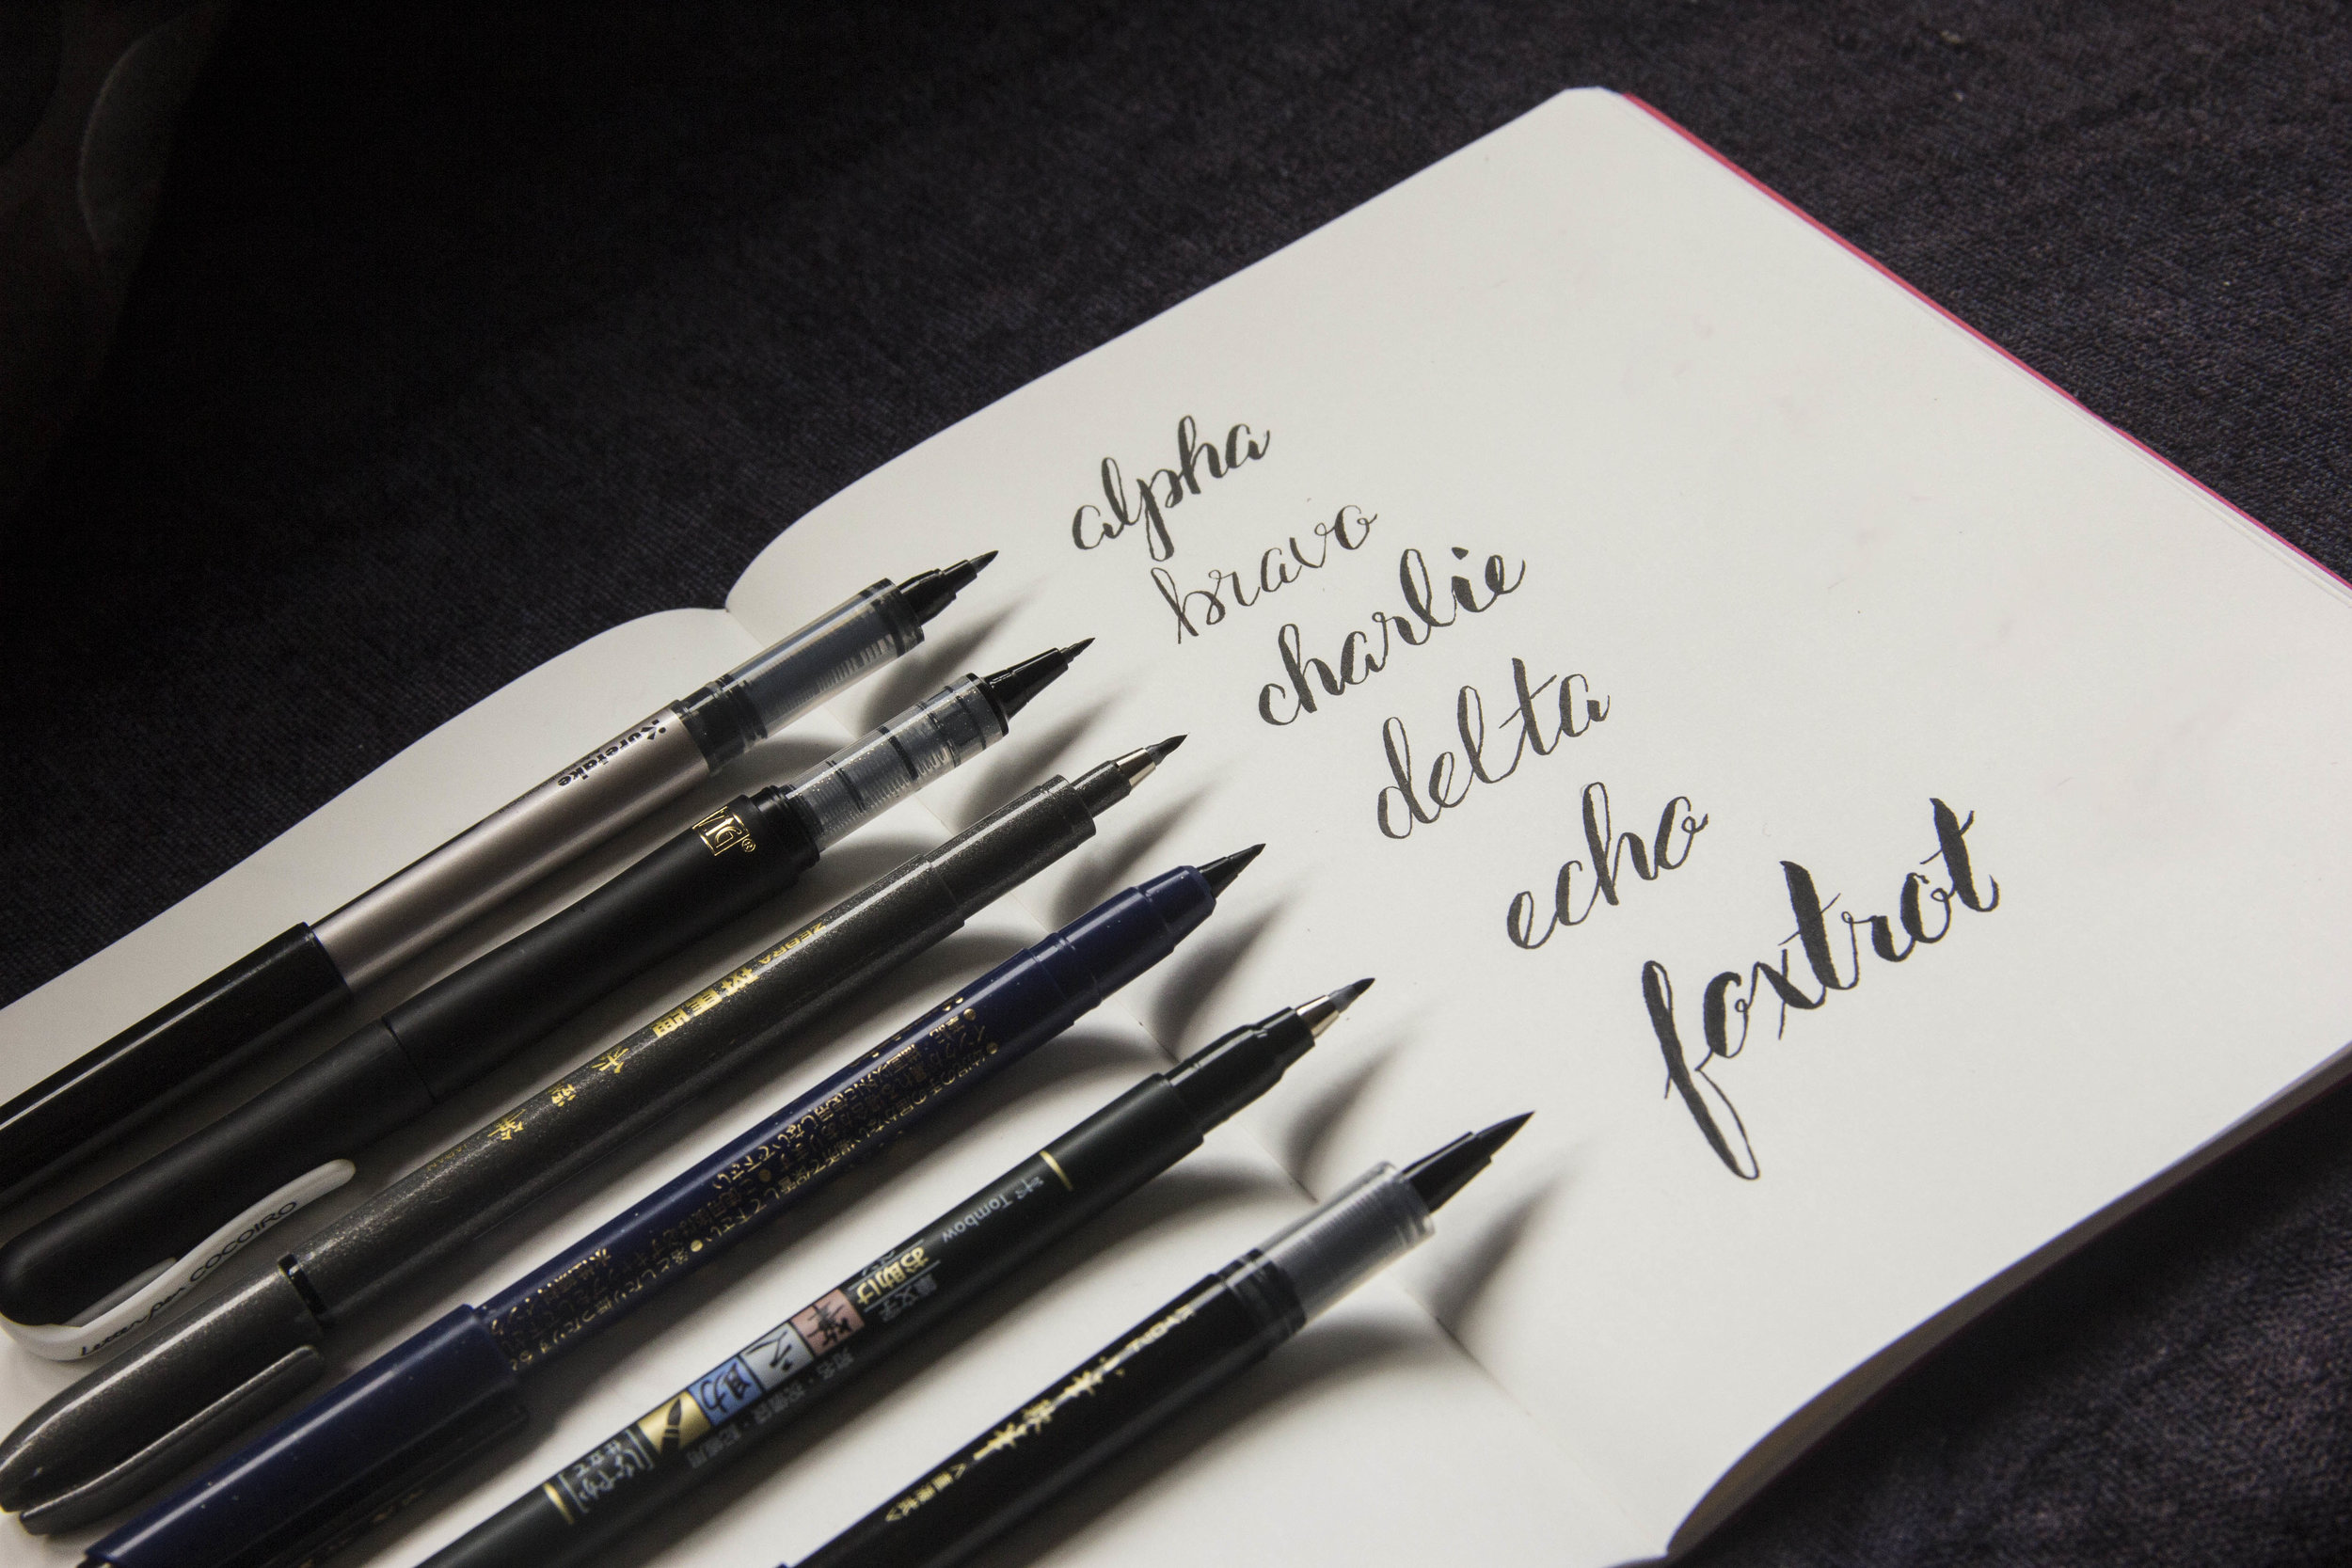
These were my Christmas presents to myself. It's a thin excuse, really, but I love them all and they're small and easily transportable. Each one is slightly different, and the more I work with them the more I like each of them for different projects. For those of you visiting this post with research-based intent, here are my findings, from alpha to foxtrot:
Alpha.) Kuretake Fudegokochi Regular: My personal favorite. It has an expressive felt nib which is capable of a variety of widths. It's a bit on the soft side but it's worth spending time to master.
Bravo.) Kuretake Zig Letter Pen CocoIro, Black: This pen is very fine and very firm. Great for a beginner and teeny tiny detail work. It also must be purchased in two parts: The refill and the body. It's worth having for the details, and another bonus is that this one comes in colors- if you're into that sort of thing.
Charlie.) Zebra Disposable Brush Pen - Fine: This one is even softer than 'Alpha', and with only very little sacrifice to the line quality at the thin range. It's very soft and fun to play with, as long as you're not dedicated to precision.
Delta.) Kuretake Disposable Pocket Brush Pen - Fine: A slightly smaller version of 'Alpha' and also very enjoyable. It's a bit firmer as well.
Echo.) Tombow Fudenosuke Brush Pen - Soft: Now this is a tombow I can get behind. I think I might recommend this one for beginners as its medium-firm tip is quick to be mastered, yet soft enough to give some decent line variation.
Foxtrot.) Pilot Pocket Brush Pen - Soft: This one is really weird. Fun to play with, but the tip is massive and extremely spongey. The ink wells up like it'll overflow whenever you put pen to paper. It's very difficult to control, but makes beautiful line variation if you can harness it.
Each pen has its own strengths and weaknesses, but unfortunately for the most part the only way to test which ones play to your strengths and weaknesses is to buy them and test them out. I hope this helps you make your decision at least a little.
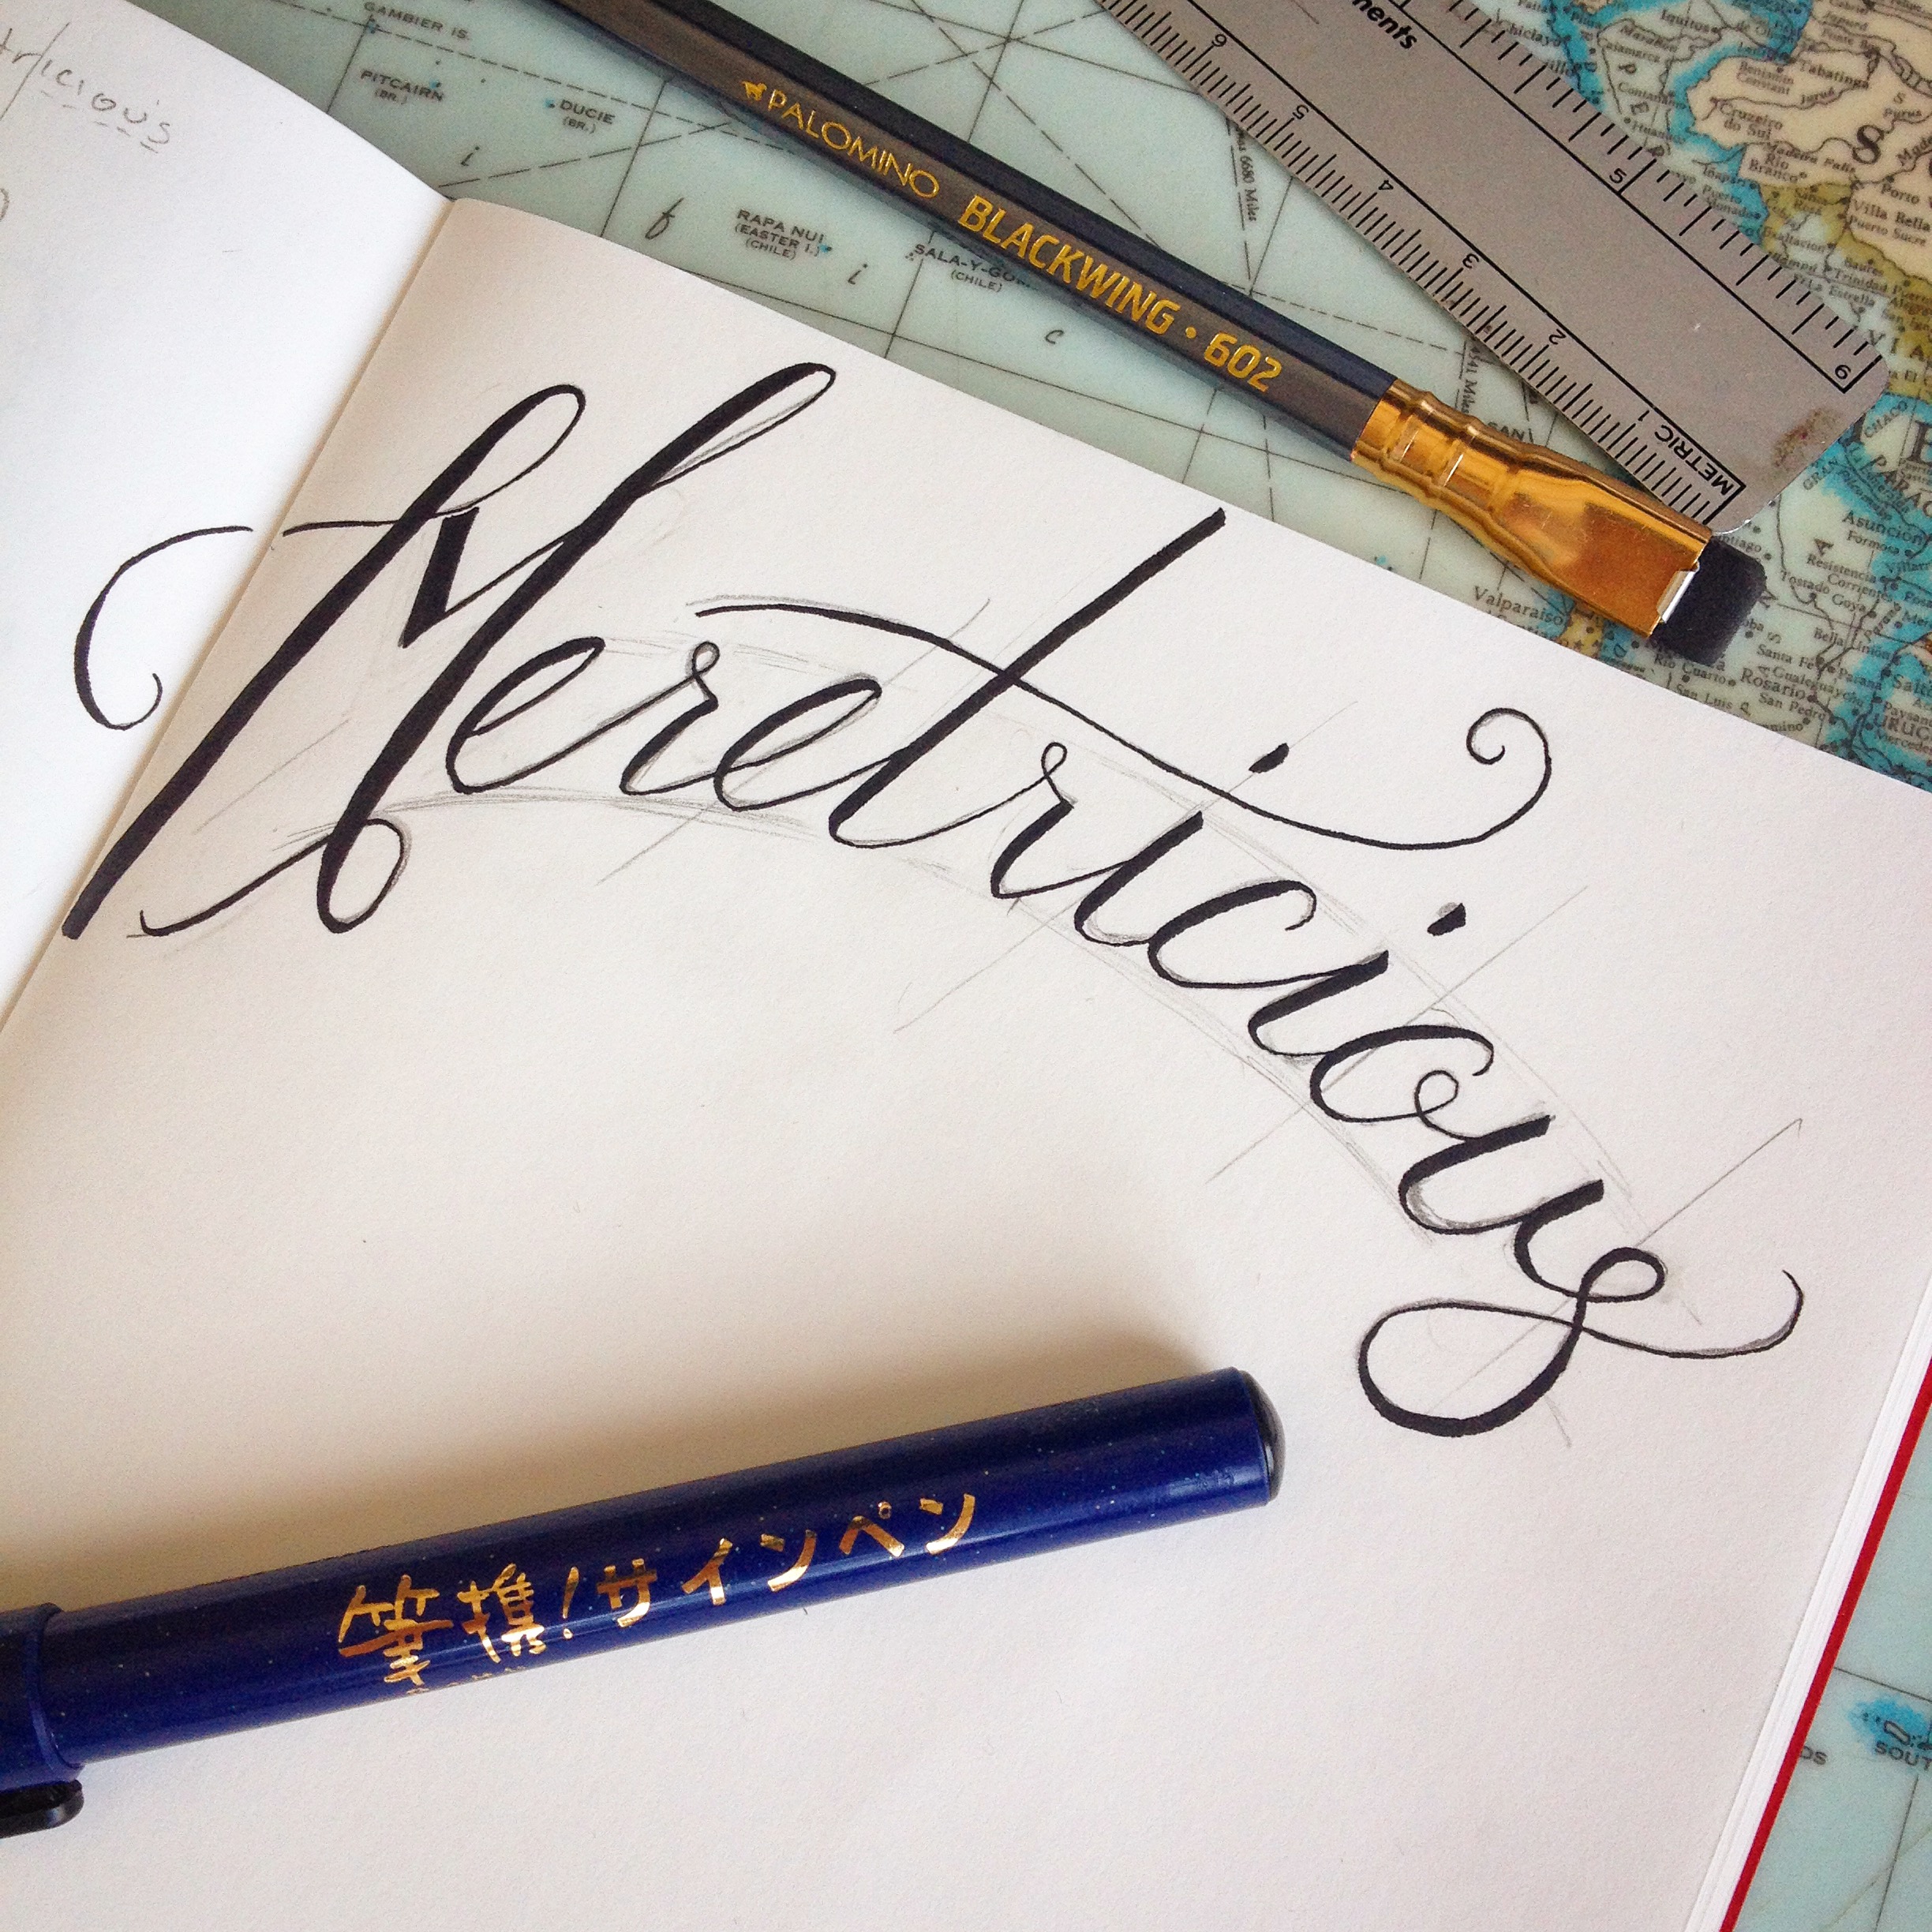
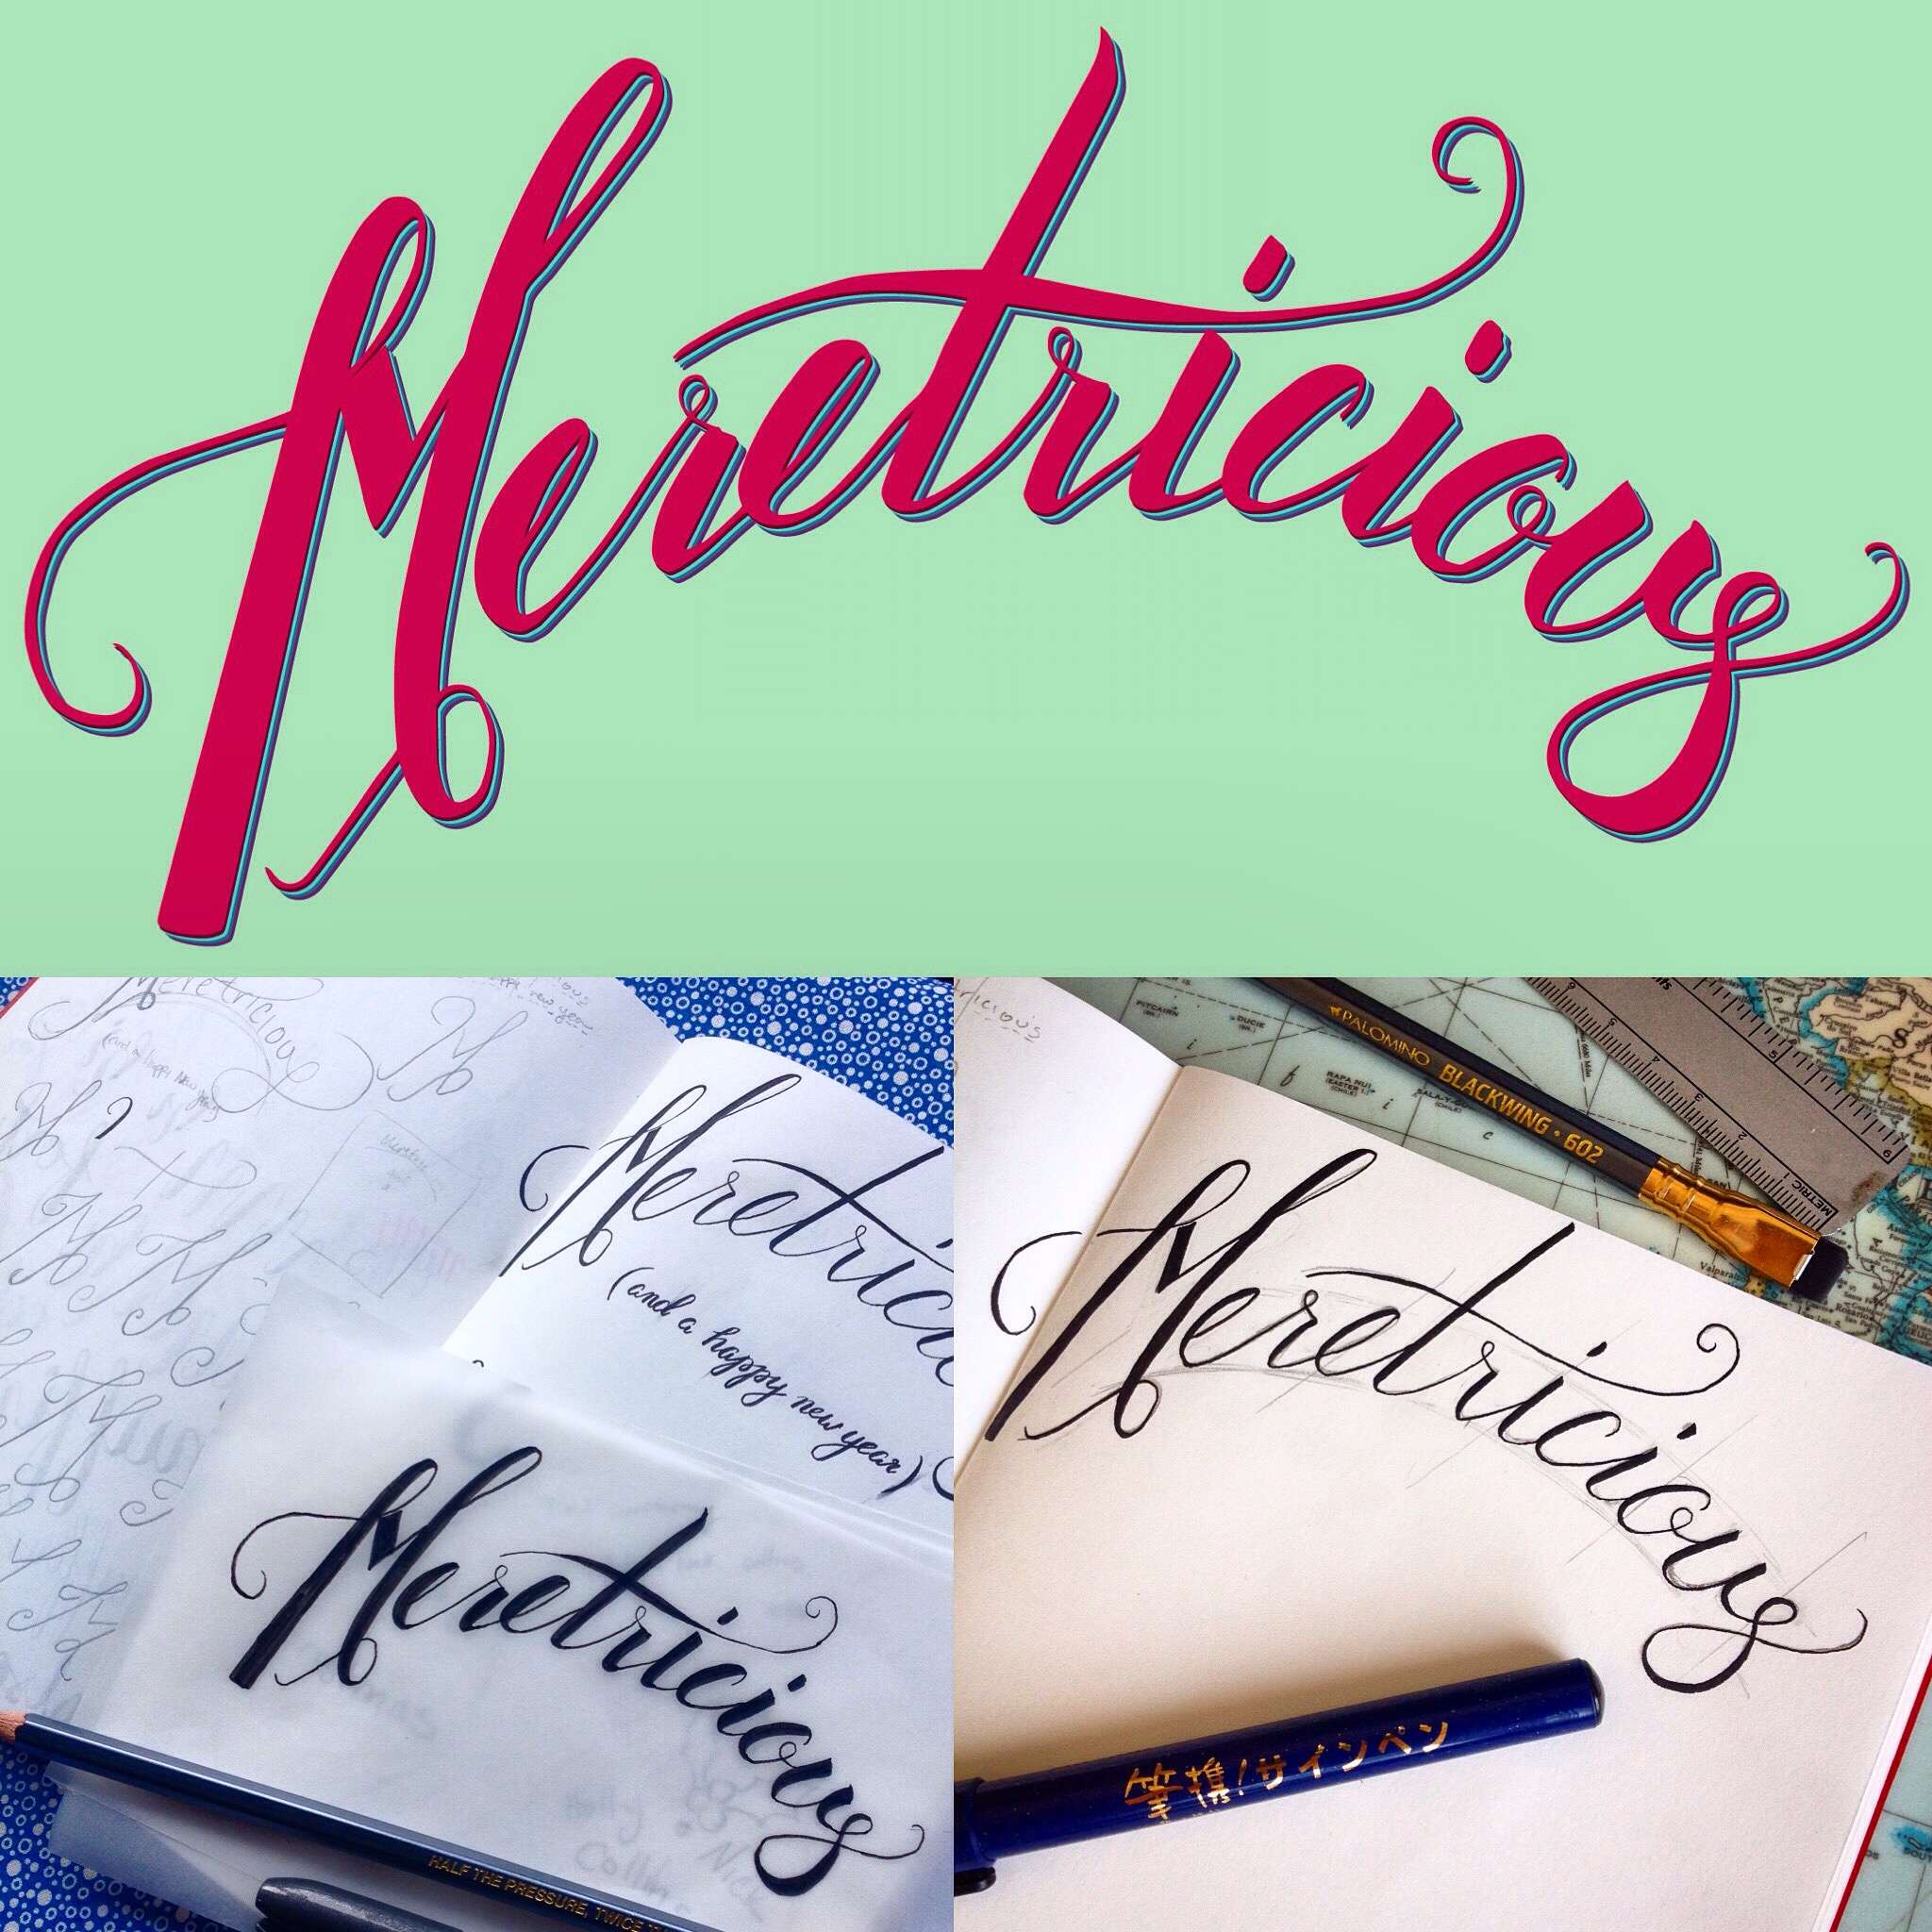
This last project was one I took through as far as digitizing in illustrator. I used both Kuretake pens to combine thick and thin lines in the first version, and then made a tracing paper version with the Zebra pen after I decided my thick lines needed to be even thicker. After that, I took a photo, dropped out the background noise in Photoshop, and traced it in Illustrator. The results were, well... Meretricious!
Because this post is already approaching novel length, I'm going to tell you about all my hand lettering adventures outside of the brush pen world in next week's post. That includes traditional brushes, a few real-brush options, metal calligraphy nibs, and achieving a lettered script look without a flexible nib!
I'm pretty excited with the progress I've made so I can't wait to show you more! I'll also be sharing some more in-depth projects as they're completed- especially as my desired level of intensity for lettering projects surpasses 'random pretty phrases on scrap paper'
Growing Roots (and moving in)
I keep doing this. I'll work up a blogging routine- once or twice a week has always been the goal, and then something happens and it all falls apart. My last blog post was 9 months ago because I am a terrible person. I'm not actually a terrible person. What I actually am is a person with terrible personal project management skills, but that doesn't really roll off the tongue quite so nicely, does it?
What I also am, is a person Easily Distracted By Adventures. Of these, there have been a few.
Since we last spoke, I re-started (and left) an old job, spent another summer at camp, road tripped in two countries, thirteen states, and three provinces, got a working holiday visa for a year in New Zealand, got (and left) another job, started another job, and moved in to a new house (in New Zealand!)!
Obviously, if I tried to update you on all these things at once we'd end up with something resembling a Lord of the Rings-esque multi-part novel series, with prequels and sequels to rival Star Wars, so we'll just have to nibble off small bits at a time. There's an argument to be made that the very beginning is a very good place to start, but there's no hope for any sort of chronological order at this point so I won't bother to try.
Besides, I want to tell you about now first. Now is the first time in about three years that I'll be living in the same place for more than three months. It may not be permanent by any definition of the word, but it is more permanent than anything's been in a while. Now is my chance to grow some roots.
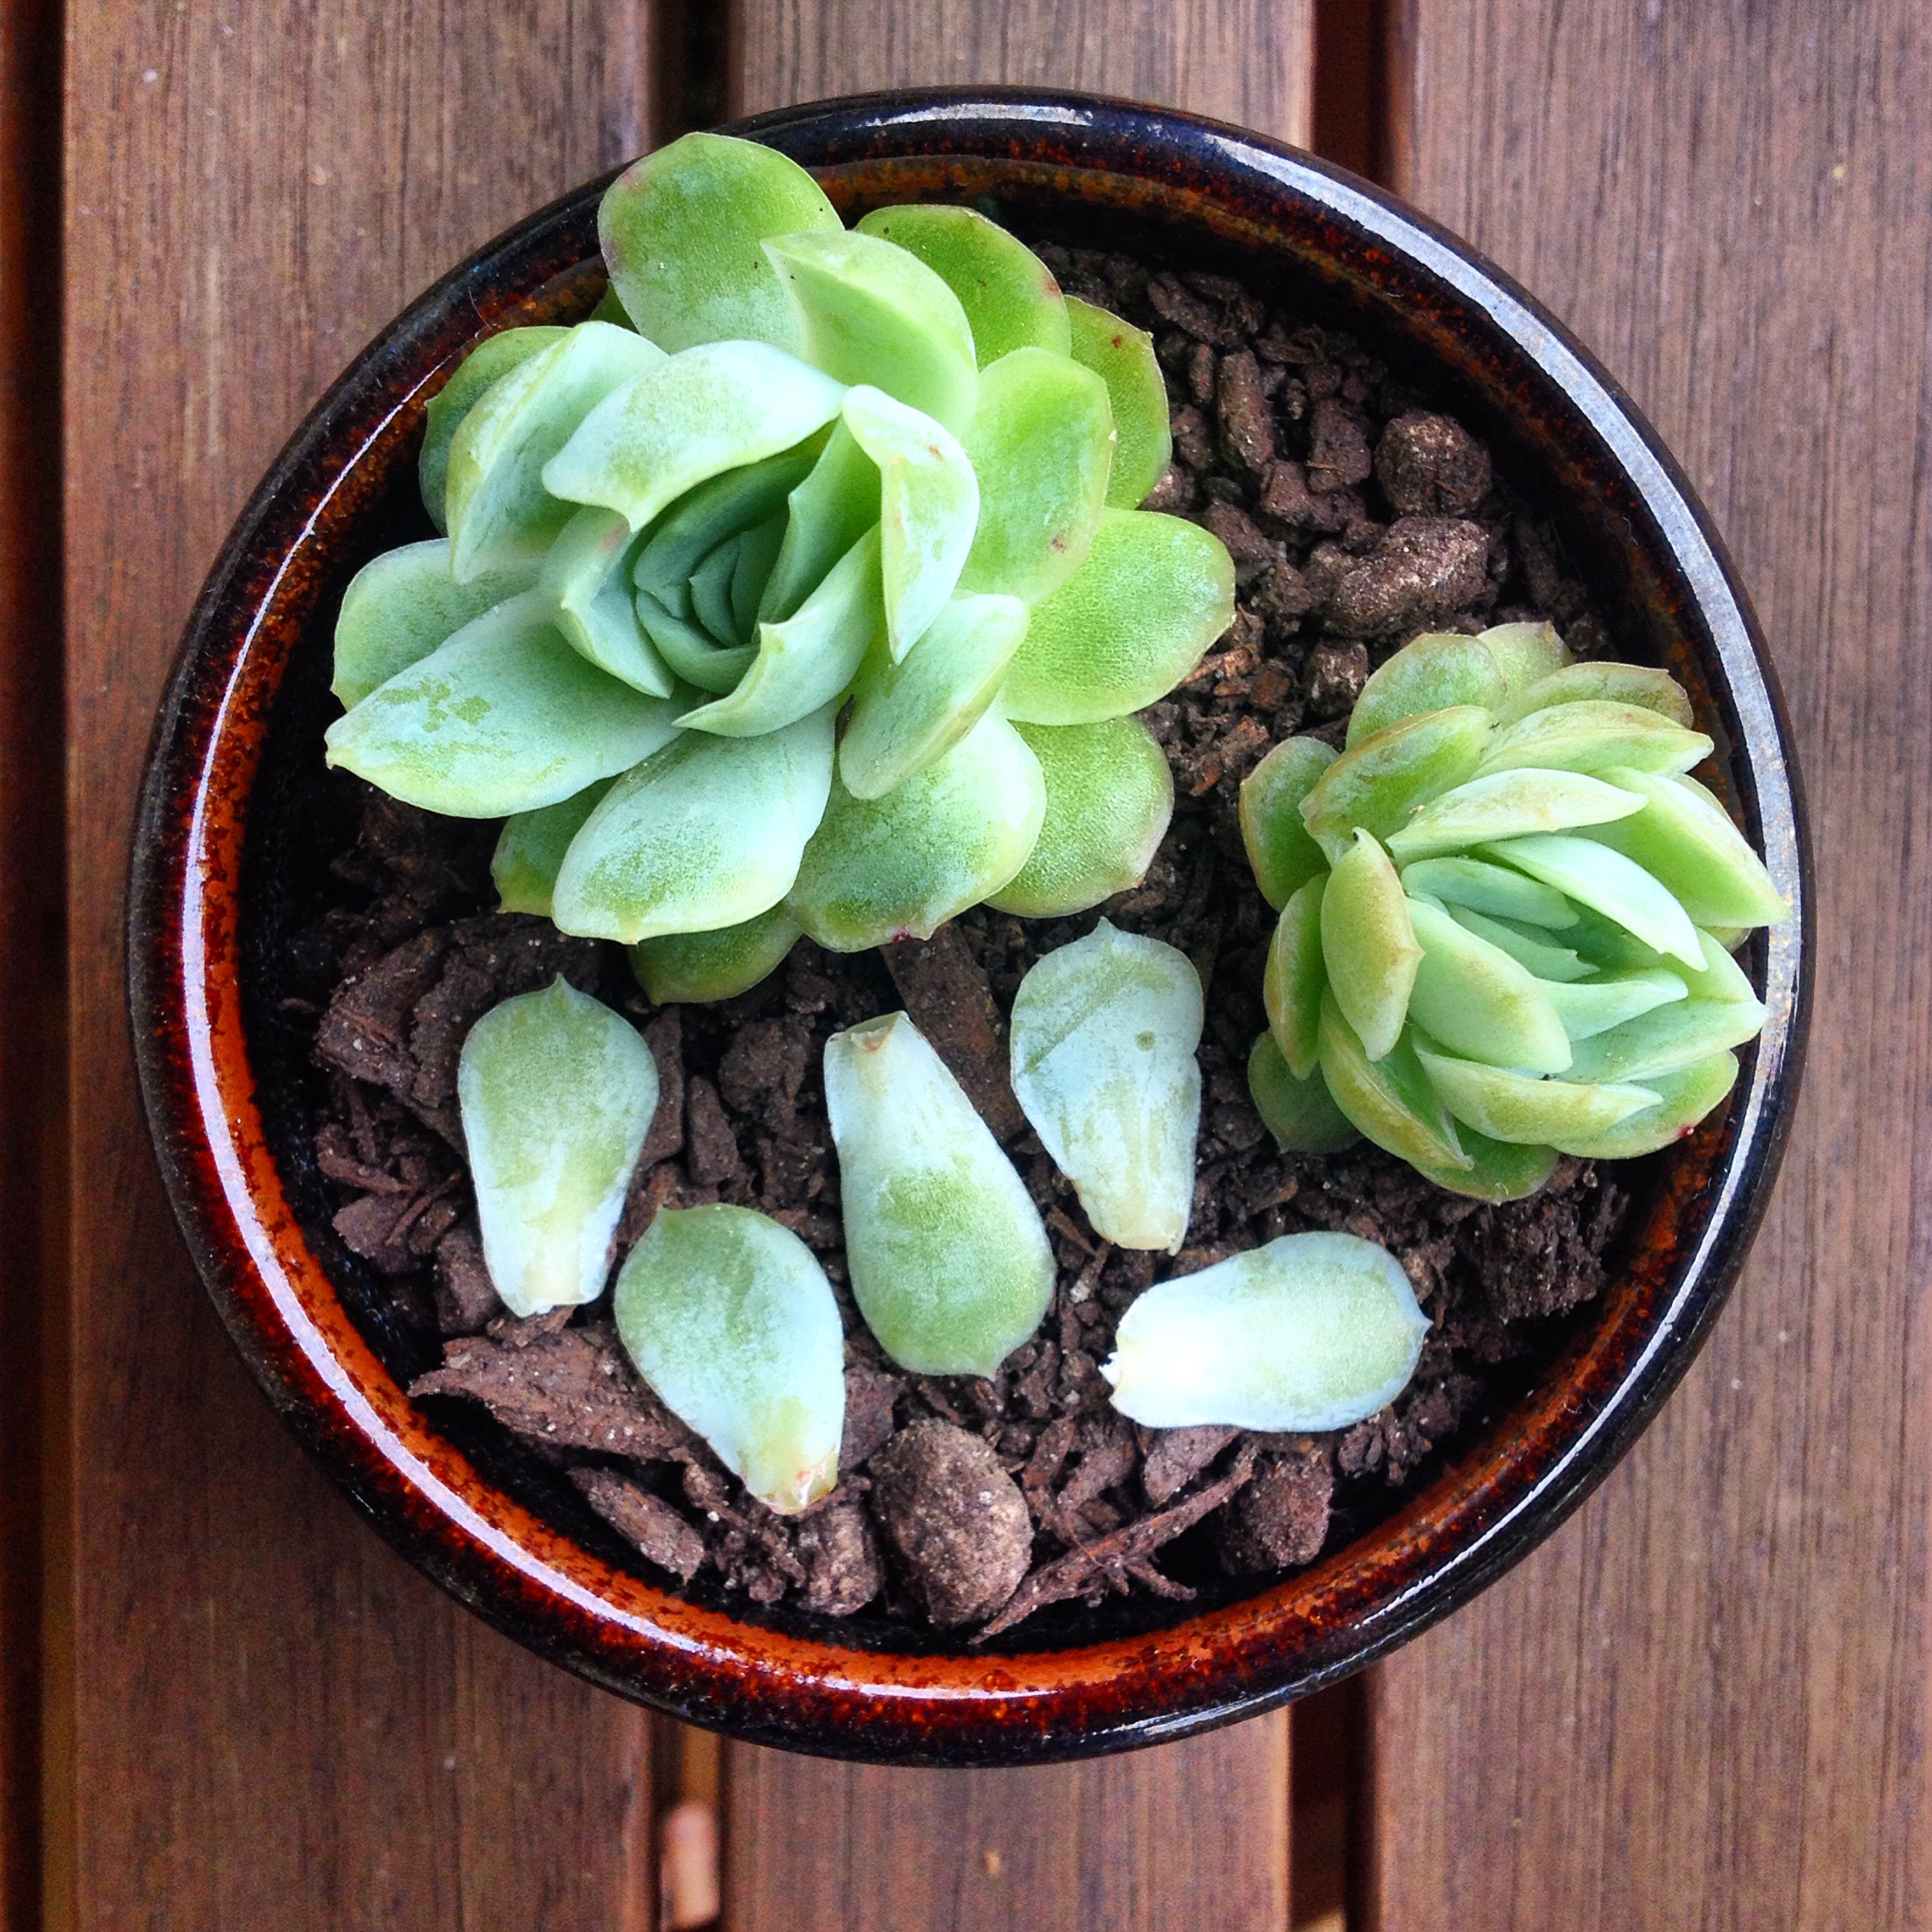
Those little fellas are Steve and Phil. They're cuttings from a larger plant and they've been growing nicely! I was also trying to propagate the leaves, but they've gone a bit shrively since I took this photo. My plant-mom skills still need a bit of work. Steve and Phil are Echeveria. They, like me, were rootless little nomads when they started off in this new pot, but have since grown some roots to give them a bit of stability in life.
My ability to care for potted plants apparently rivals my ability to do entry level chemistry: which is to say I'm astoundingly (even spectacularly) bad at both. Steve and Phil were touch and go for a while due to some bad pot-placement and overwatering (Did you know it's possible to love a succulent too much? It is. Pay it too much attention and it will die. Ignoring it is apparently healthy. Also apparently plants can get sunburned too. My entire life is a lie.) but it seems both the fellas and I are both on the road to plant care recovery.
My own roots have grown in a slightly less soil-based environment. I've technically already gone through that whole 'baby's first apartment' phase of my life, but living somewhere as a job-having human is fundamentally different than student housing. Choosing an apartment based on its proximity to the highways and transportation hubs, and secondarily how close it is to things like a grocery store and a good fish n' chips shop is definitely something I've never done.
I have, however, had to set up internet in a place before and let me tell you young things- It's worse than pulling teeth. Every. Single. Time. It does not get better. The only saving grace will be when you bribe your neighbors for their wifi password with a large box of fresh produce so that you can drown your anger in dealing with your own internet provider in hours of Pinterest and Spotify.
I mean.
It also helps that the house we're growing these roots in is as singularly adorable as it is. I mean, come on:
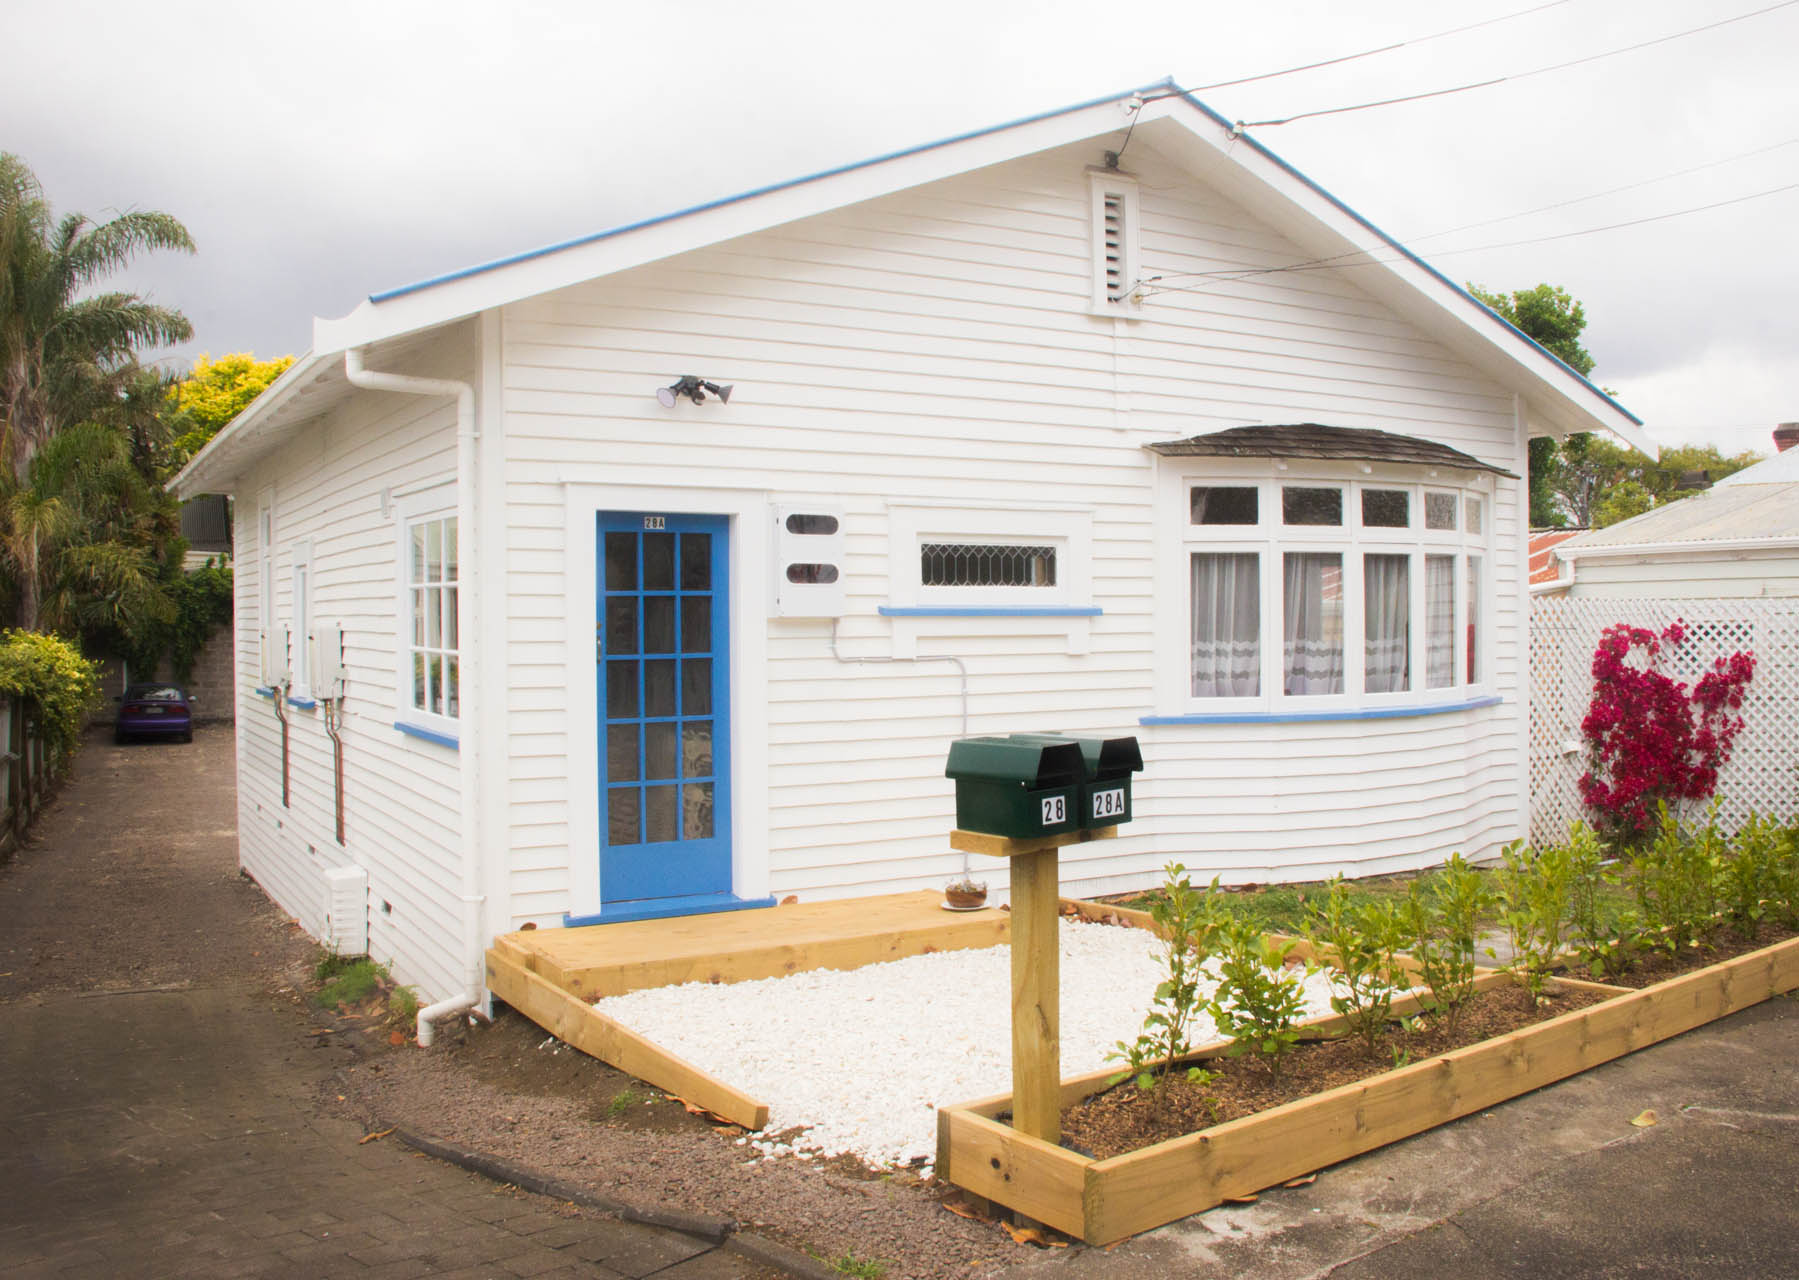
It even has a future hedge! It's not a hedge now, but it will be. Jon waters it with a pot from the kitchen because we don't have a watering can or a hose. I've got some photoshoot plans that involve that red Bougainvillea in the corner as the most delightful backdrop ever.
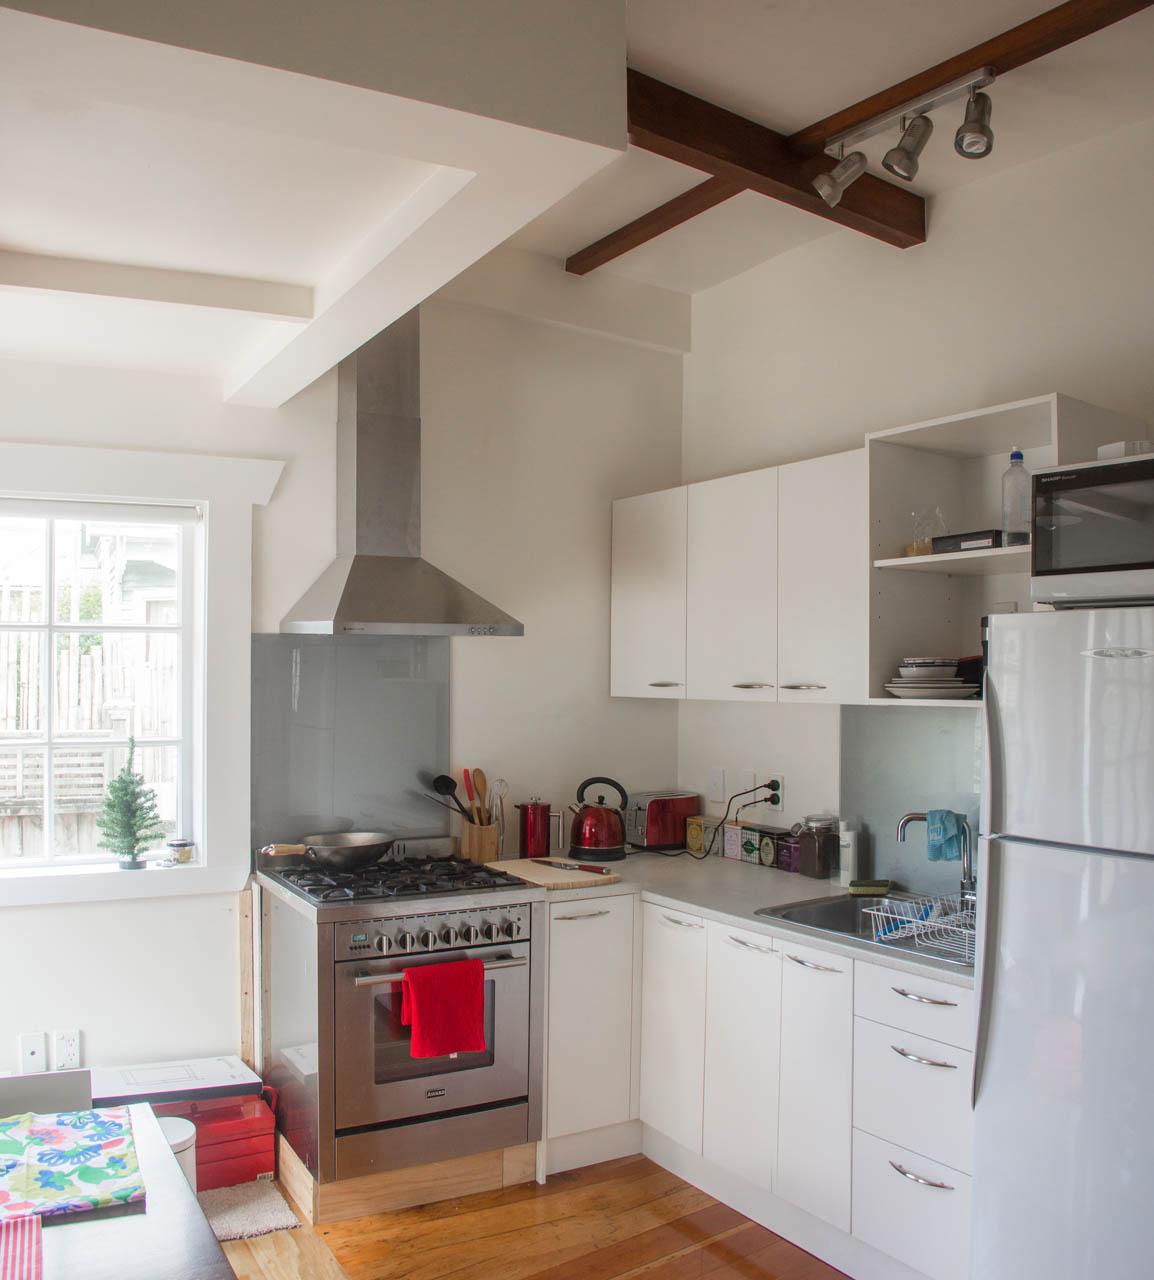
Excuse me while I bake All The Things.
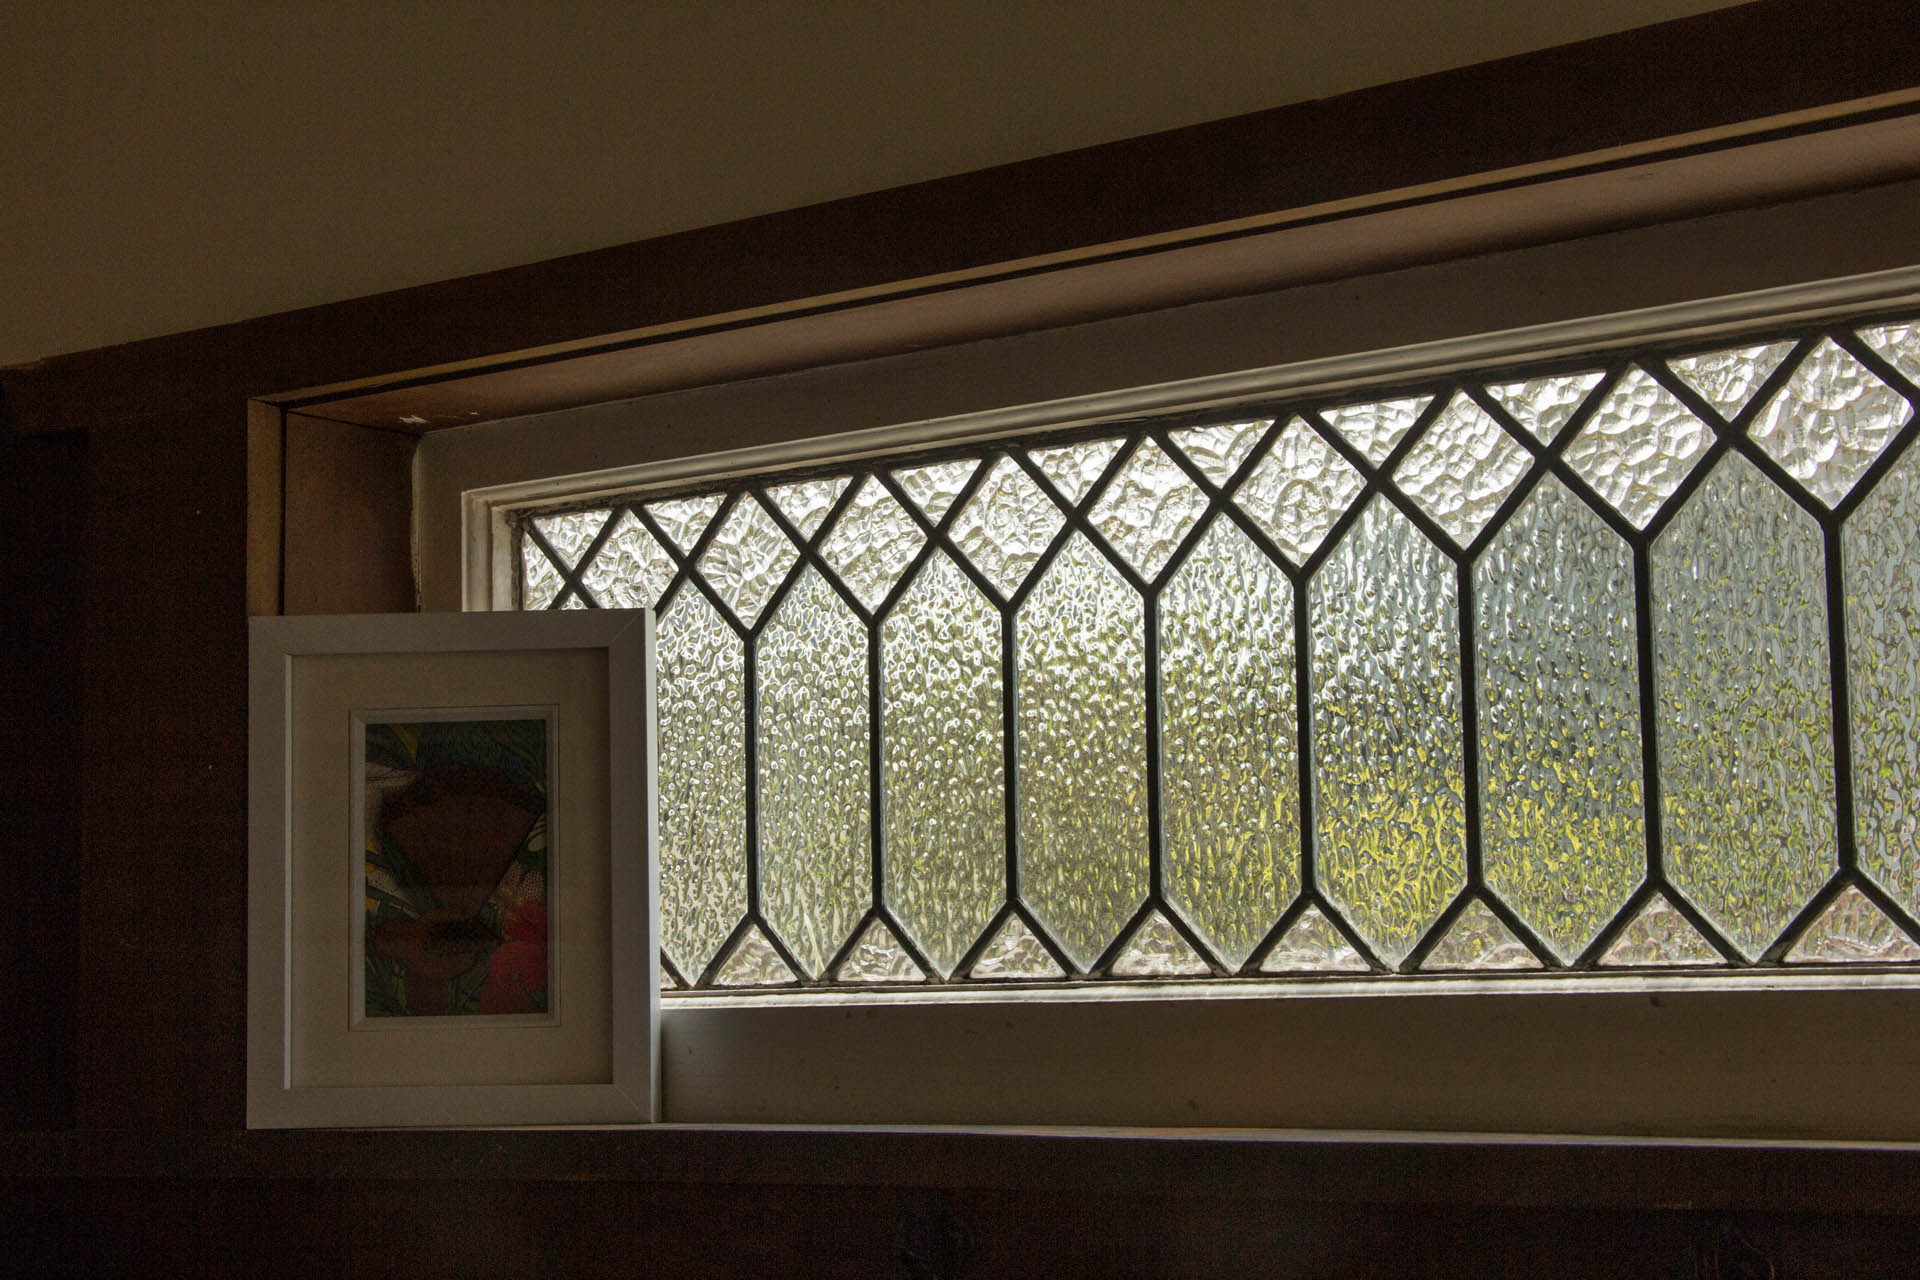
This window is nestled in a deep sill above our future lounge area. Currently it's our cardboard box storage area, but we're working on it. It's a process.
But wait- I'm saving the best for last...
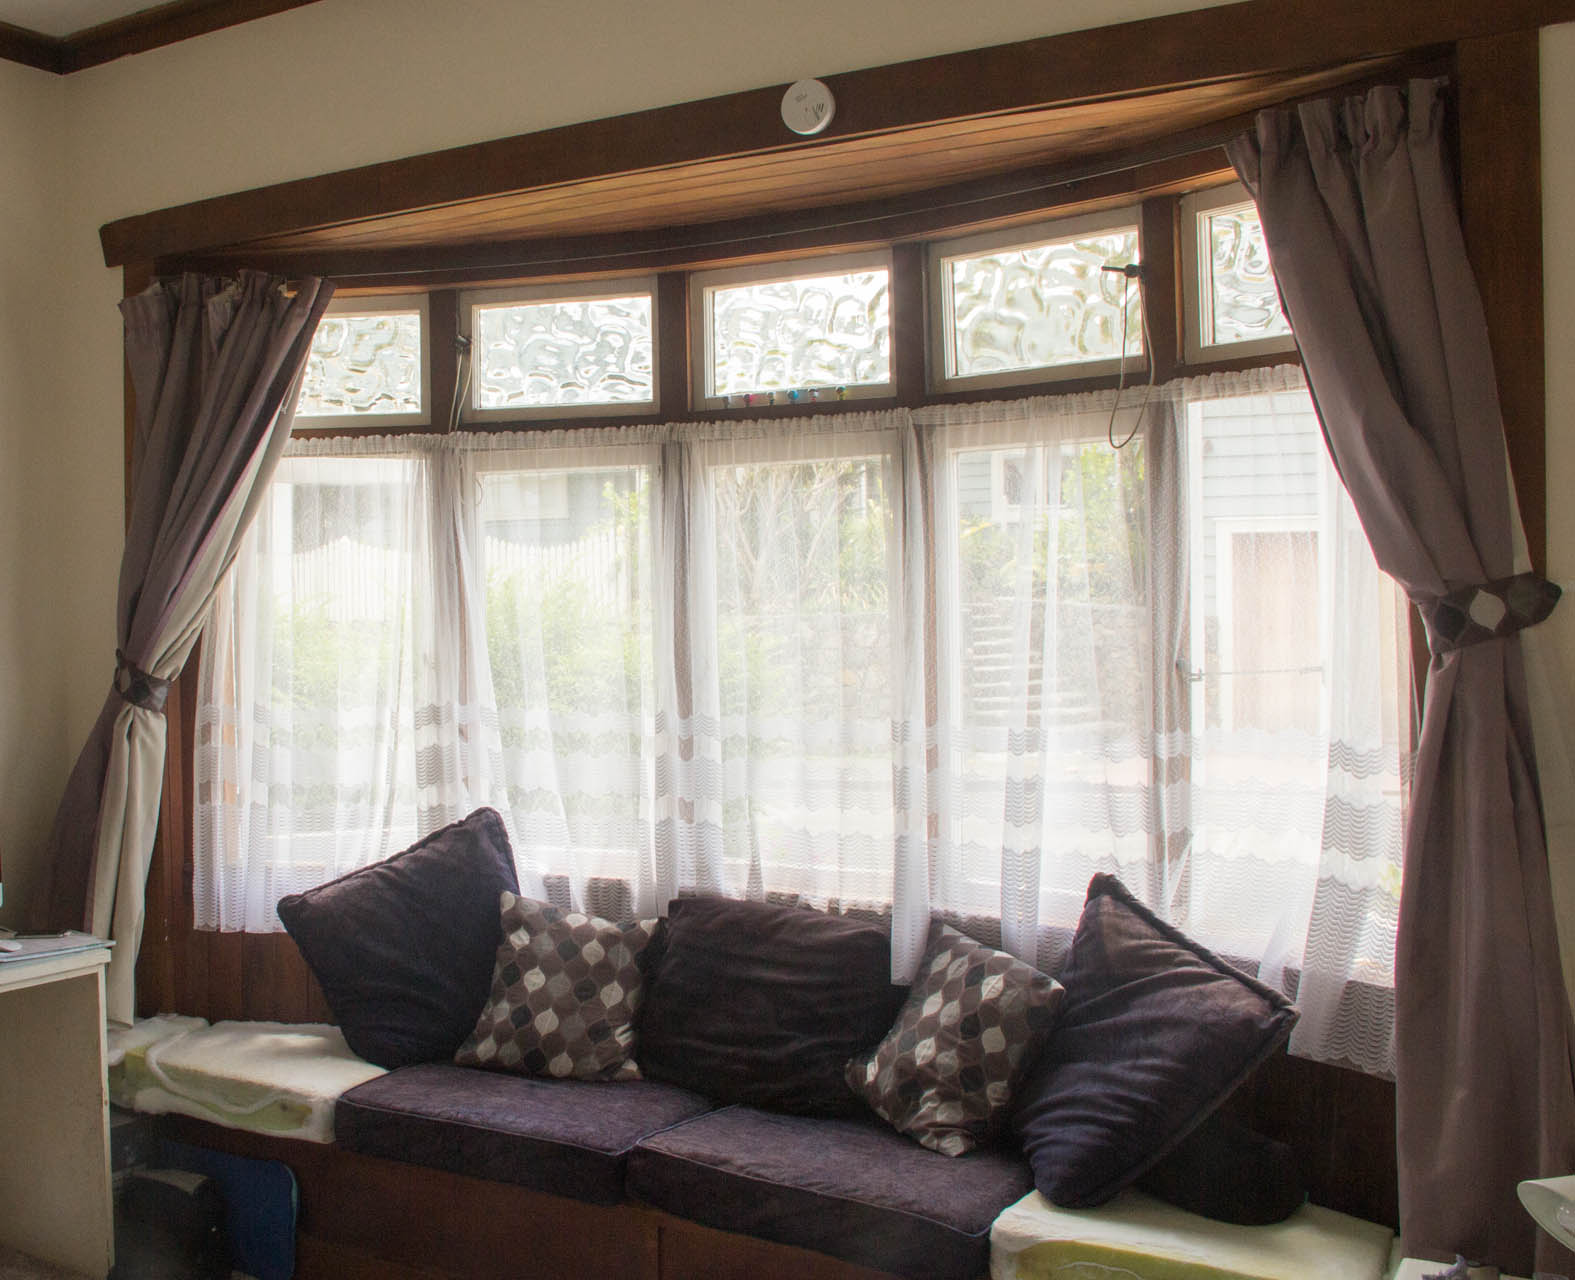
Let me tell you about this window seat. It's huge! It takes up nearly the whole wall in this room. The cushions, as you can surely tell, are a work in progress. When we moved in, I measured the window seat and priced out upholstery foam. It's just a touch under two and a half square meters, and at $126 per SqM, it was hugely out of our price range. Sure, three hundred dollars is pretty reasonable if you've just moved in to your forever-home and you're committed to the level of Pinterest-worthy window seat perfection we all secretly strive for, but our roots aren't extending quite that deep just yet.
I was just about to give up this battle and buy a couple of cheap throw pillows to sit my butt down on, when a Festivus Miracle occurred: two days before Christmas, Jon's mom heroically rescued a pair of lovely foam couch cushions, and an equally lovely pair of oversized throw pillows from a dumpster-destined couch. They didn't even smell like cat or anything! They're pretty intensely sun-faded, and by all accounts they came from a pretty dated old couch, but fortunately I know a thing or two about repurposing (and re-upholstering!). That's them wearing their original navy blue covers in the photos.
A few days later, we rescued another pair of cushions from another dumpster couch, and suddenly we've got three hundred dollars worth of foam for exactly no dollars.
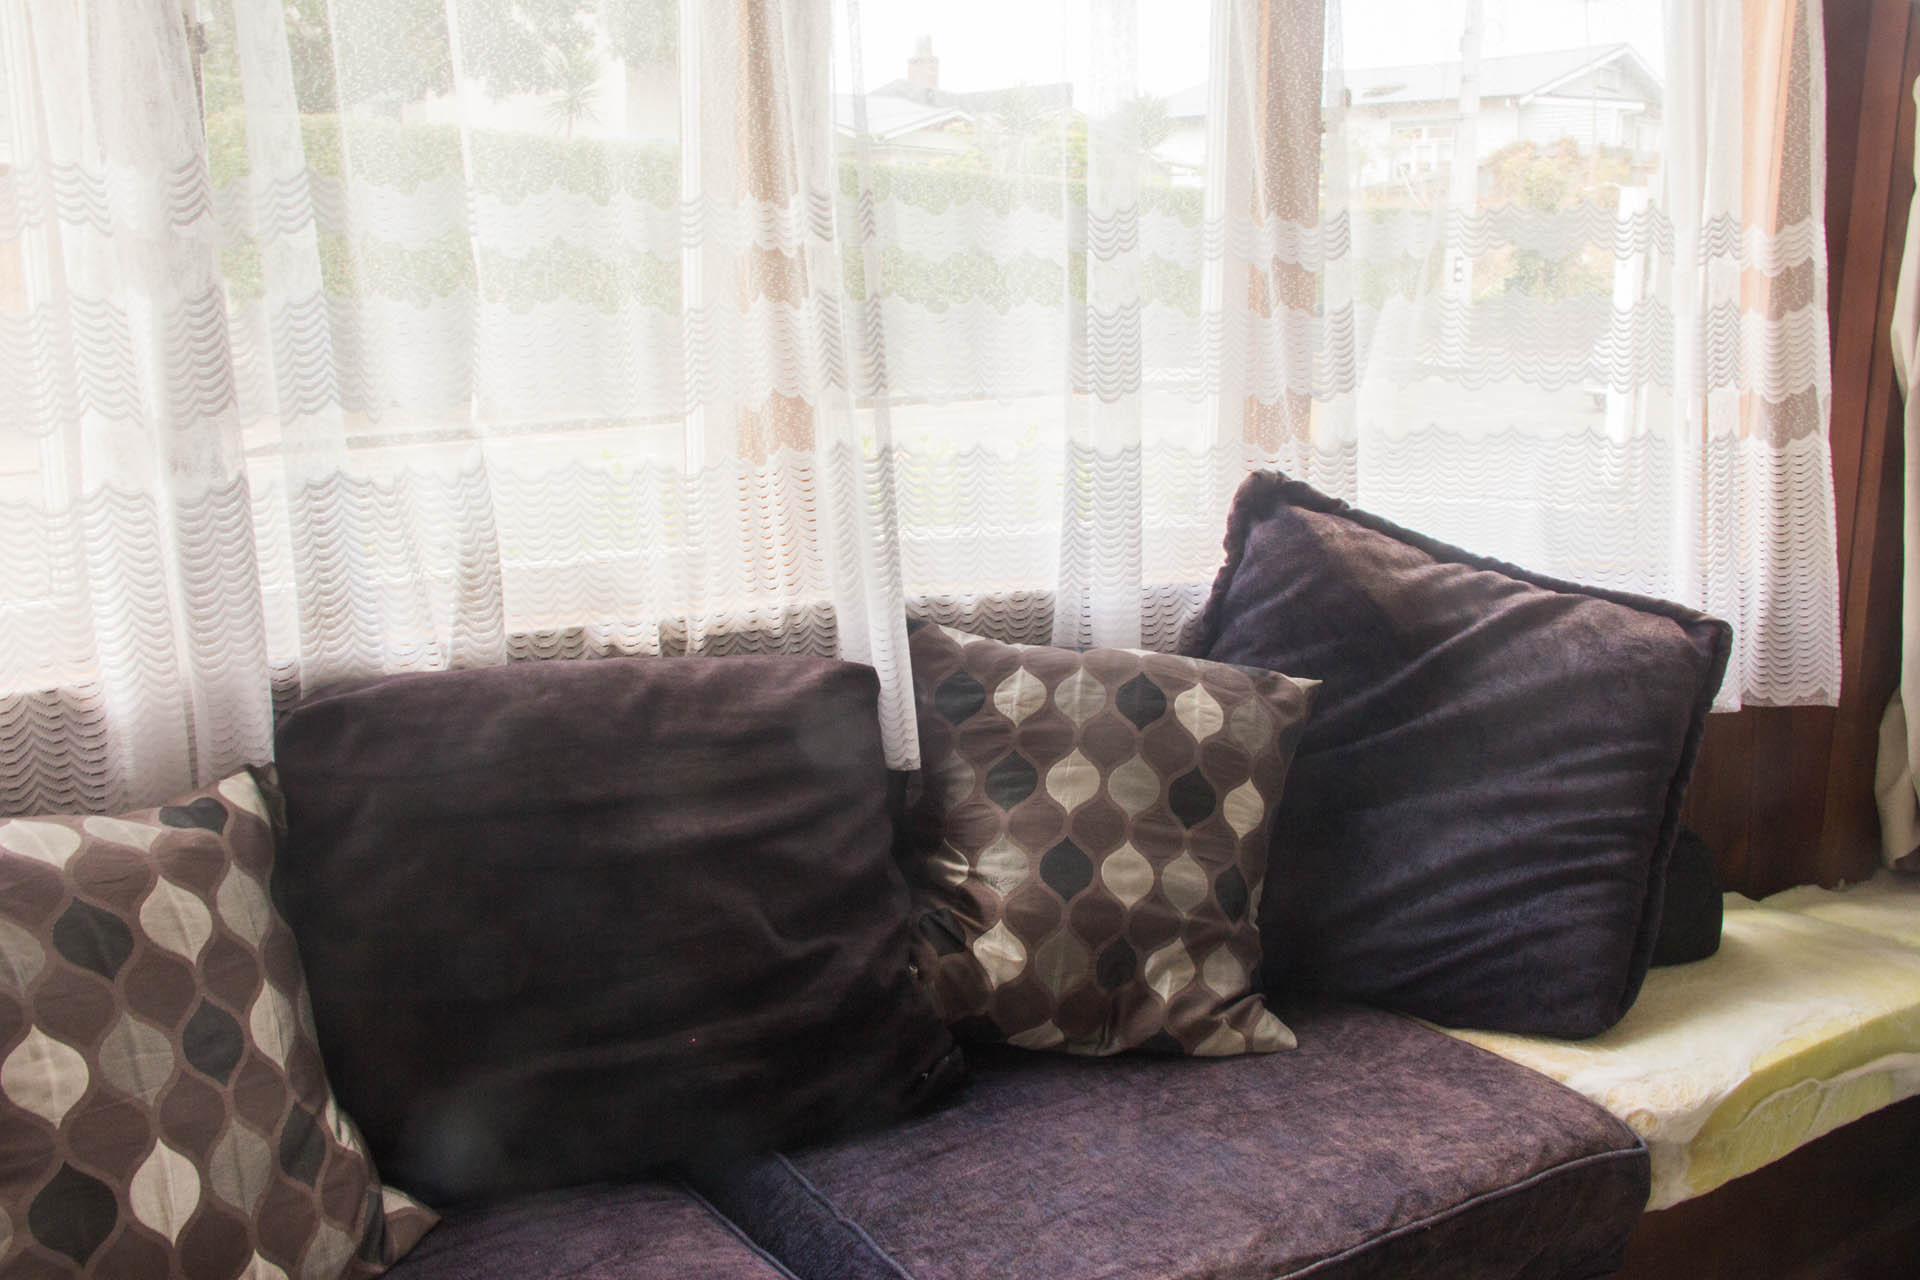
The two throw pillows with the teardrop pattern have a story of their own to tell: A second Festivus Miracle. On a shopping trip to get polymer clay (for a project which I will tell you about next week), we happened across a sign for a fabric sale. I am an obvious sucker for these things, so although the place looked about as out of our price range as the foam was, we wandered in to investigate. As it turns out, the lovely lady behind the counter was the owner of the shop, and she explained to us that the warehouse needed a new roof so she was selling everything she could as quickly as possible. Jon spotted a beautiful roll of fabric that happened to match the house's existing curtains perfectly, and she sold the whole roll to us for $30- a spectacular deal considering its original price was $90 per meter, and there are 7.5 meters on the roll. That's just over 8.2 yards if you're stateside ;)
We also picked up a pair of duck-down and feather throw pillows from her for a similar deal- and I've already made cushion covers for them out of the new fabric (that's them between the navy cushions in the photo above), and let me tell you- they are delightfully plush.
My next big project will be upholstering the cushions, but it looks like I'm going to need one more miracle to get the piping at the same deal as the rest of the pieces. I'm reusing the zippers from the old cushion covers, but the piping is a different story. It would be a shame to pay full price for it this late into the adventure! I'll let you know how that story progresses.
For now, I'm going to continue my efforts to not kill Steve and Phil, and work on some little projects of my own; it's about time we got some art up on these walls. Plus, next week I'm going to tell you about the new brush lettering skills I've been working on! Be prepared for that post to be peppered with photos of my Adventures in Baked Goods though. Is there a limit to the daily pastry intake I can achieve without detriment to my sanity? We'll find out.
Land of the Sun, Home of the Sheep (and Occasional Possum)
We're going to take a short break from our regularly scheduled adventure-programming to talk about the things that happened during my 3 months in New Zealand when I wasn't busy climbing mountains and romping on beaches- I'll give you a hint... There was a lot of knitting. This little corner of the internet was originally created for the purpose of blogging about all the projects I get up to, and it seems that regardless of the mountains in my immediate vicinity, I still find myself needing to do something with my hands.
First things first. I met this pretty lady at Jon's parent's house: I did a little research and it turns out that Wheeler & Wilson, the manufacturer of this machine, was bought out by Singer in 1905, which means this machine was probably made in the late 1800s. It's not particularly rare, but it is a very lovely machine, and it's an interesting combination of things I'm used to on old machines. It has the modern upper threading path, which has changed very little since its original design, but the bobbin mechanism is a different story. The first successful sewing machine was designed in 1830, and this machine used a shuttle bobbin- a long, narrow piece which slips into as bullet-shaped device. The whole mechanism moves in a curved forwards-backwards motion under the machine when it's sewing. My treadle machine at home has a shuttle bobbin.
The shuttle bobbin was eventually replaced with a stationary bobbin, which continues to be the standard for modern machines because it's less prone to jamming, mechanical issues, and being generally finicky. This machine was obviously made during the transition period, because it has a modern style bobbin and casing, but the mechanism still moves under the machine like a shuttle. Very weird, but very cool and clever. She hadn't been used for a good couple of decades, but she was in great condition regardless. All she needed was a bit of cleaning and oiling, and a new belt. (ebay for 3 dollars, if you're curious.) The most difficult part was coming up with a project for her once she was ready. That didn't turn out to be so hard either, though- It's unreasonably sunny in New Zealand (40% more intense UV rays than the US), so I chose to make a super simple shoulder-covering Sun Protection Device- complete with fringe!
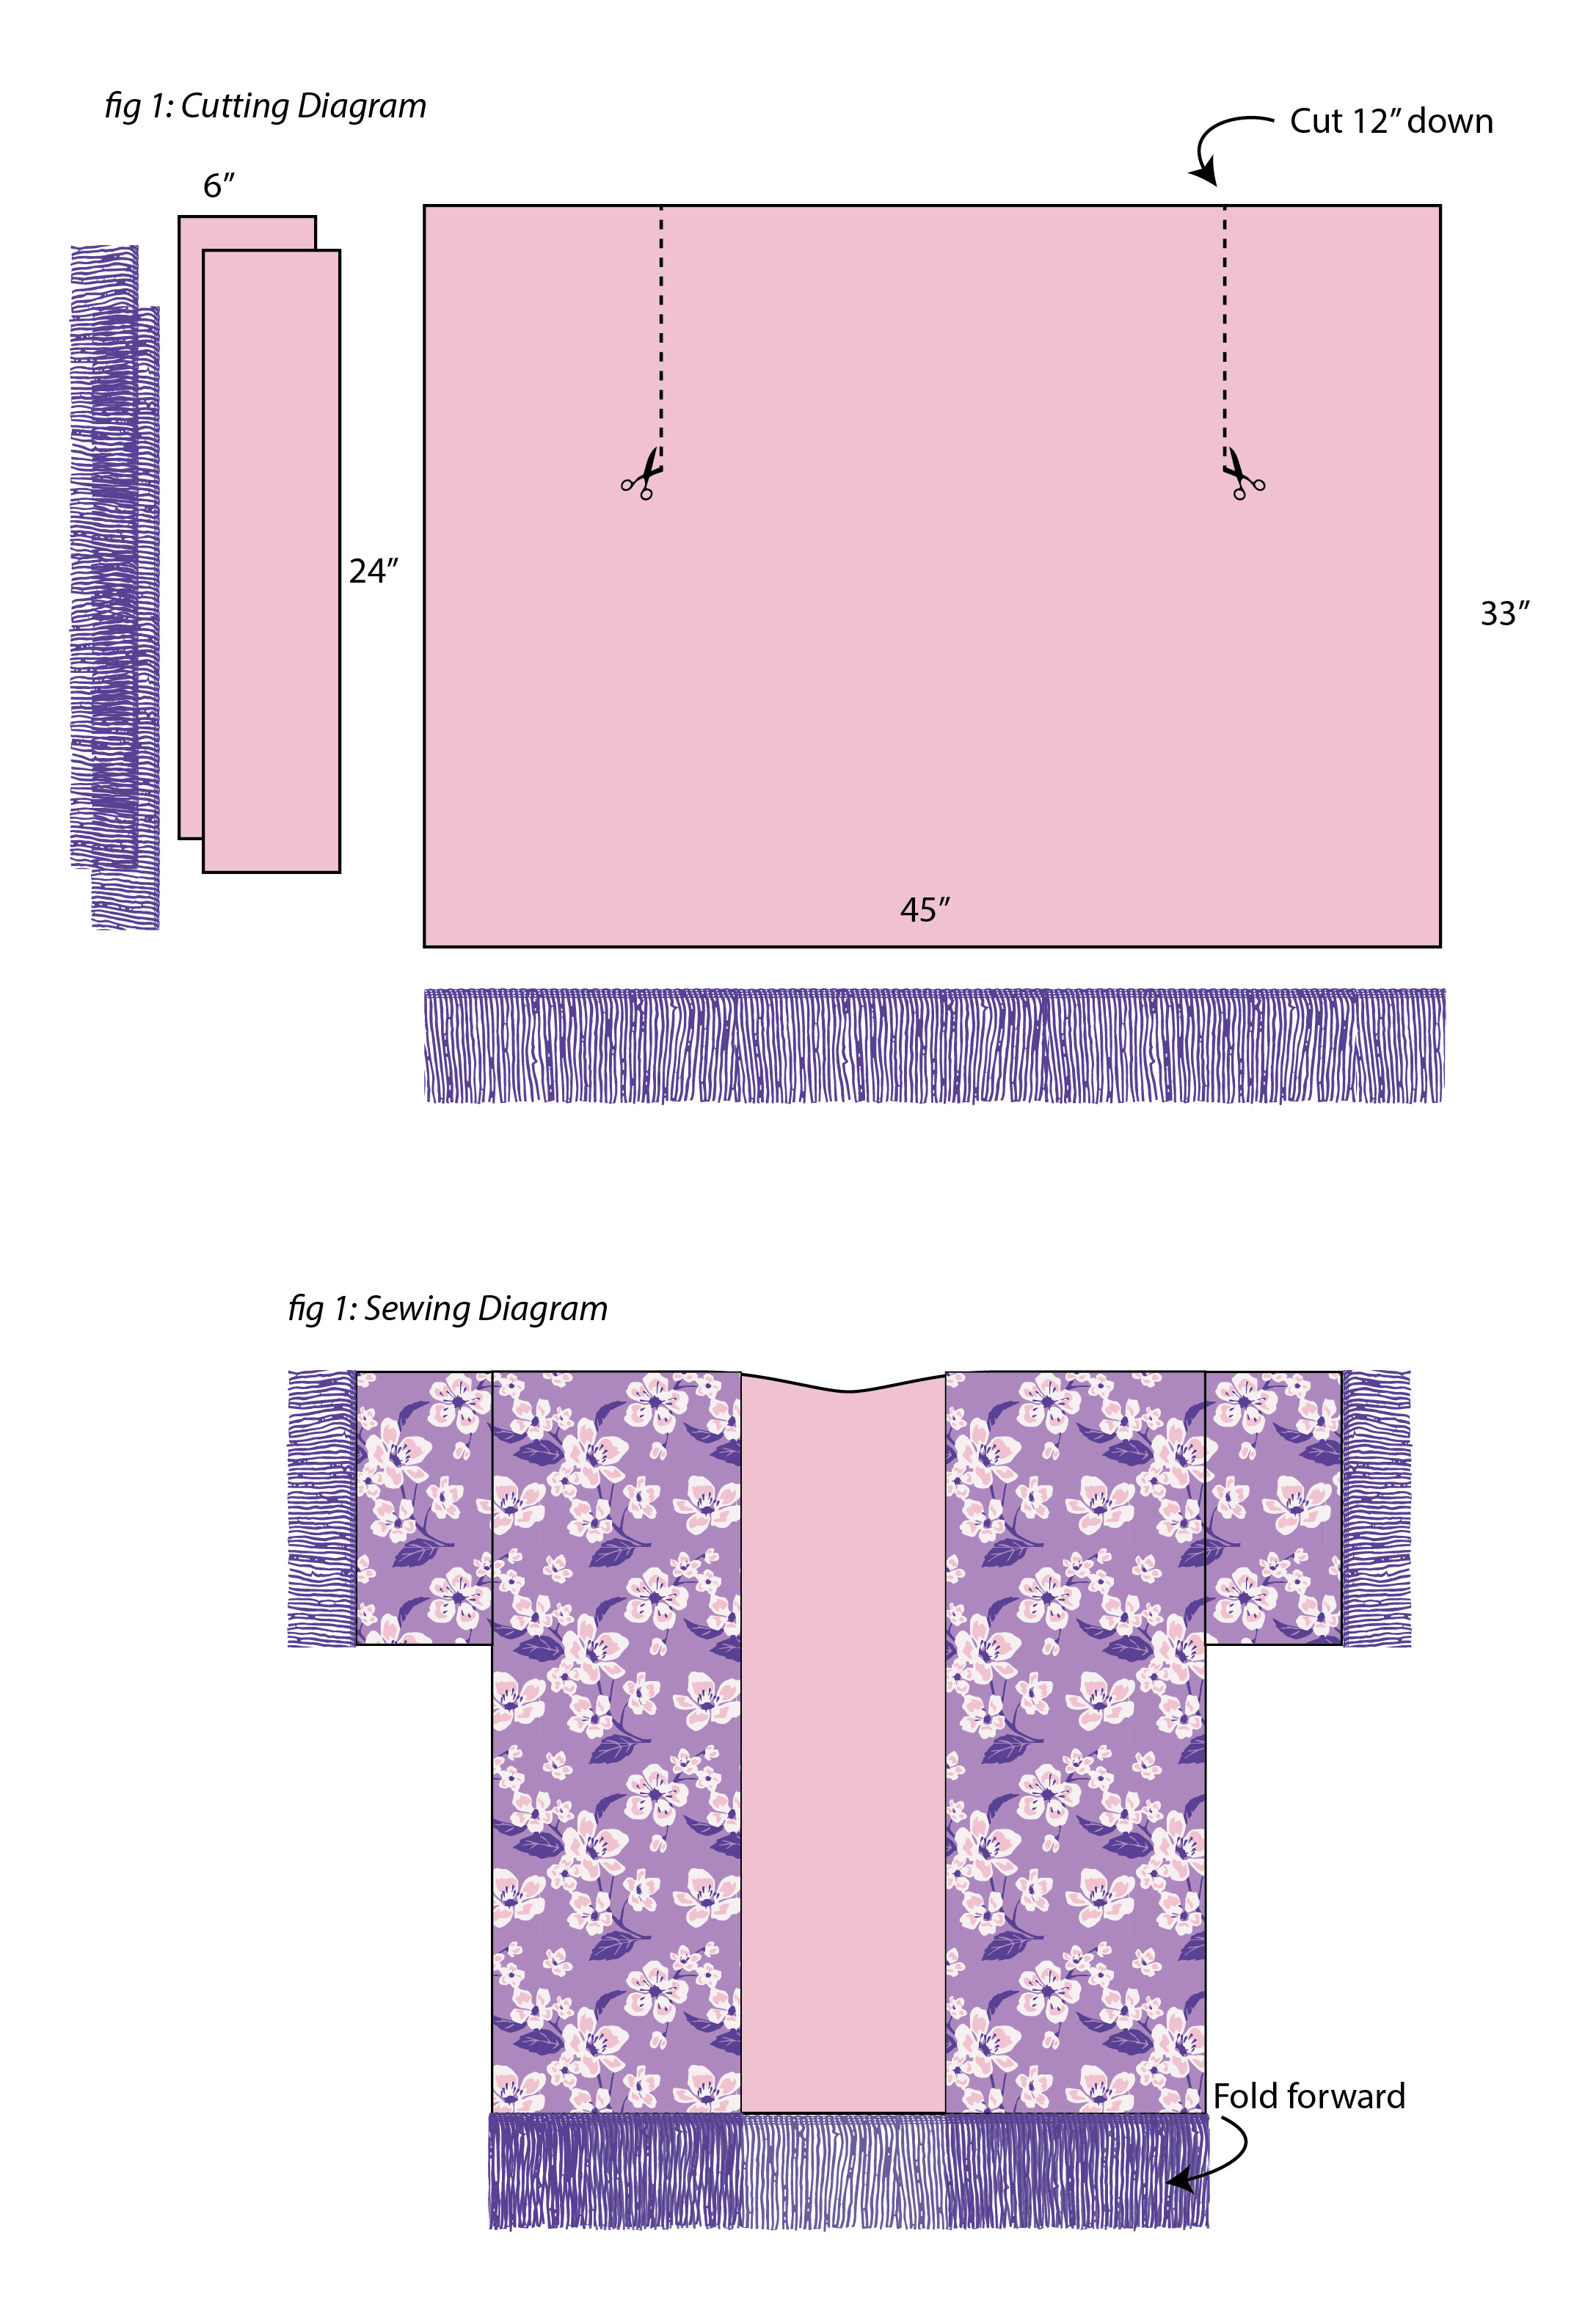
I used about 2 yards of printed rayon fabric, and a couple of yards of satin fringe in two different lengths. I think it's supposed to be upholstery fringe for pillows and stuff, but it matched my fabric too perfectly to pass up. If you're curious, and because nobody in the world deserves sunburnt shoulders- I've made a diagram:
This way I don't have to write the whole thing out, you see. It's very simple. You attach the sleeves to the cut slits, and then sew the tops of the sleeves and the shoulder seam all in one go. The only not-pictured step is the binding to finish the front and neck- that's just a 4" wide strip that runs up one front, around the neck, (which I trimmed into a slight curve) and down the other side. The shoulders and armholes are french seamed to add stability and hide raw edges, and the fringe is also encased by the fabric, so nothing unsavory is showing anywhere.
See? Easy as pie. And these things sell at markets and such for something like 60 dollars. Really, you could use whatever kind of fabric you wanted- I've even seen some with lace. This one happens to match my swimsuit though- and my hair, apparently- which is always a nice touch.
Including the fixing up of the sewing machine, that project was completed in the span of two afternoons. These next two basically occupied the rest of my down-time between adventures, given one took significantly longer than the other.
This pattern is Sparrow Song by Anne Hanson, made with some Possum-Merino yarn I got in New Zealand. Possum is a pretty uniquely New Zealand thing, and it's very very soft, and very warm- even if the concept is a little weird. Possums in New Zealand are a totally different thing than US possums, though. As for the yarn, it's a bit hairy and sheds at first, but only a little. Still totally worth it. In other news, I really love this cowl pattern. It's knit top down, and then the bottom edging is a knitted-on border completed last. It's a bit ridiculously warm.
In a problematic and cruel twist of fate, however, I have only been able to wear it about twice because it is very warm and, because New Zealand's seasons are opposite from ours, I've essentially had two summers in a row with about 3 weeks of winter in between. By the time my next trip is completed, I will have had four consecutive summers without a full winter in between. I probably won't get much use out of this cowl in that span of time, but I'm certainly going to try.
Here's the next (and significantly larger) project:
Leaves of Grass by Jared Flood. The pertinent information for both of these projects can be found in more detail on my Ravelry page, if you're interested in making them. This is a circular shawl knit from the center out, and has yet another knitted on border. I think knitted on borders are my favorite technique in knitting. The only other thing that comes close is gusset heels...
The other particularly exciting thing about this shawl is that it's an Elizabeth Zimmerman Pi Shawl. There are only four increase rows in the whole project- in between each lace pattern. This allows you to substitute in any other lace stitch if you're not feeling whatever's written in the pattern, since you aren't limited by needing to match increases. I didn't make any changes to this one- maybe next time.
I cast on for this shawl a day or two before I left for New Zealand, and I finished it in the Los Angeles International airport on my way back home. Not that I was working on it constantly, but it took basically the whole three months. It was actually pretty great travel knitting. The only awkward part was when I dropped my ball of yarn behind my seat on the return flight, and had to employ the gentleman sitting behind me to retrieve it. He was a good sport, though.
The last part of this crafty little side note is more of an in-progress sneak peek, because it's getting a blog post all to itself later on. One of my favorite things to do on warm summer evenings (in December, I'm actually still not over that weirdness)- was hunting for sea glass on the beach. We'd drive to the beach after dinner, stop for ice cream, and walk along the beach looking for pieces of sea glass.
This is a photo of what we gathered after the first ice-cream laden evening. I wanted to make myself a necklace, but ended up finding enough pieces on the trip that I decided to share the love a little bit more than originally intended. We found so many pieces that I had to leave most of them behind, but the others- well, you can find some of them here if you're curious, but the details will come later.
You've probably noticed that not everything in the picture is sea glass- there are also ceramic shards, although they're a much rarer occurrence. According to the all-knowing interwebs, they're called 'beach pottery'- and I will let you know as soon as I figure out what I'm going to do with them.
I'm a material person. I like stuff, I like projects, and I am the kind of person who needs to have something to do with my hands, pretty much all the time. I may have been in New Zealand to see the sights and climb the mountains, but I had just as much fun with my projects and I'm especially happy knowing that I can still get my materials and work on things there, since I'll be going back for a whole year in a few months. In the meantime, I'm going to continue to wear my knitting around even though summer's almost here...
(next time, mountain-adventures. I promise)

